Kinger Inlay Jacket
Overview
I have been a fan of The Amazing Digital Circus since I first watched it (when episode 3 came out). When my friend and I heard the finale would receive a theatrical release, we quickly bought tickets. We both wanted to do something fun to celebrate it; my friend decided to cosplay Gangle, and I chose to make a character inlay and sew it on a denim jacket. After designing inlay options, the Kinger inlay was the best-looking option that fit my budget, and he is one of my two favourite characters (the other being Caine). While working on the jacket, I had some fun non-inlay ideas for integrating more chainmail. I plan to implement those ideas in future projects and push the jacket even further.
Materials
I bought all the rings used in this project from The Ring Lord. Here are the rings used in this project:
| Item | Option Details |
|---|---|
| Bright Gold Rings | 16 SWG, 1/4” ID Bright Aluminum rings in gold |
| Bright Black Rings | 16 SWG, 1/4” ID Bright Aluminum rings in black |
| Bright Medium Blue Rings | 16 SWG, 1/4” ID Bright Aluminum rings in medium blue |
| Bright Electric Violet Rings | 16 SWG, 1/4” ID Bright Aluminum rings in electric violet |
| Matte Frost Rings | 16 SWG, 1/4” ID Matte Aluminum rings in frost |
| Matte Titanium Rings | 16 SWG, 1/4” ID Matte Aluminum rings in titanium |
Notes
Coming Up With The Idea
I remember seeing leaks of the movie poster for the theatrical release and thinking that there was no way it would happen, then being quite happy a few days later when I found out it was actually real. When I saw that it was real, I excitedly told my friend and checked if our local theatre was participating. Thankfully, it was; however, there weren’t many seats left, so my friend and I bought tickets a month before the finale. We decided to use that time to do something special to make the finale more fun. My friend went for a Gangle cosplay (their favourite character), while I decided to have fun with chainmail and wear a character inlay to the theatre.
Designing & Weaving The Inlay
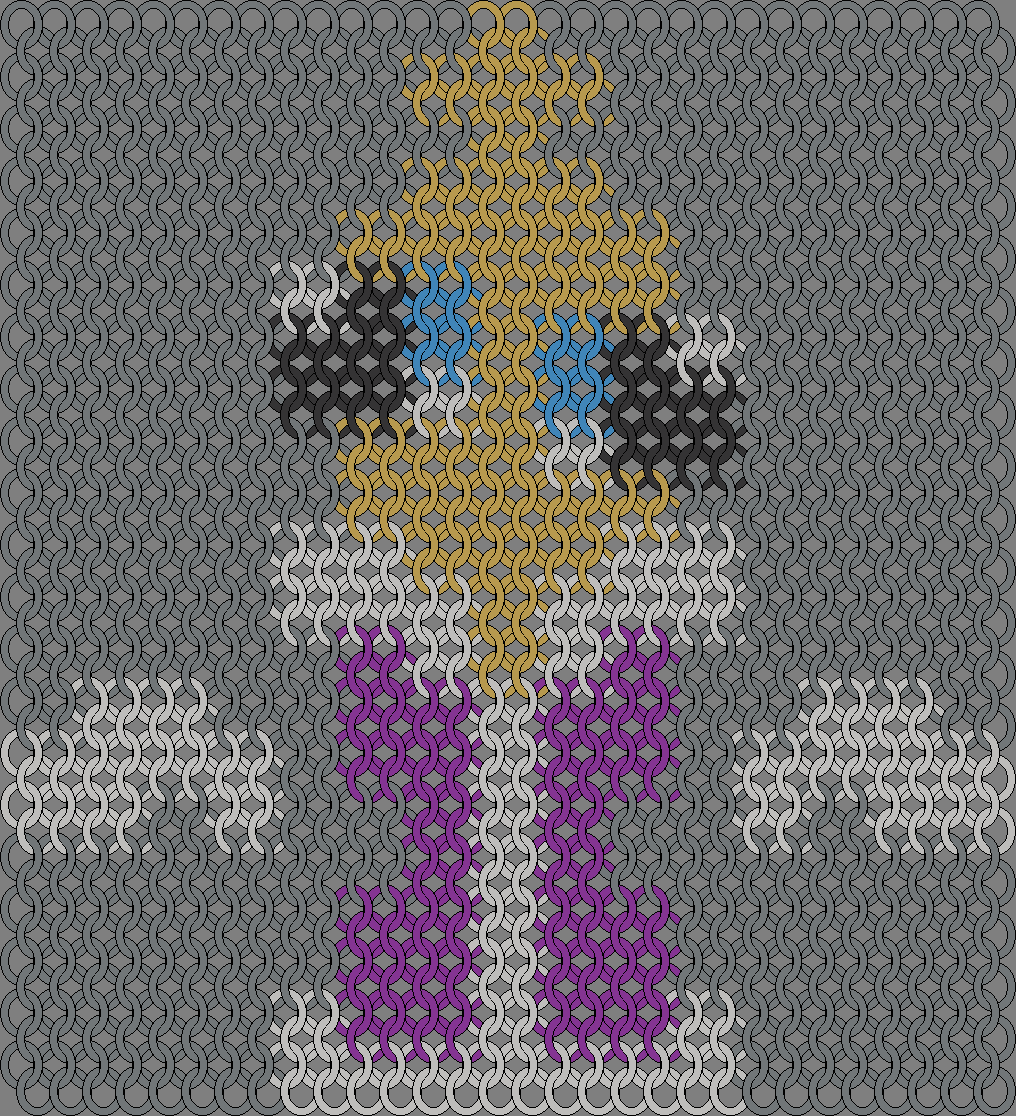
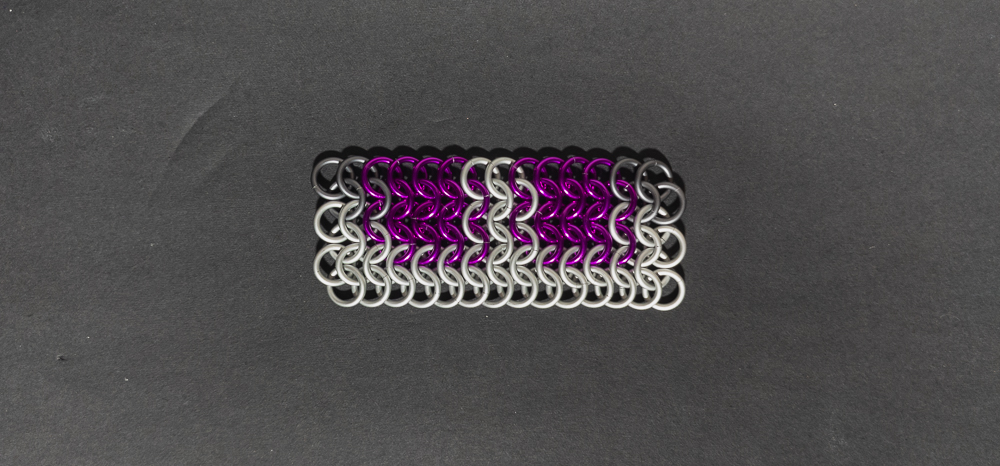
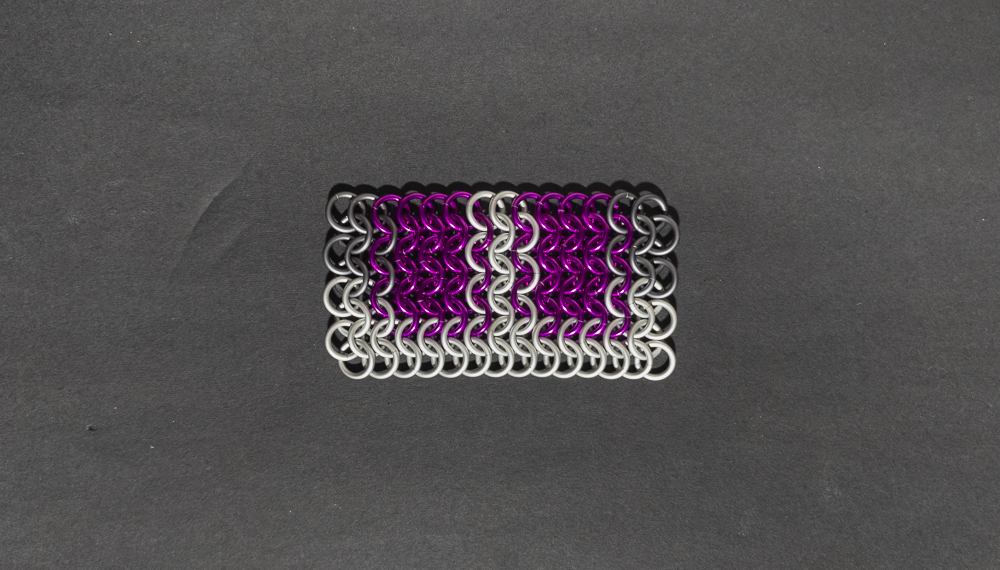
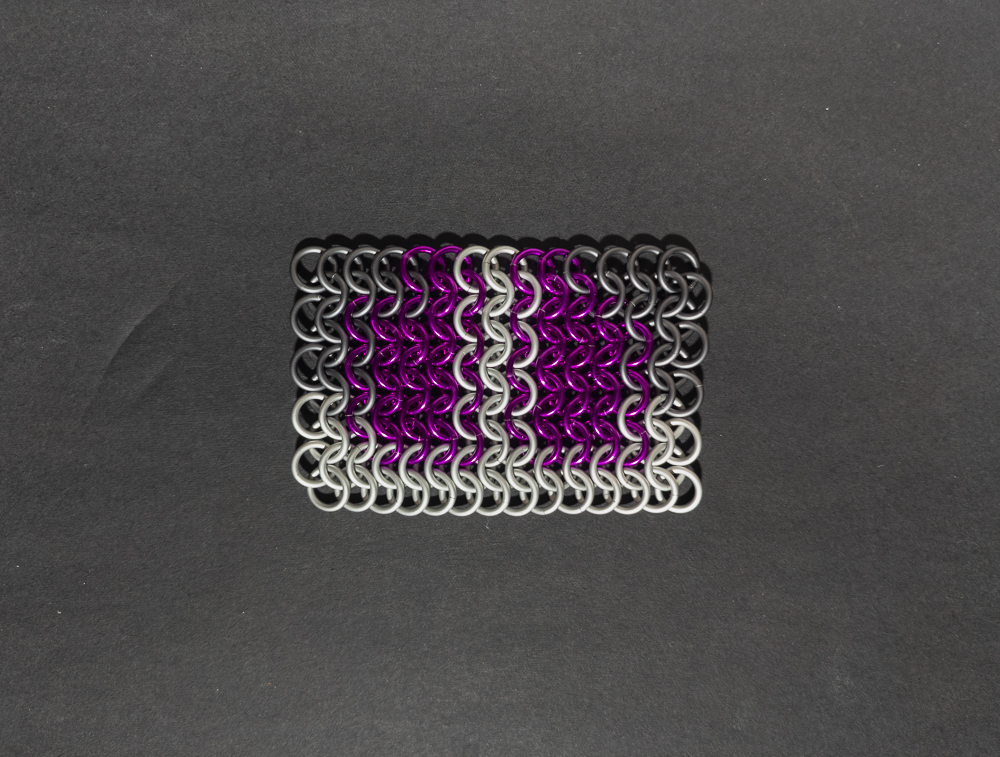
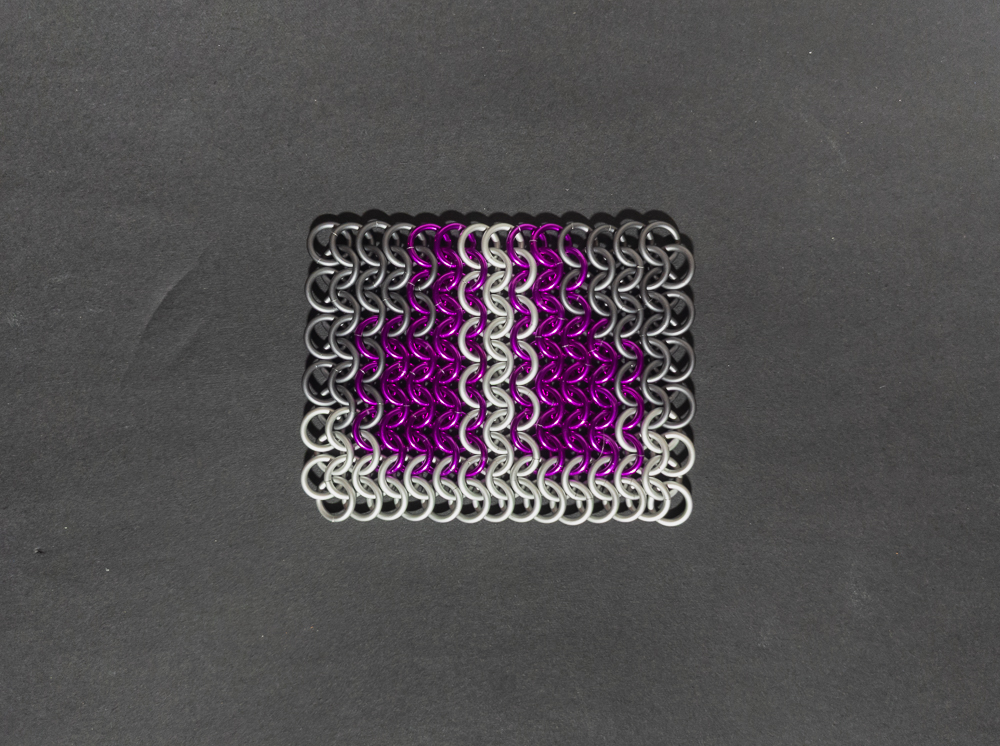
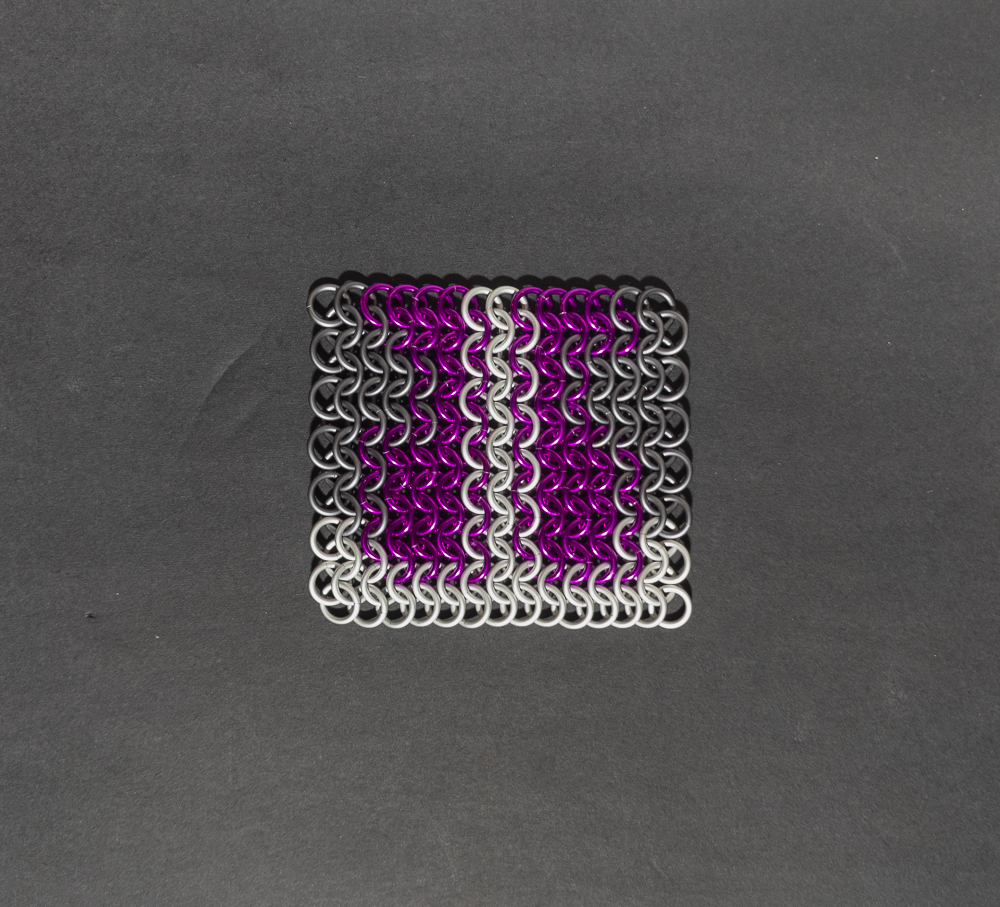
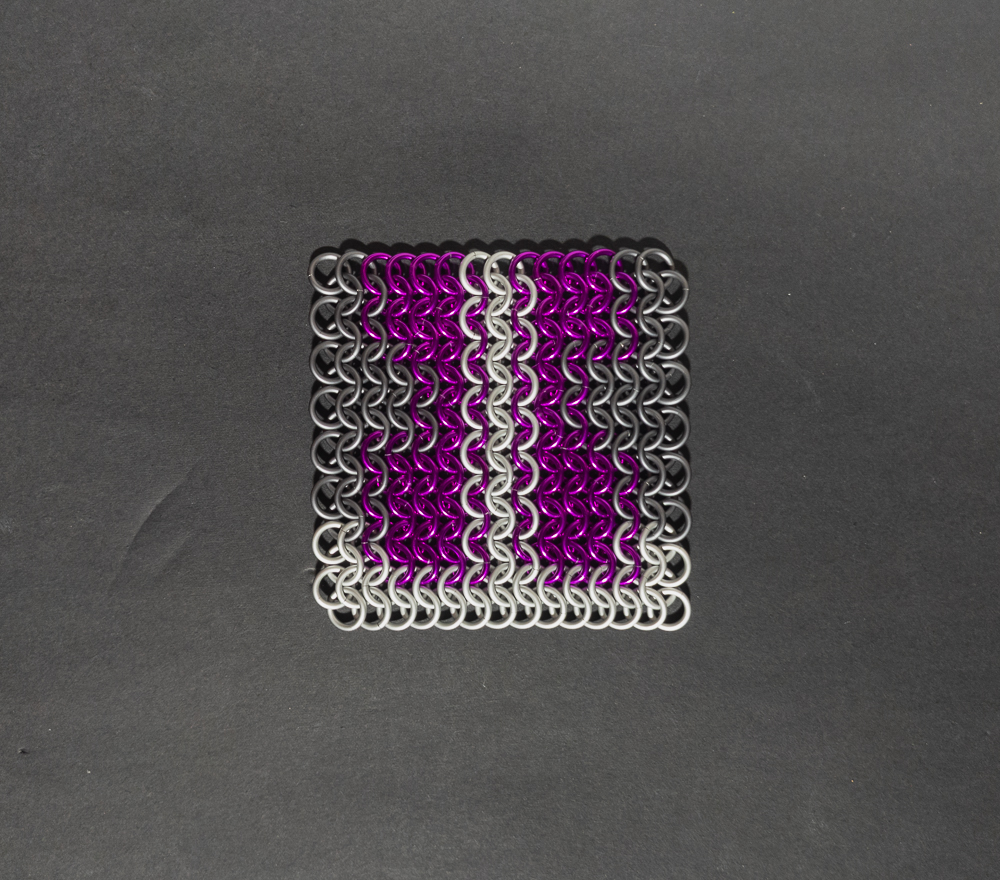
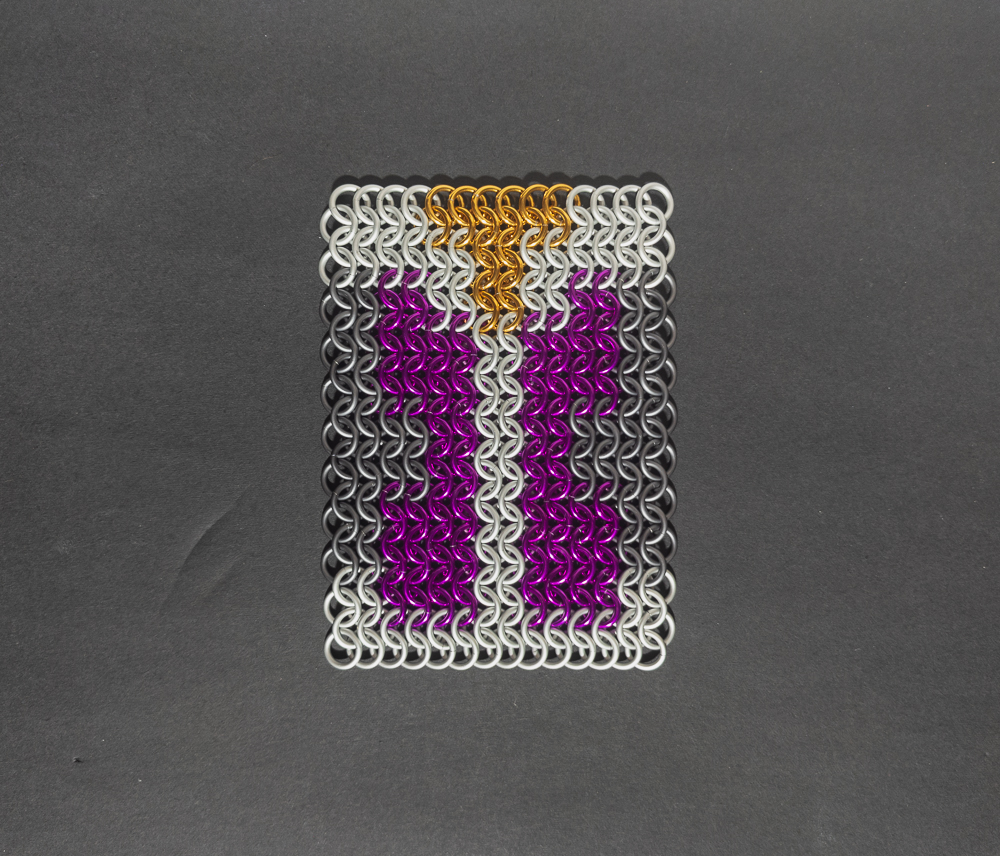
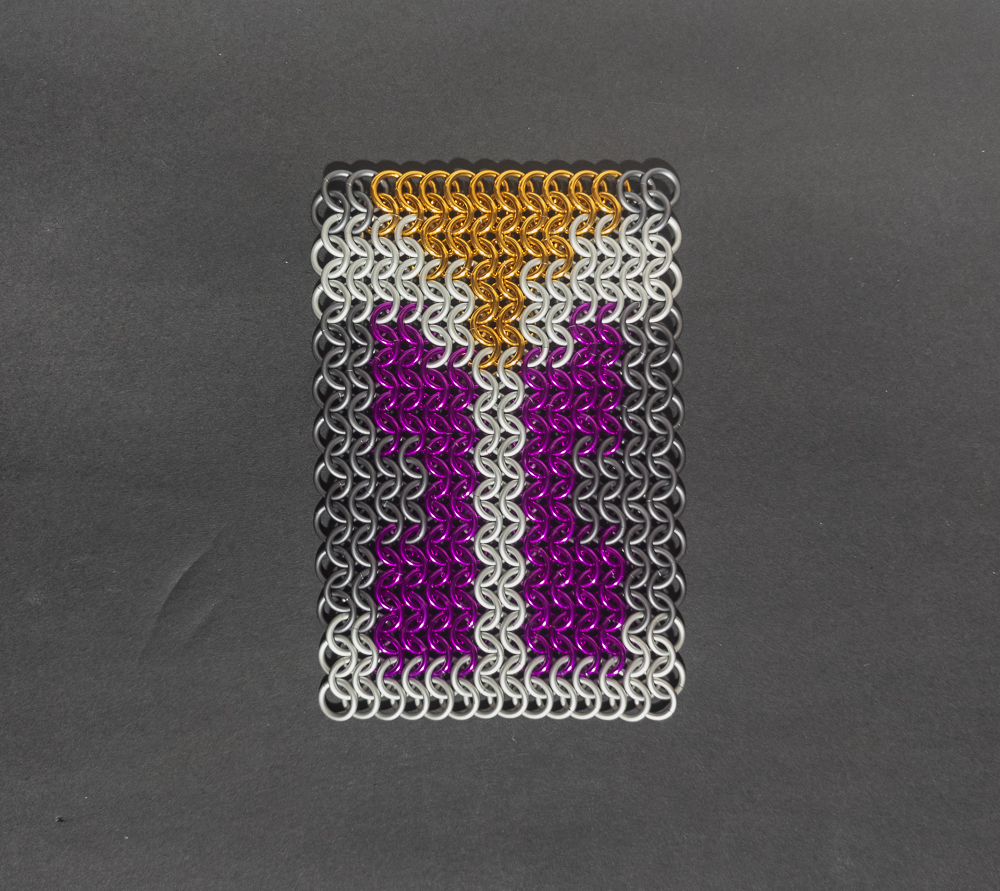
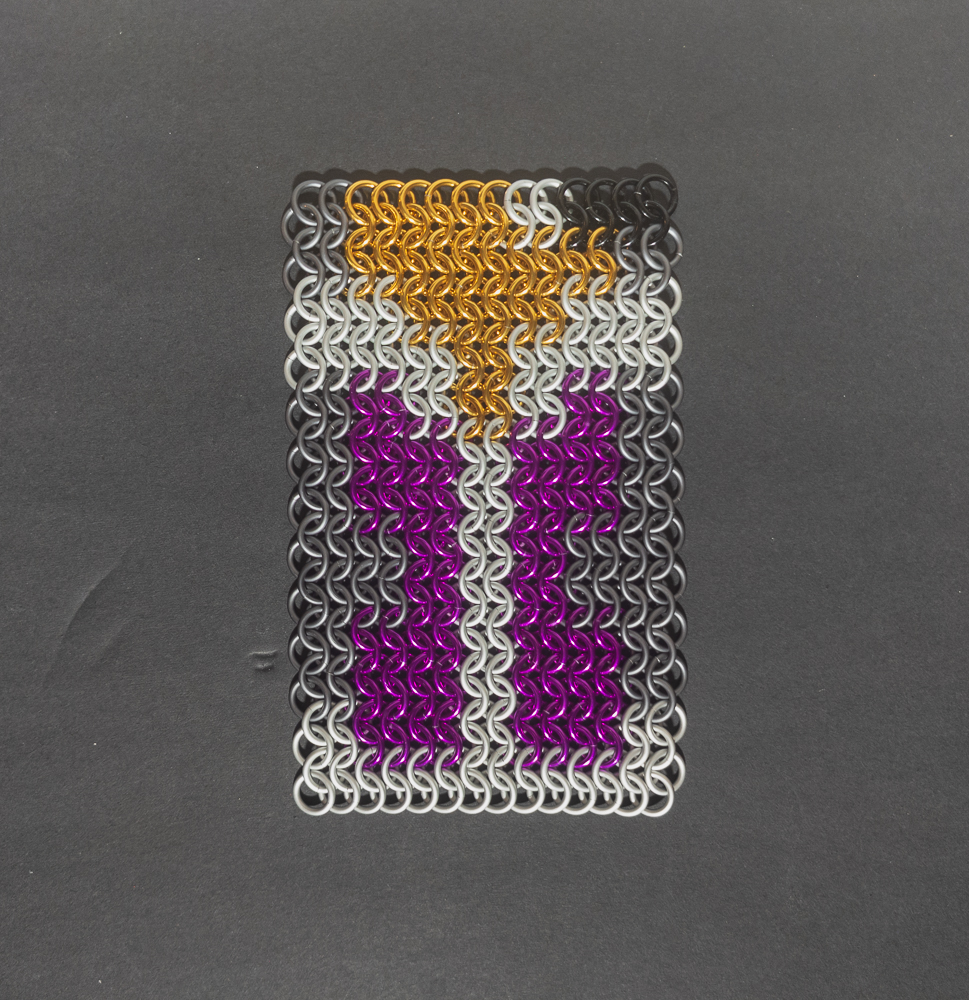
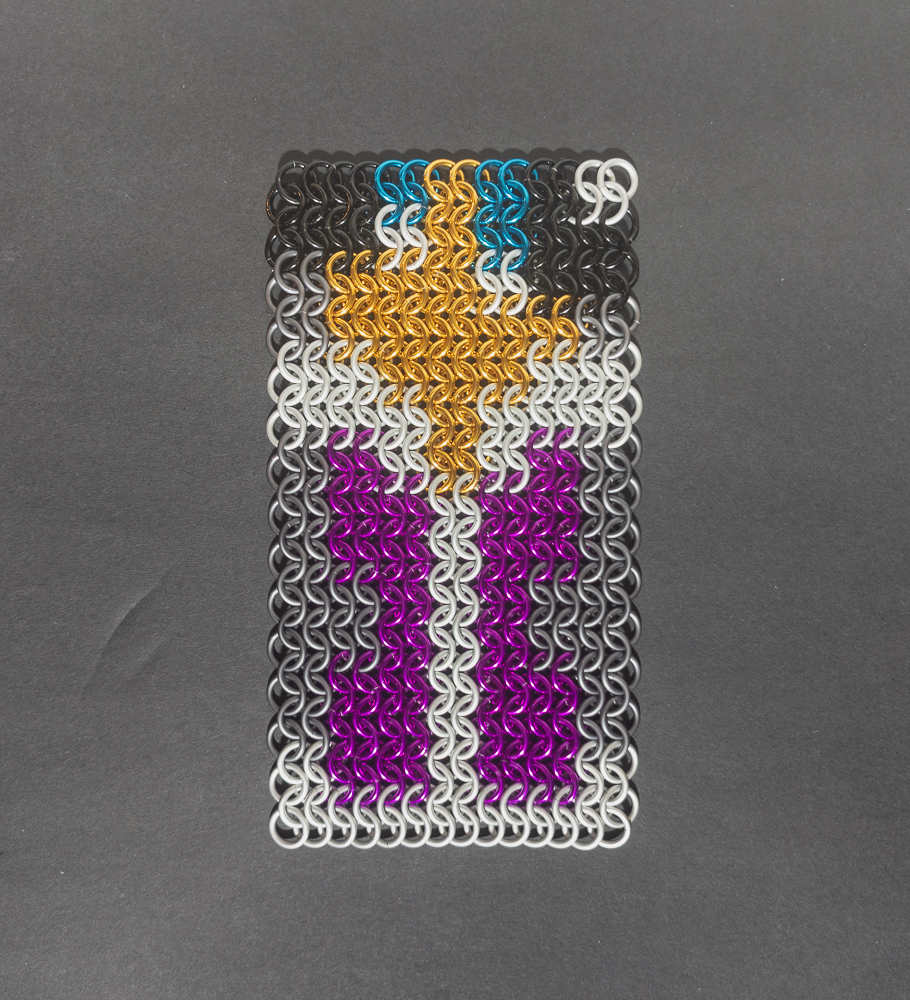
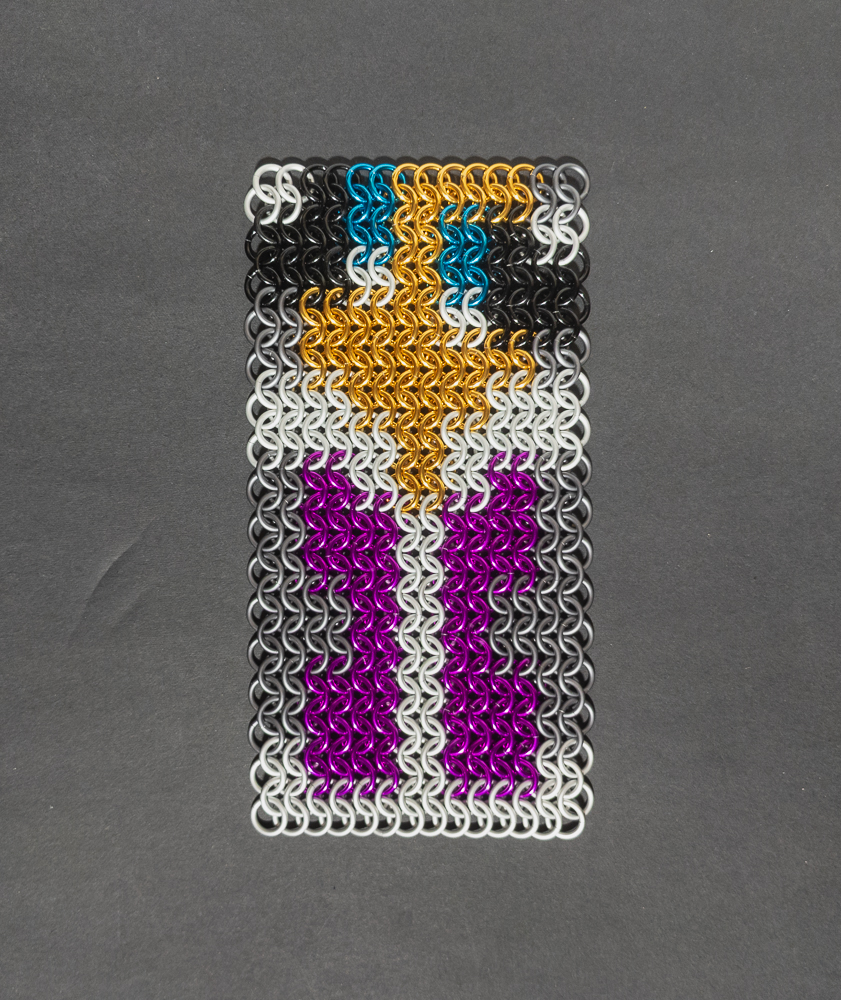
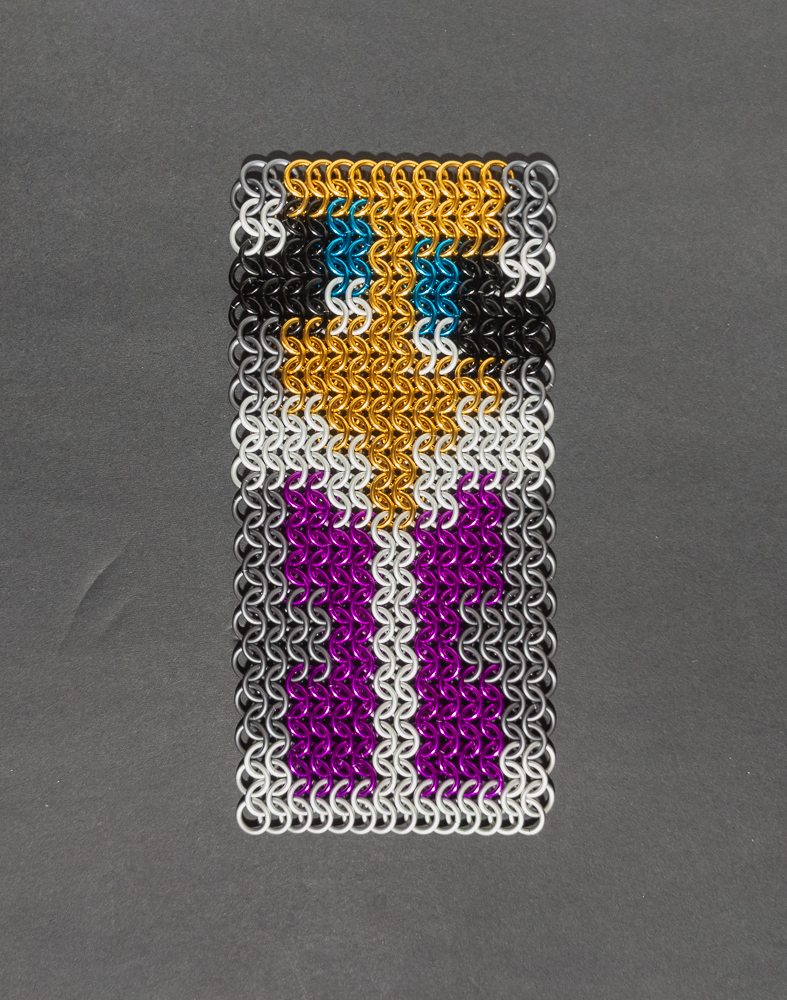
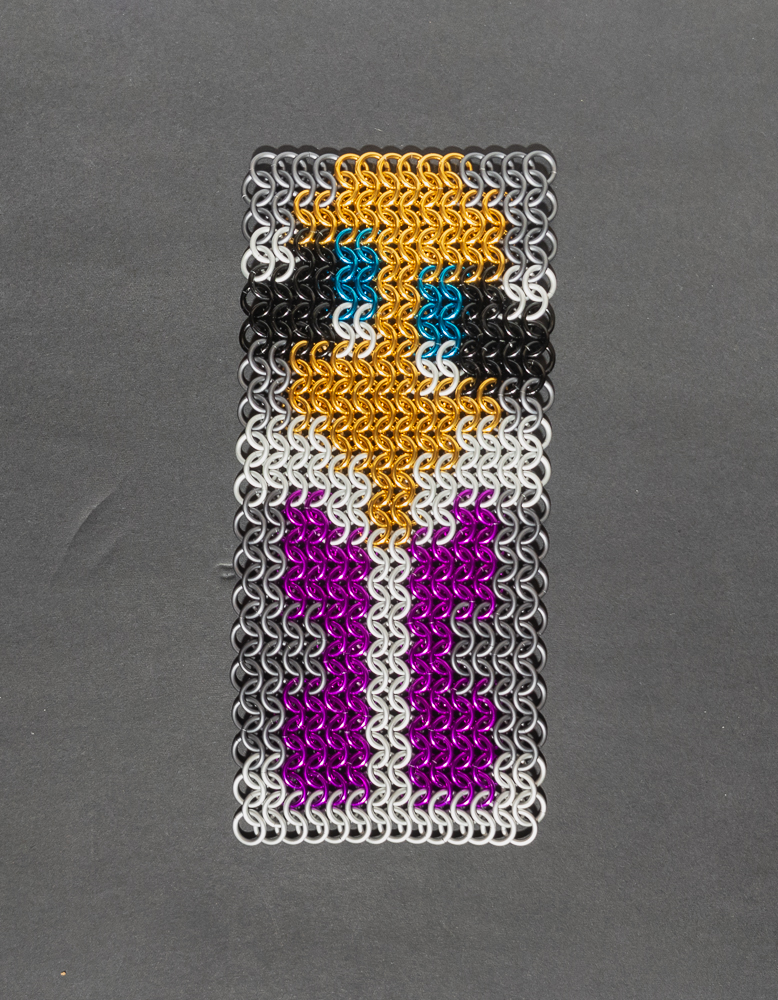
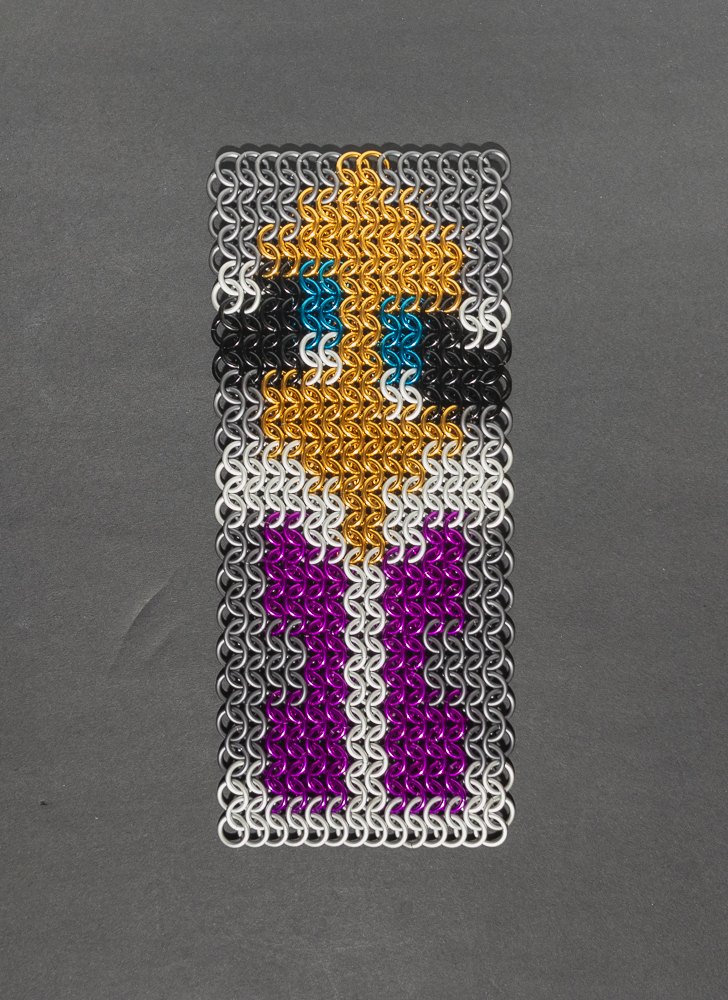
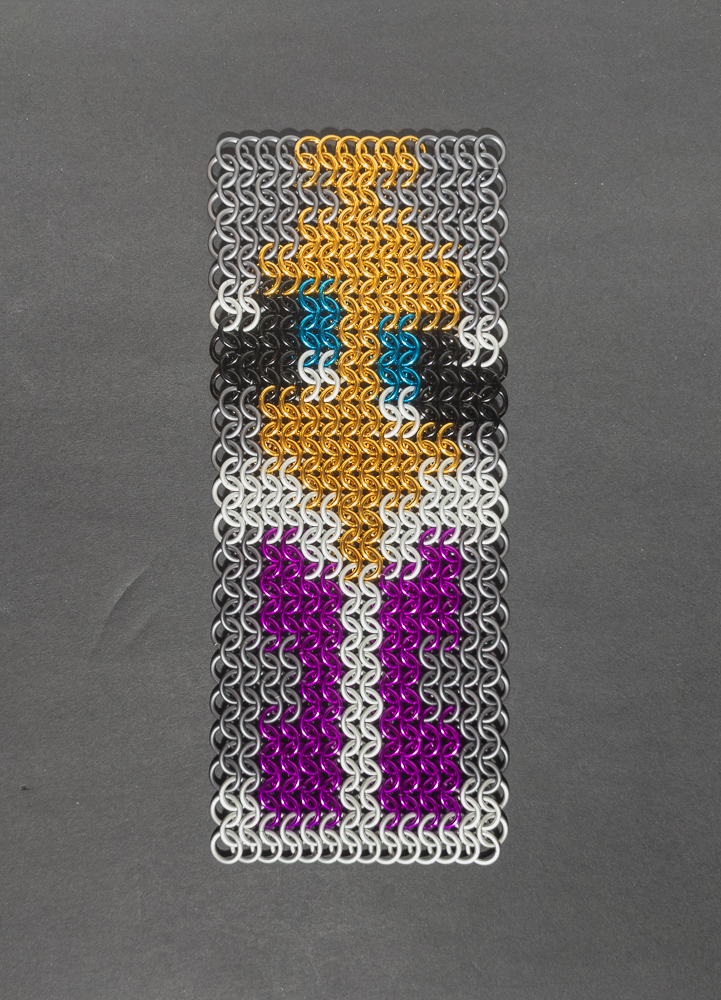
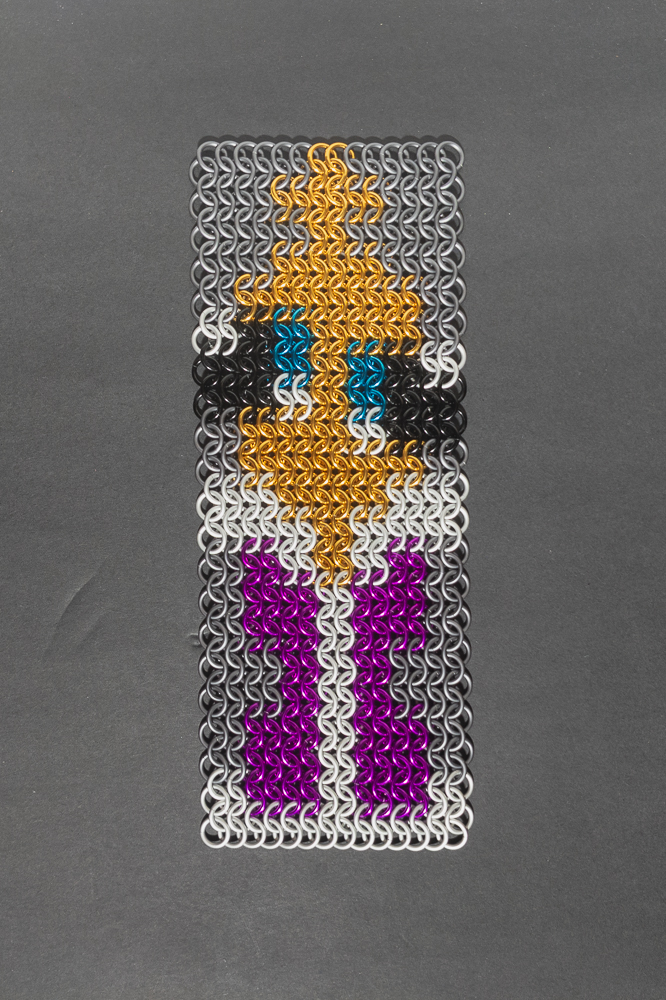
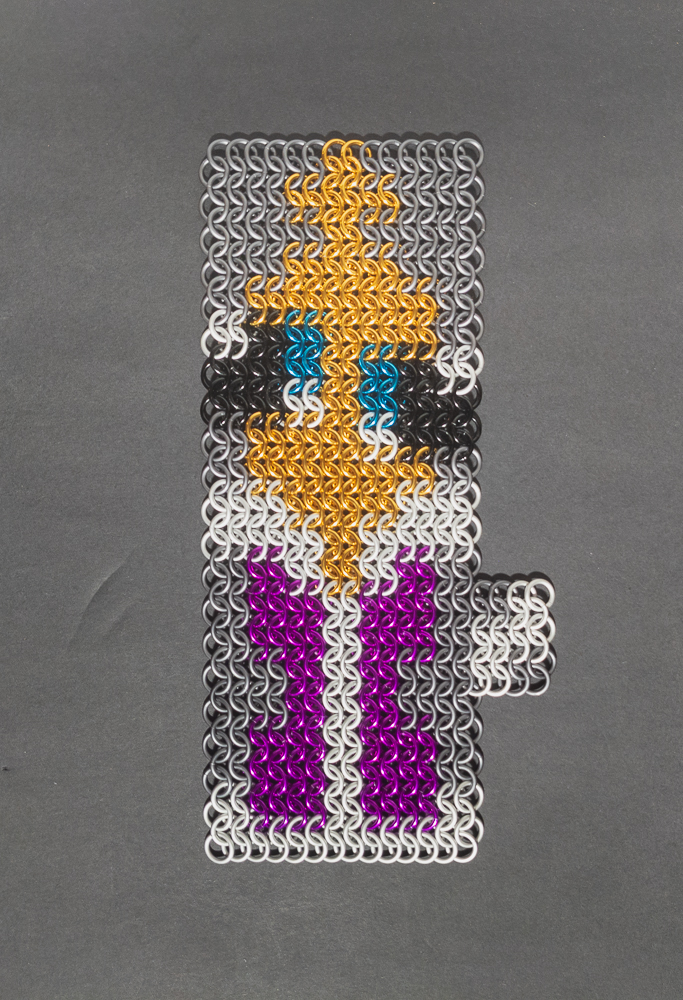
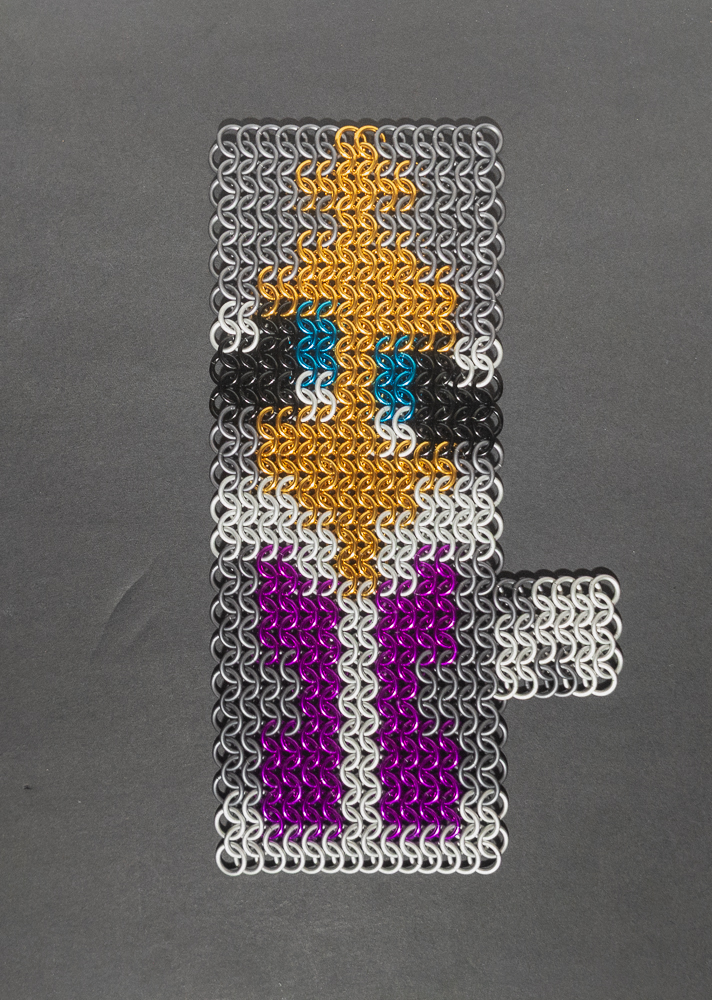
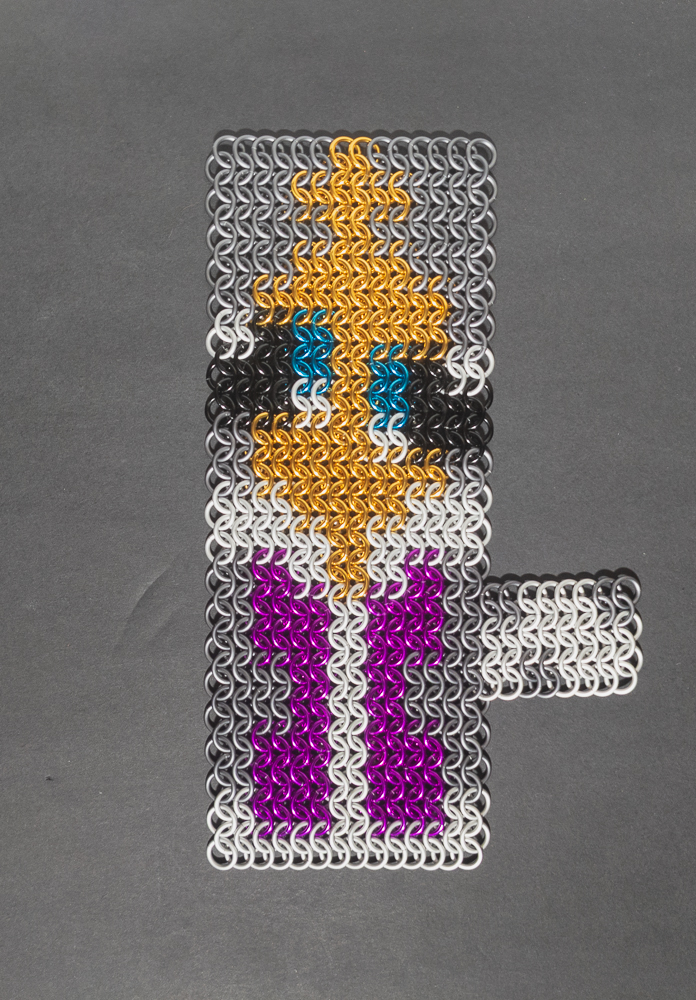
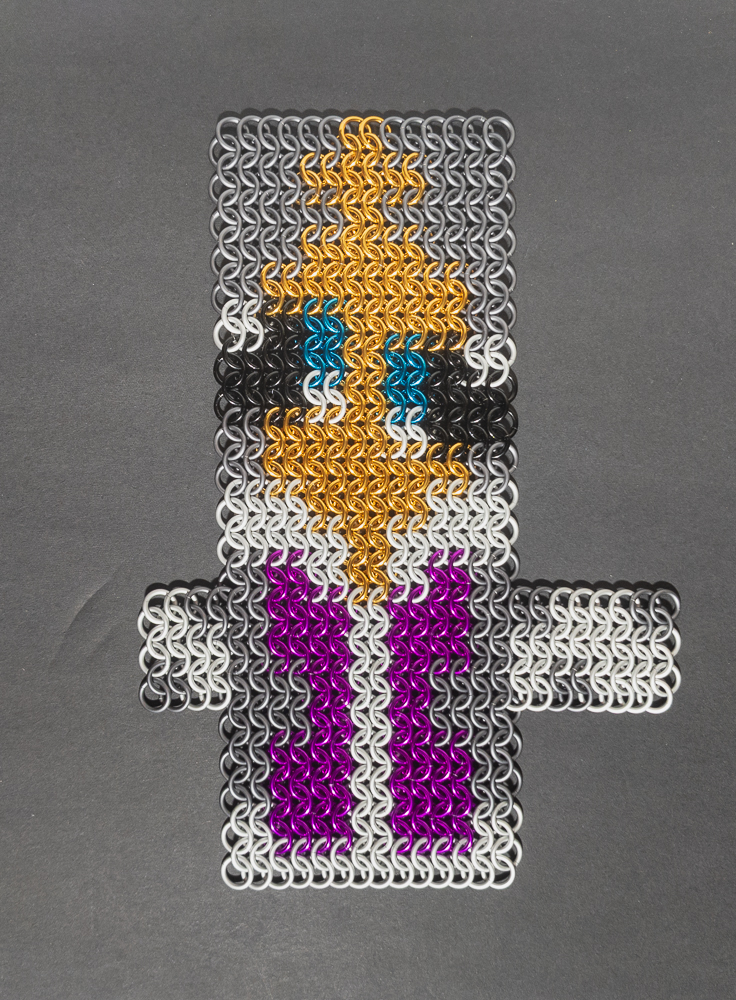
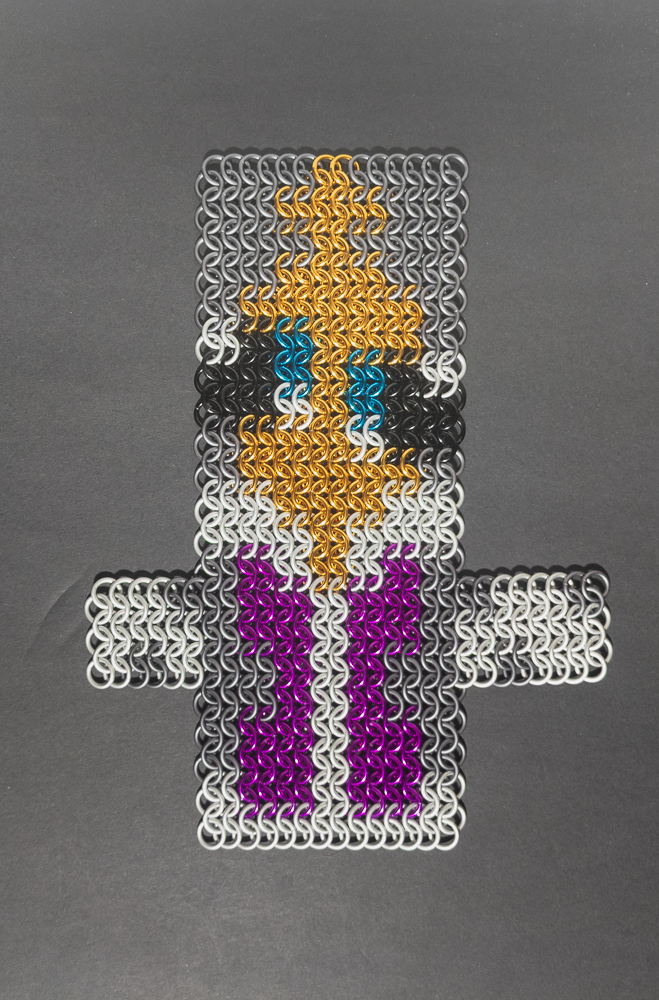
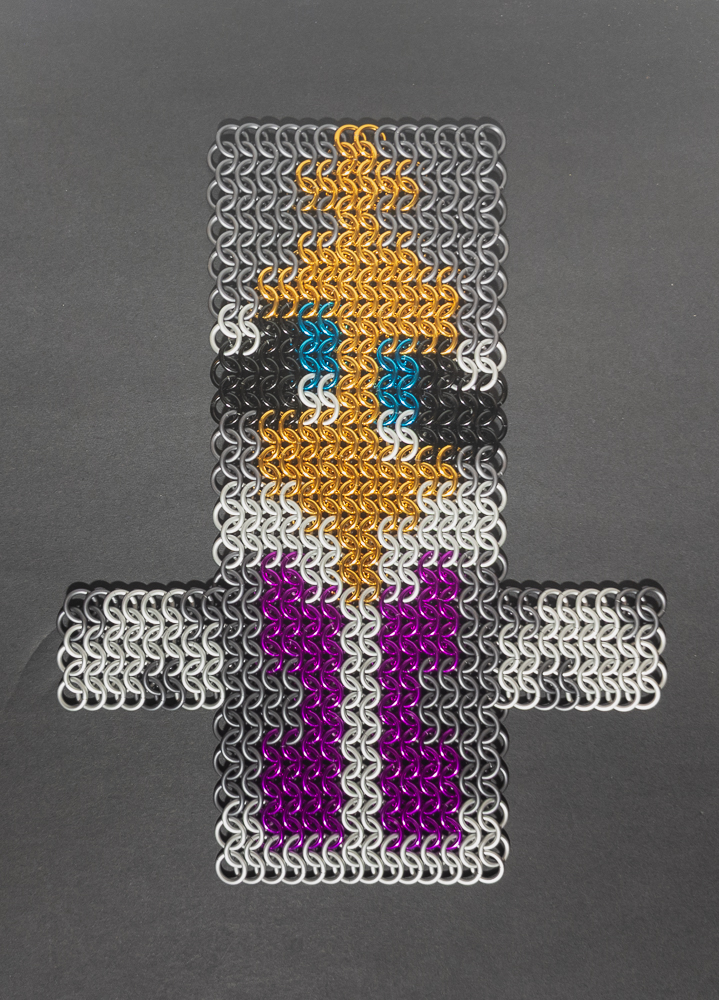
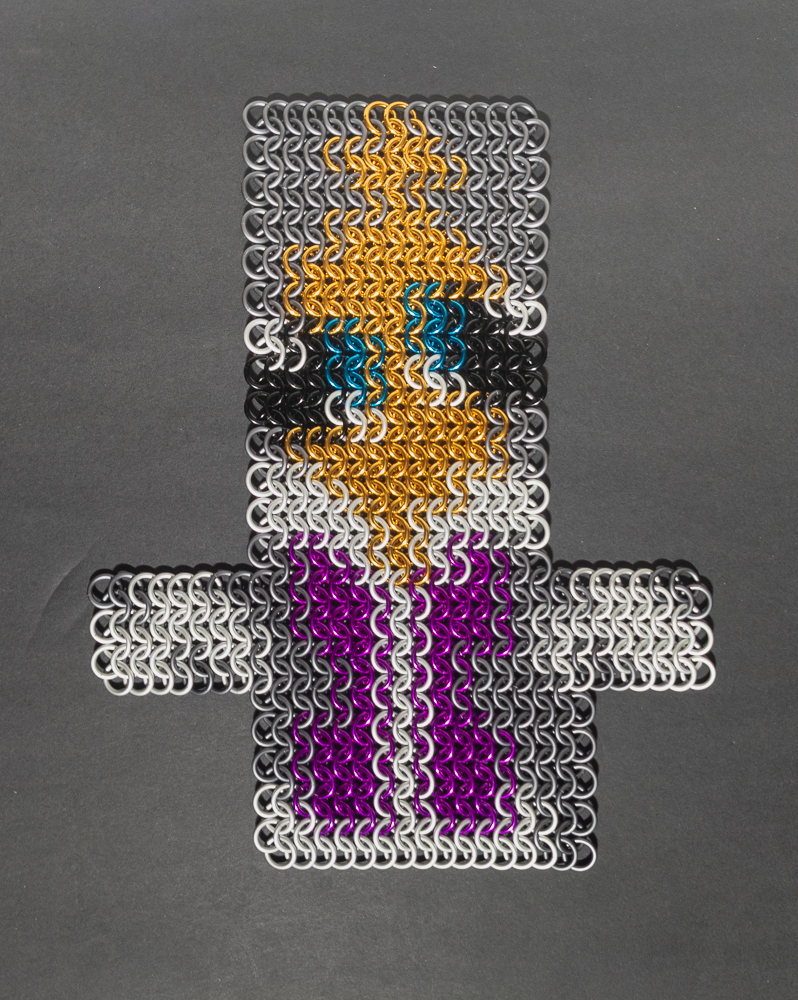
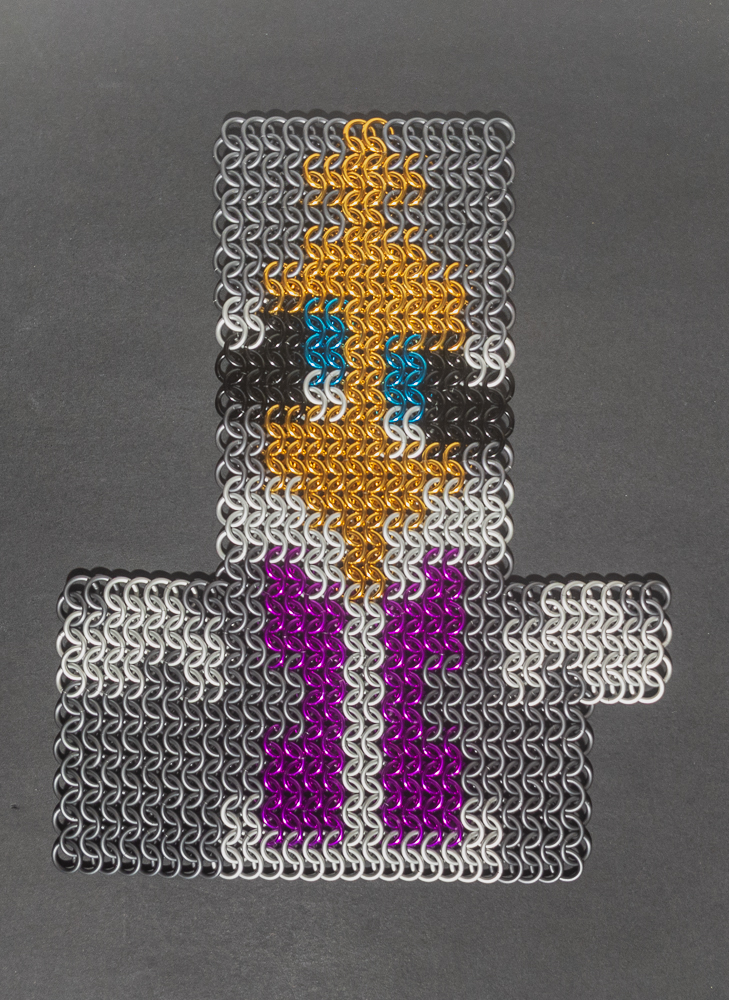
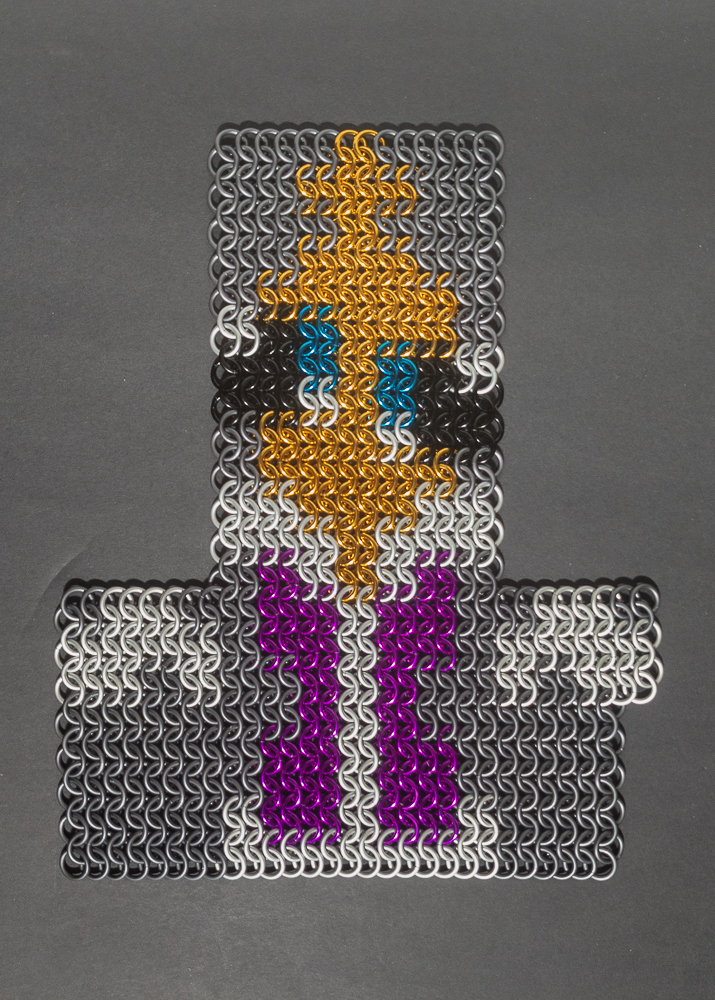
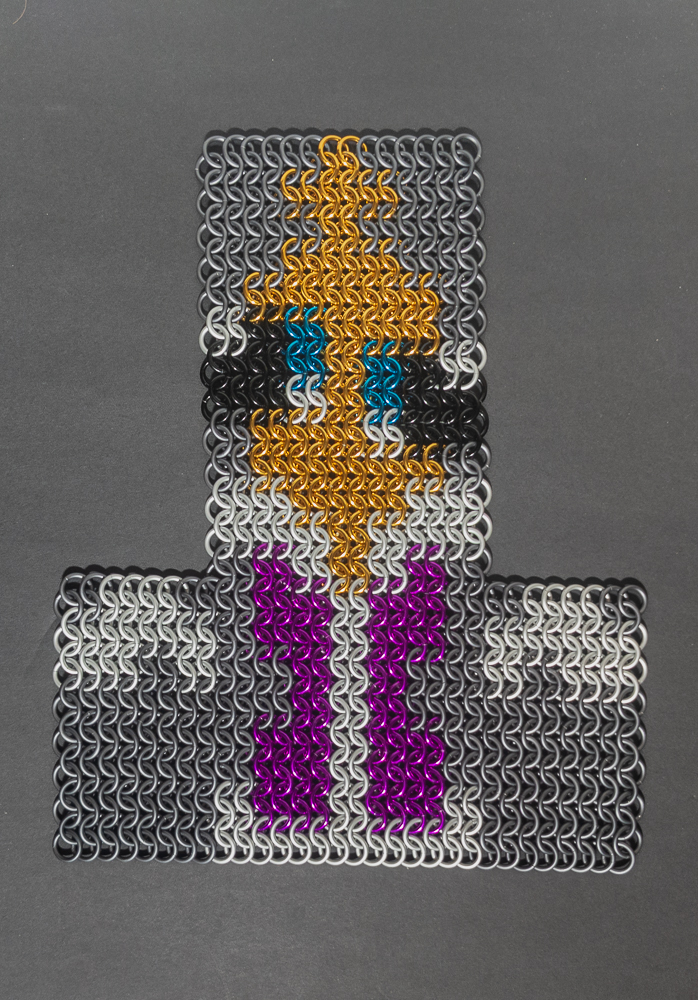
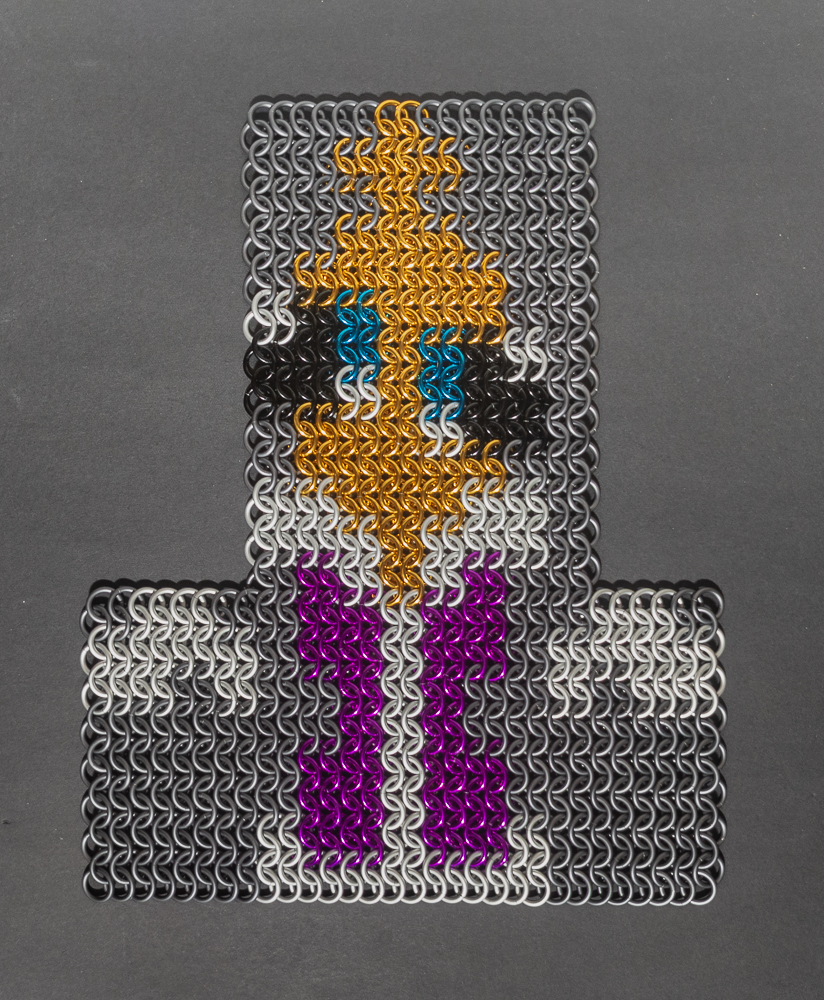
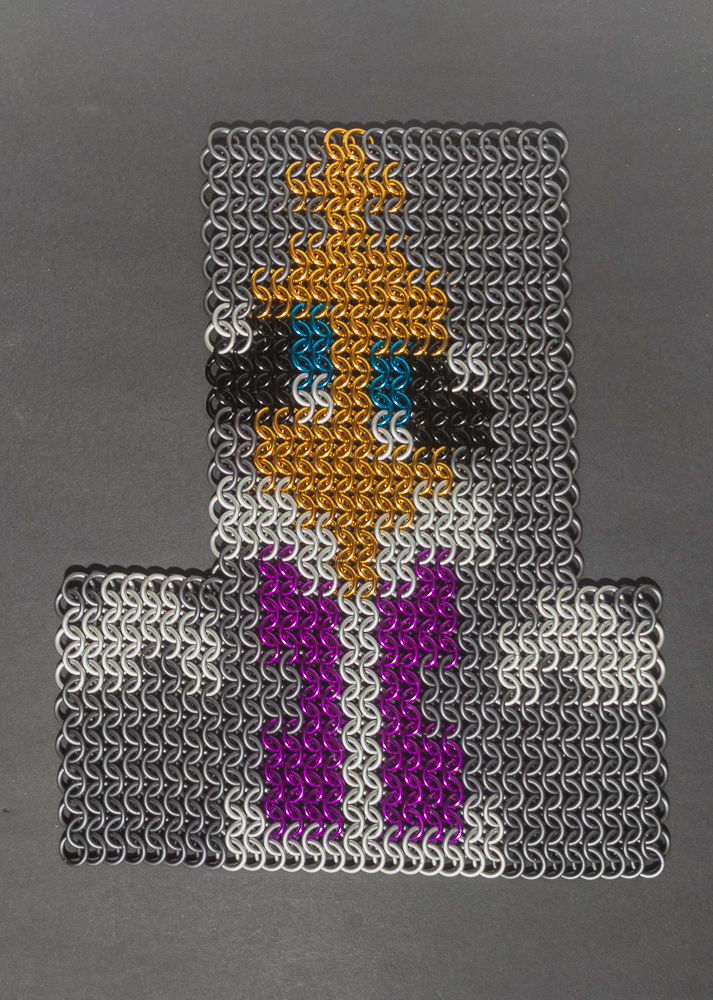
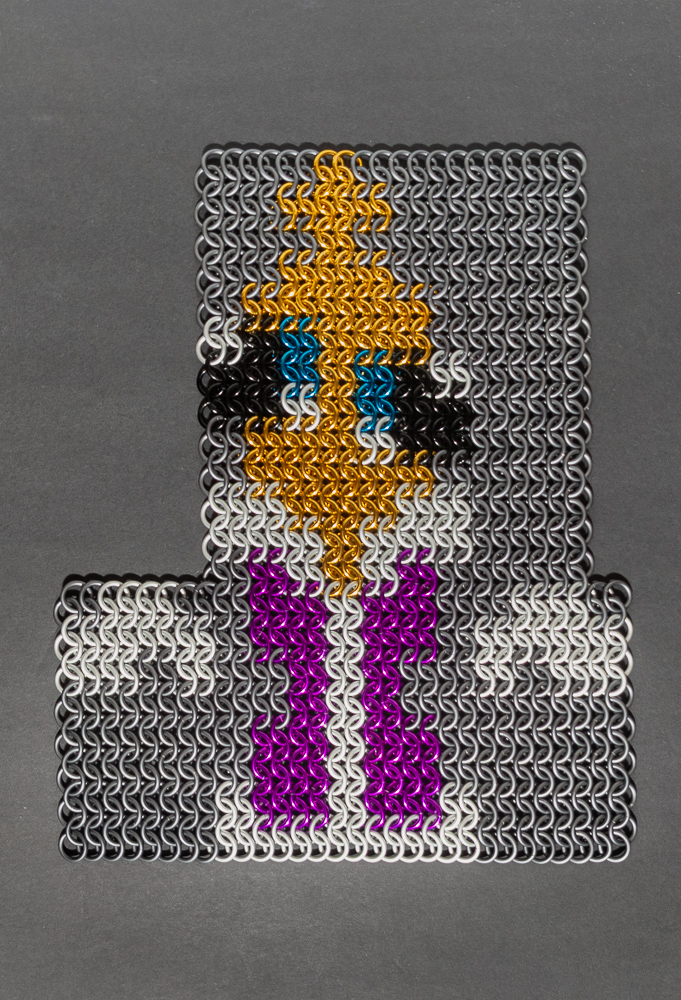
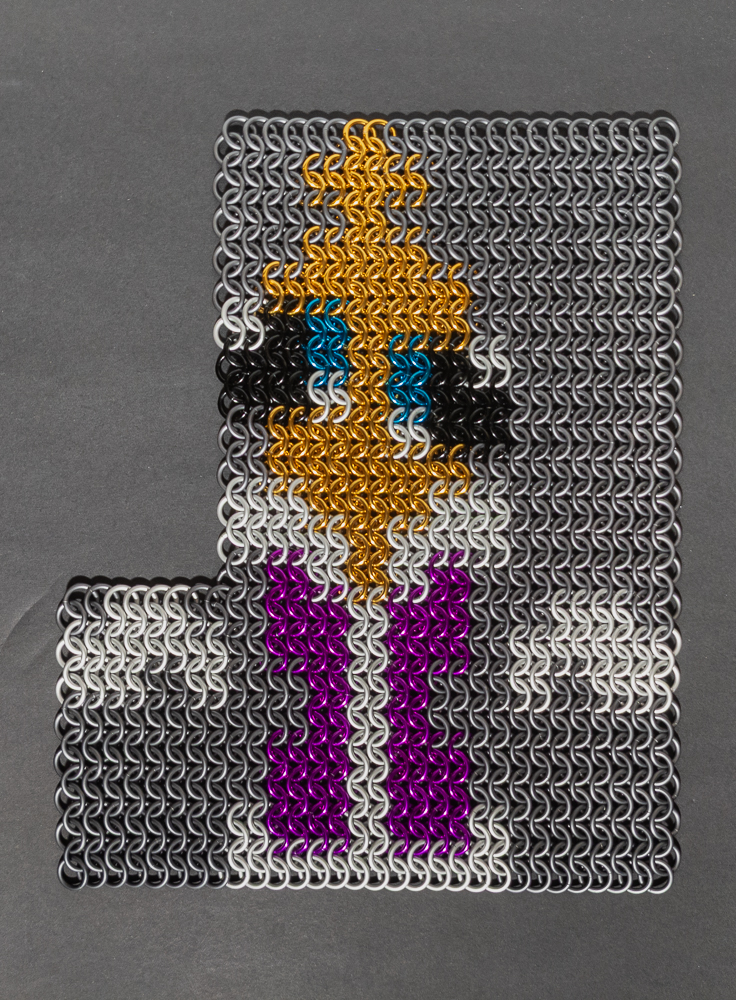
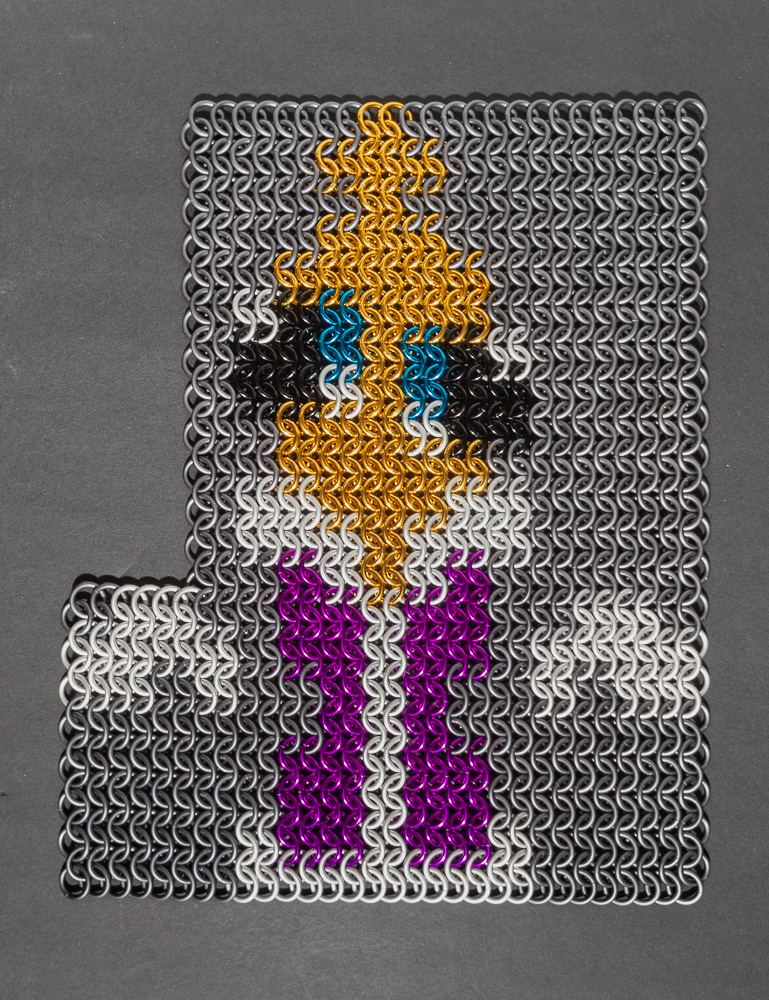
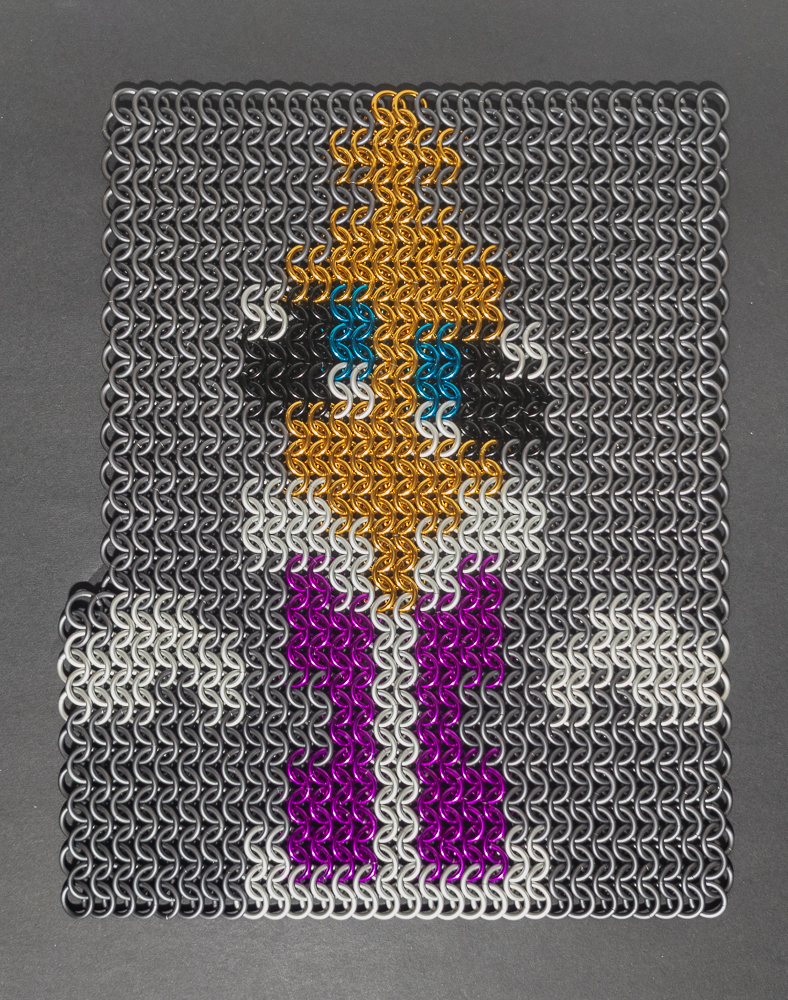
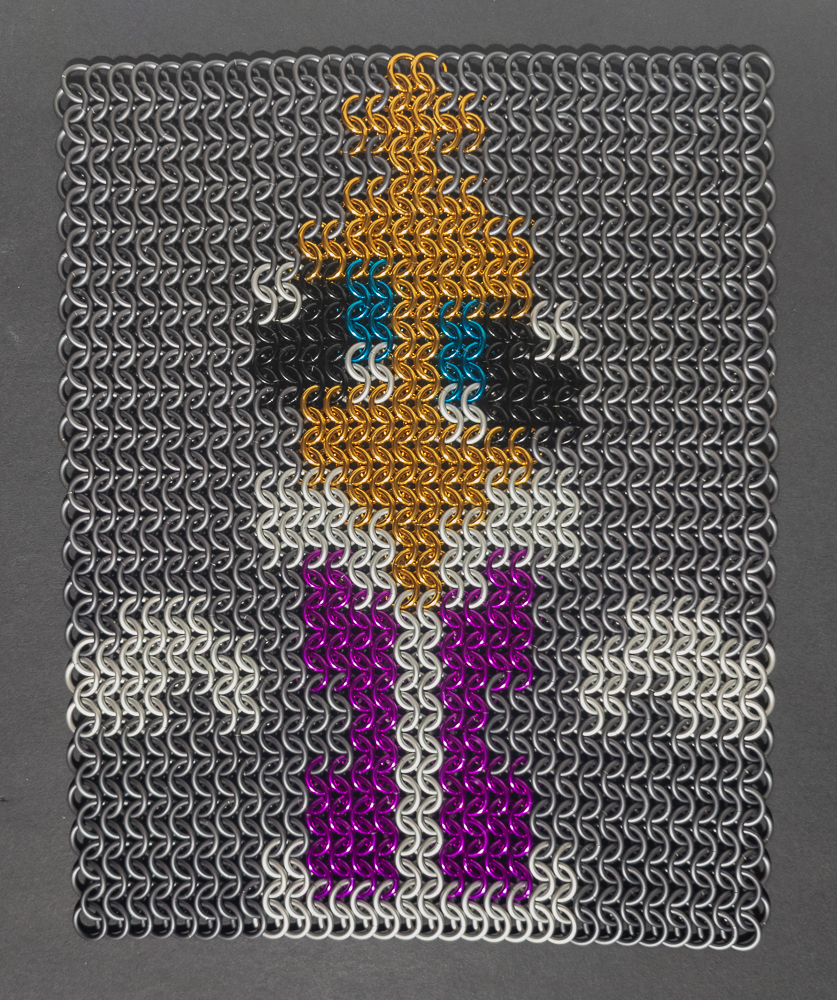
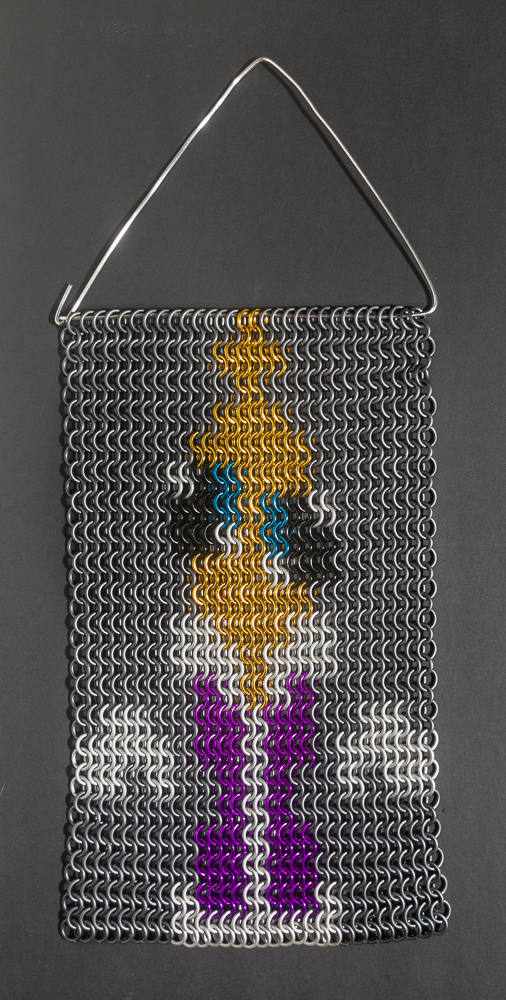
Rather than starting by choosing a single character, I decided to create patterns for each main character and choose the best one. Designing the inlay patterns was actually quite simple. I started with finding reference images for each character. Then I used the reference art to create single-pixel-scale images for each character. Using my Pixel Art Helper, I converted those images to chainmail inlay patterns and estimated the material cost. After removing unaffordable options, I then chose my favourite pattern. The winner happened to be this patterned inlay of Kinger, one of my two favourite characters from the show.
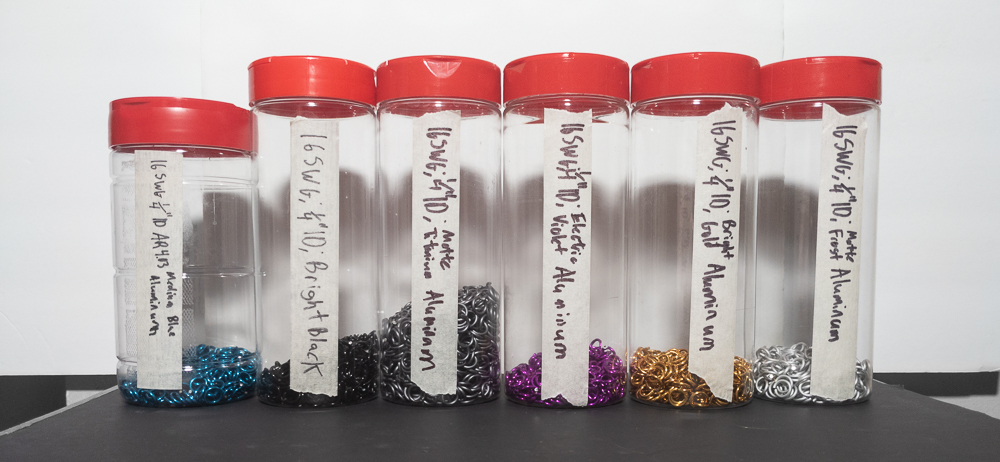
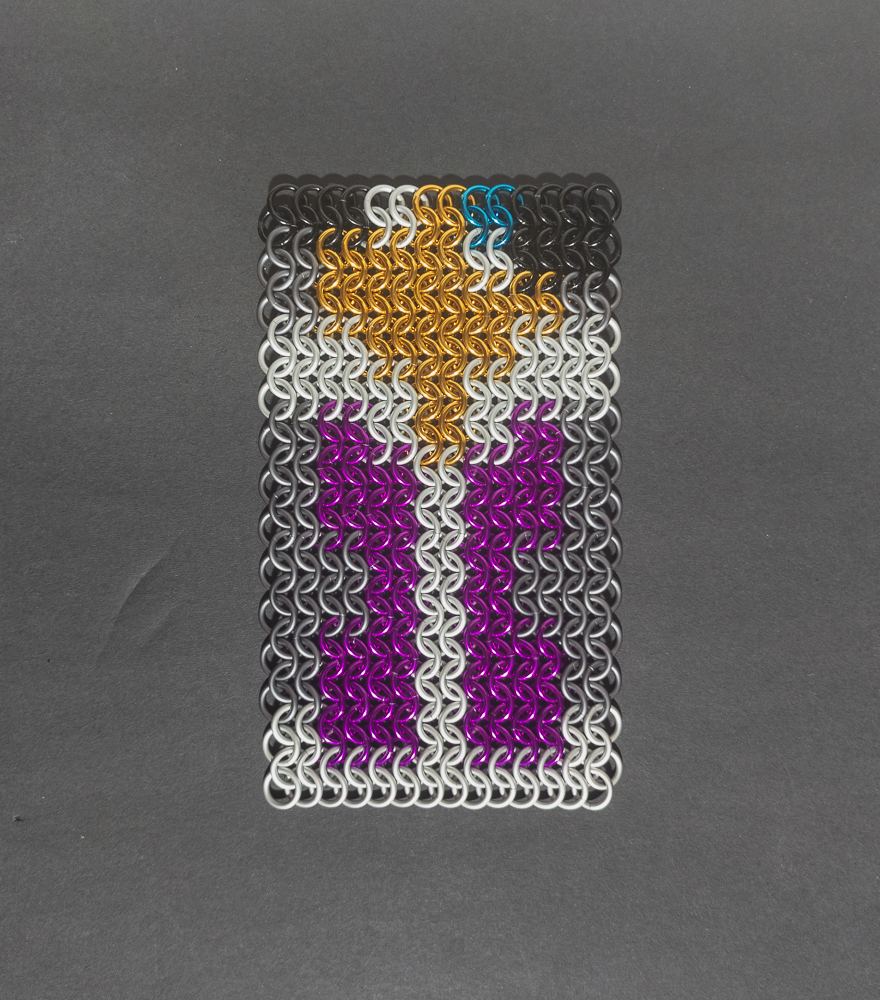
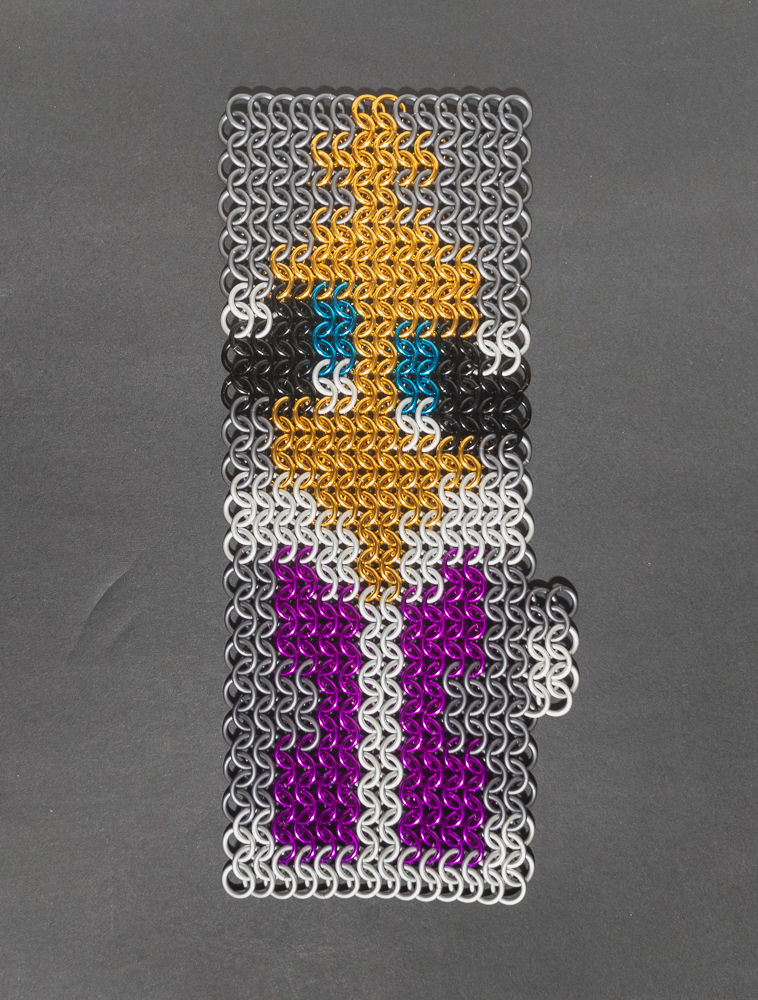
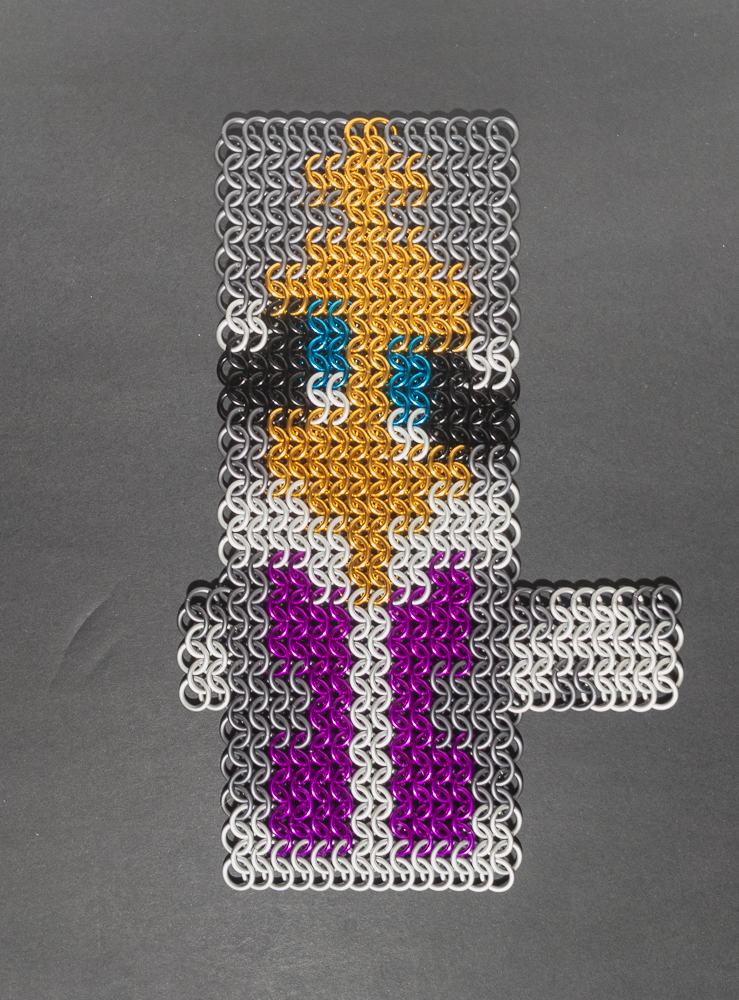
Thankfully, due to previous projects, I already had enough rings for 2 of the necessary colours, so I only had to order rings in 4 colours (shown here). Once the ordered rings arrived, I put them in reused parmesan cheese containers (shown here), which is how I organize rings for projects. As I used a standard European 4-in-1 inlay, the weave was very easy to make, though it did take about 20 to 30 hours. You can see photos of the process here.
The Jacket
Battle jackets were my inspiration to try treating an inlay as a patch and sew it onto a denim jacket. With my inlay patch in hand, the next step was to acquire a jacket to sew it onto. I spent a few weeks visiting thrift stores looking for a denim jacket that fit. Unfortunately, I could not find one that fit, so I ended up buying a new one.
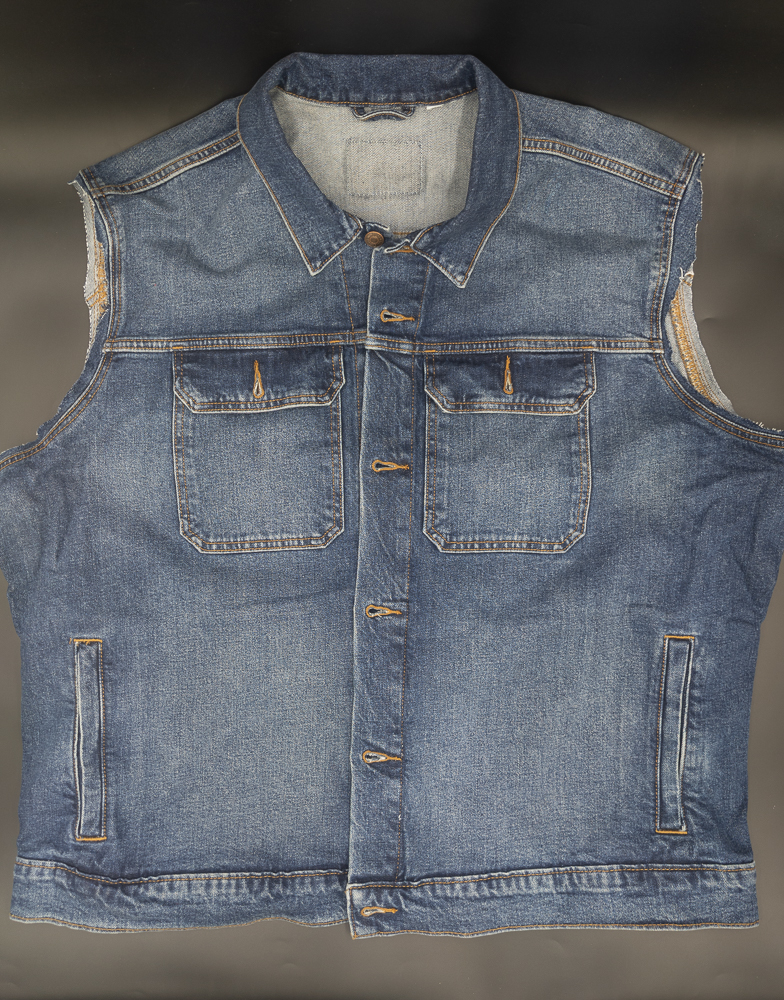
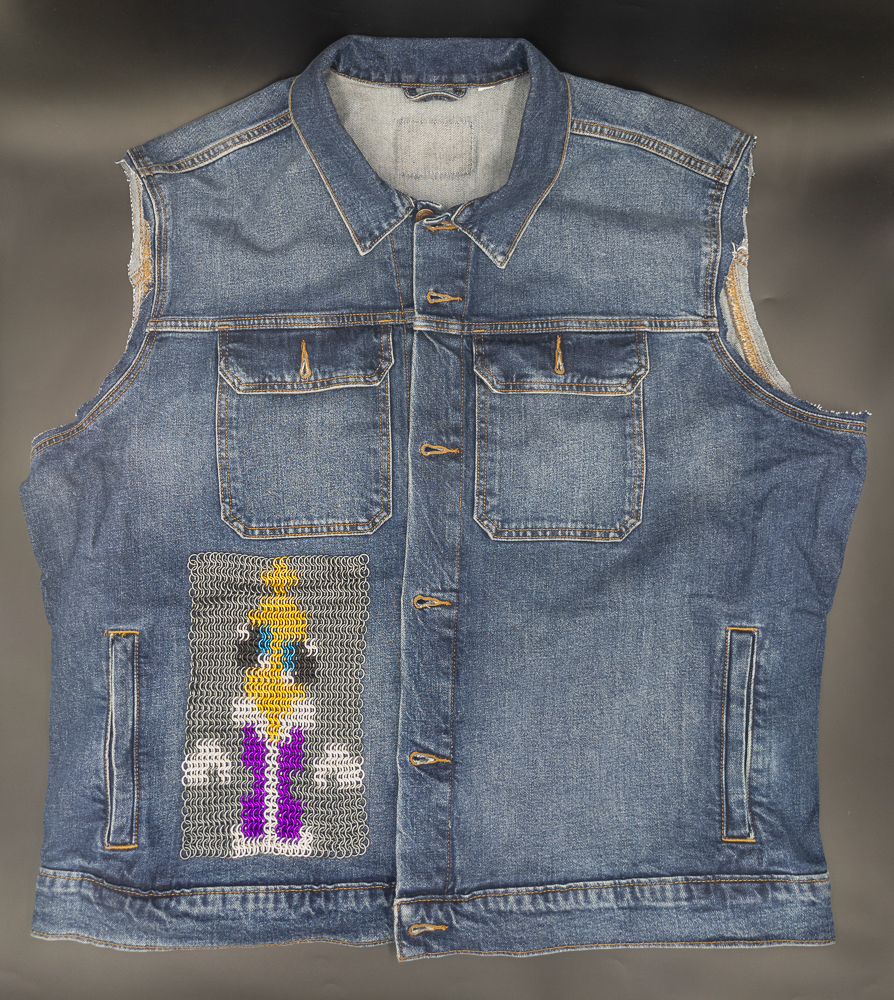
Now that I had a jacket, I needed to modify it to suit my needs. Step one was to cut off the arms; thankfully, they had thick seams, and after making my first cut near them, I just needed to cut using the seams as guides. The jacket still had sewn-on brand logos that I wanted to remove, and unfortunately, I didn’t have a seam ripper. I found great success with slipping a knife between the logo and the thread holding it on the jacket, cutting the thread, then using pliers to remove the cut sections of thread. Following that process, I was able to remove all the logos without damaging the jacket. After those modifications, I was fairly happy with the jacket (photo here). Before I began sewing, I decided to just lay the inlay on the jacket (photo here) as a visual test to see if I would like the outcome; I found the result very aesthetically pleasing.
Sewing
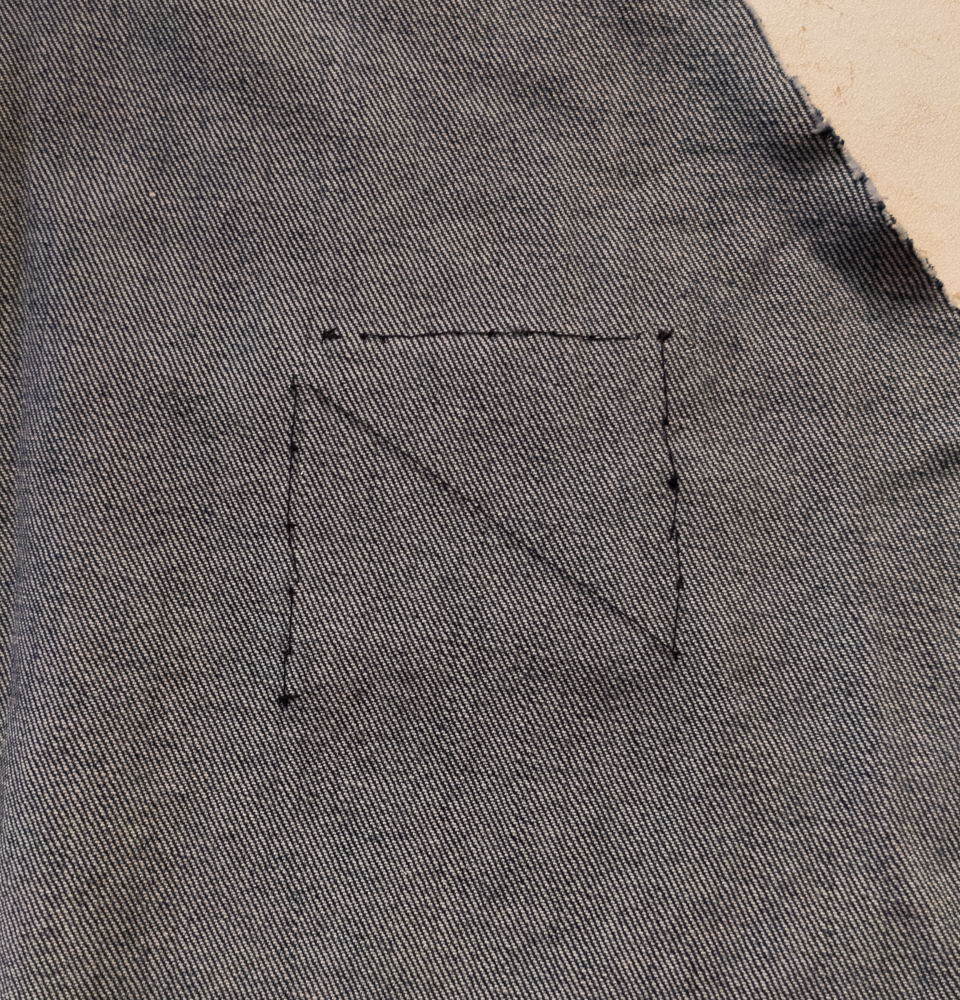
With the jacket and inlay ready to go, the next step was to sew them together. However, at the time, I had no experience sewing. Thankfully, I had a friend who offered to teach me to hand-sew so I could tackle the project myself, and I had some sewing practice material on hand as well. As a test, I sewed the alternate head of my Pheonix Wright Inlay to the cut-off sleeve of the jacket (front photo and stitching photo).
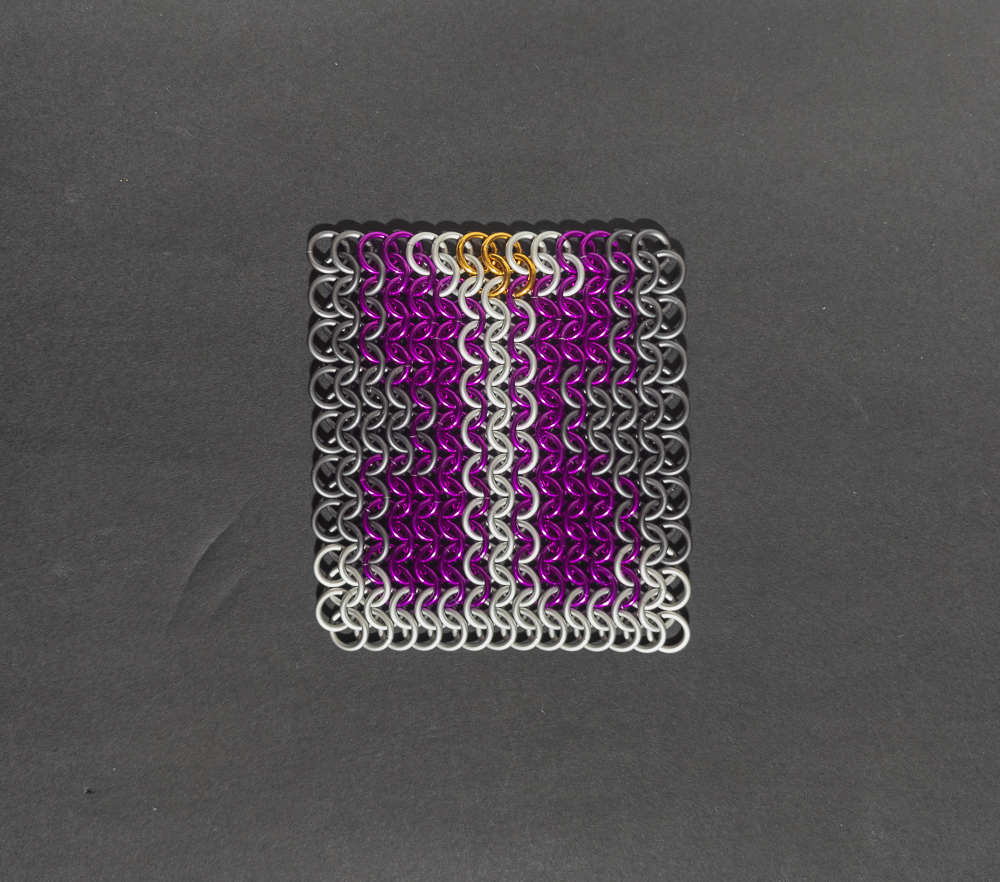
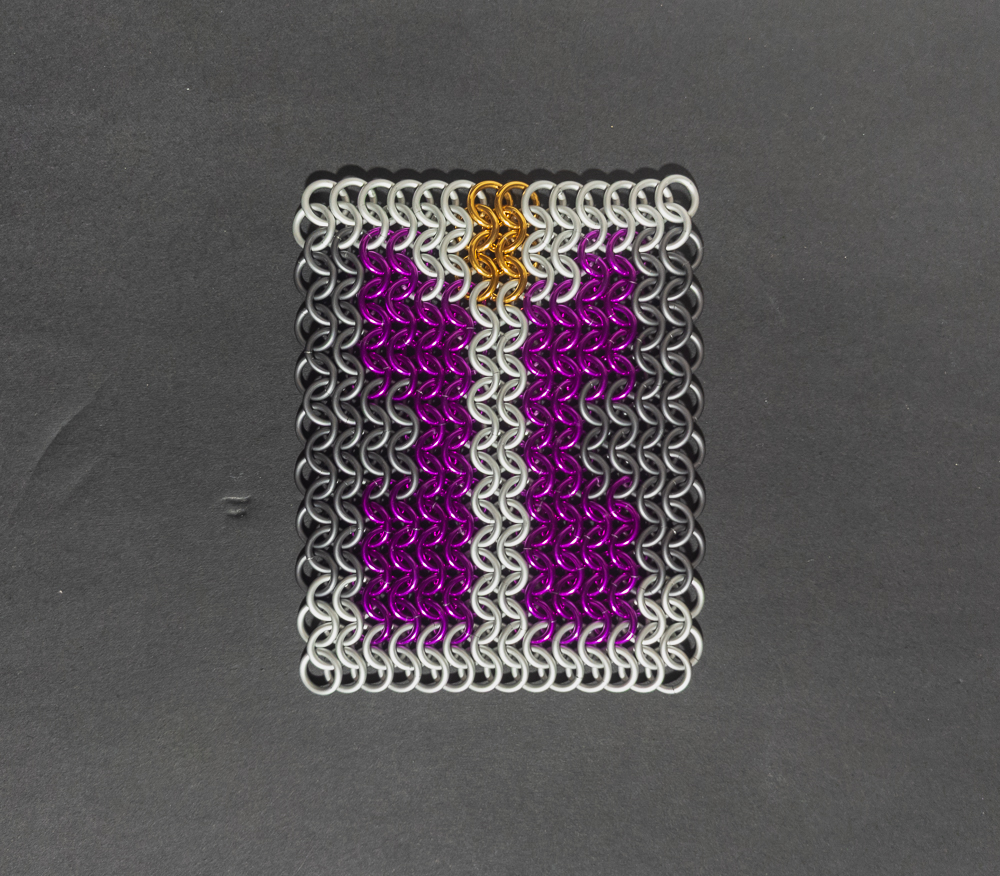
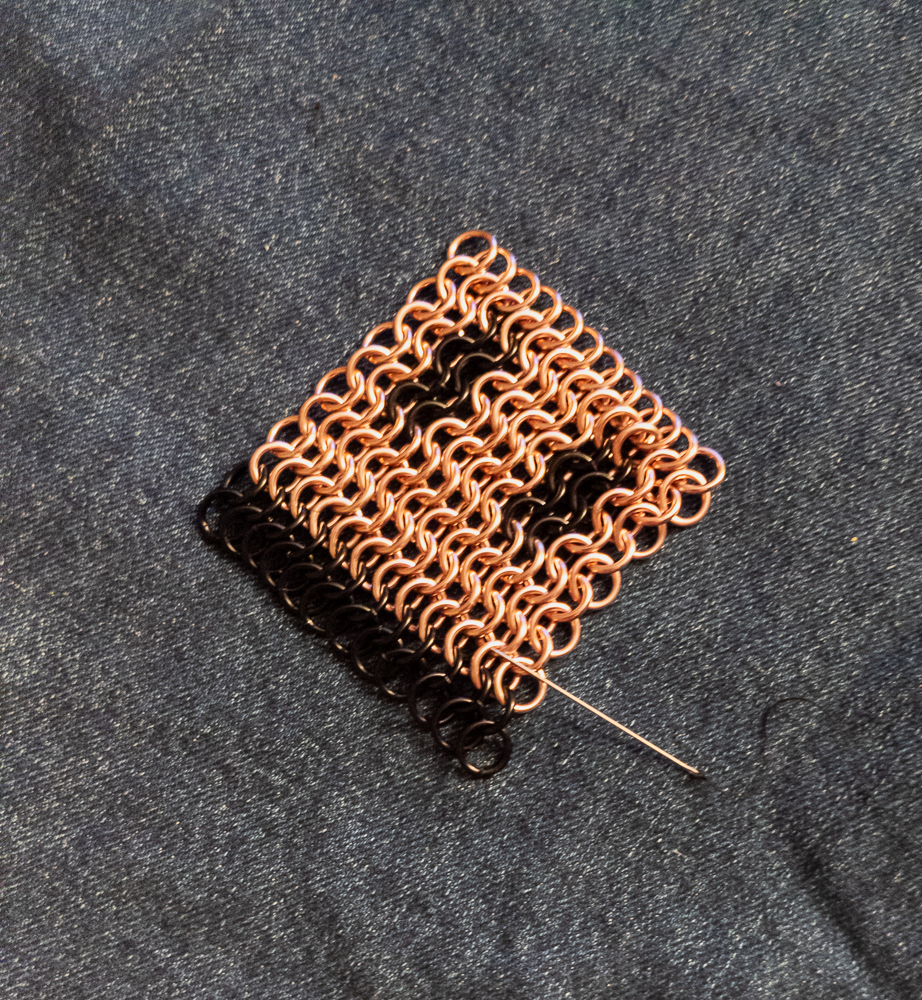
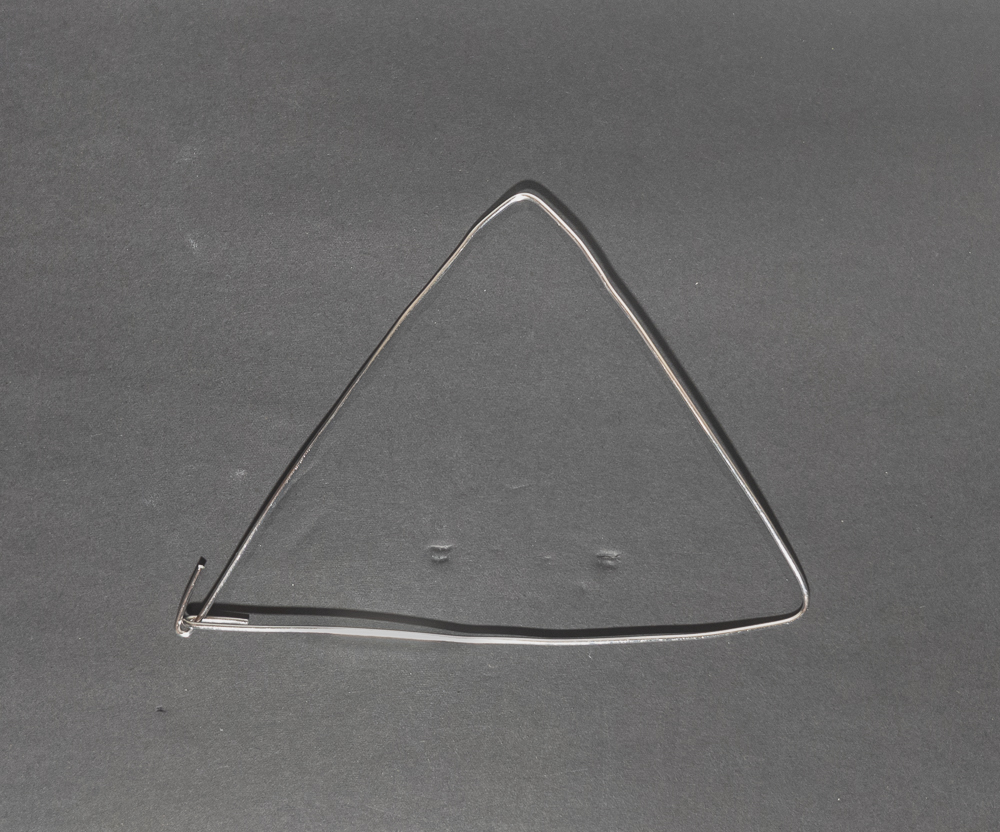
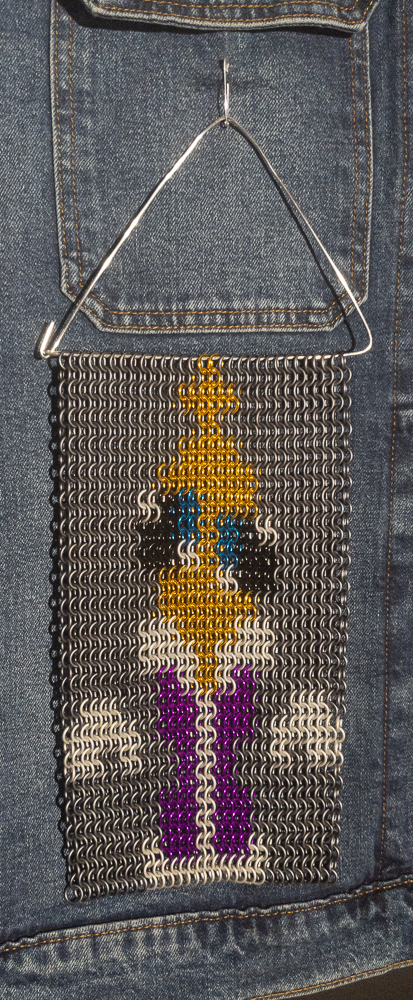
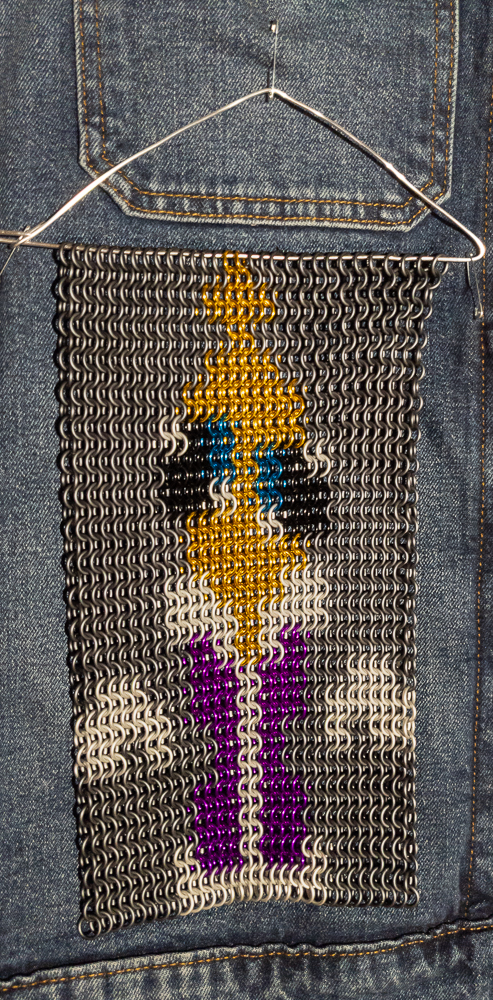
I still had some preparations to make before starting to sew. Since the inlay and jacket were so large, I knew I would not be able to sew them nicely just by laying them on a desk or table. To account for that, I used a chair as a dress form. However, to make that work, I needed a way to hold the inlay in place while the jacket was vertical, so I bent some 16 SWG into a triangular inlay holder (photo here), threaded it through the top rings in the inlay (photo here), and attached the holder to the jacket with a safety pin (photo here).
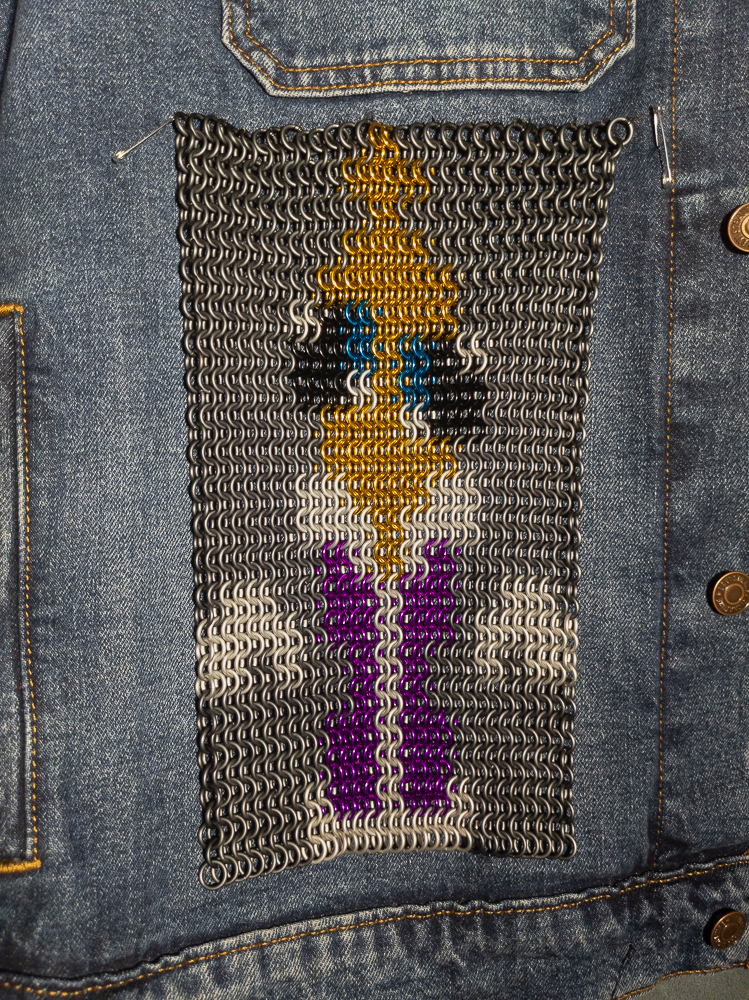
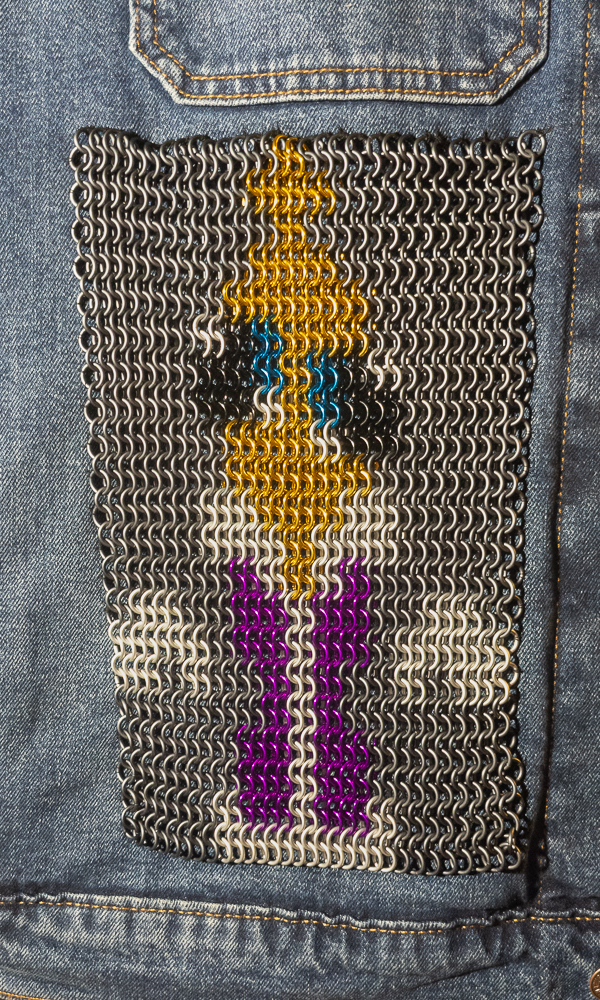
While trying to sew the top row of rings, I noticed the inlay holder was too narrow. To solve the problem, I removed the inlay holder, widened it, and reattached it to the jacket (photo here) with extra pins. The additional pins kept everything much more stable when the jacket moved while I was moving the needle through the fabric. From this point, the top row proceeded fairly smoothly. Once I finished sewing the top row, I removed the wire holder (photo here), and the thread held the inlay up. To get that strength, I did 4 loops holding each ring in the top row to the fabric.
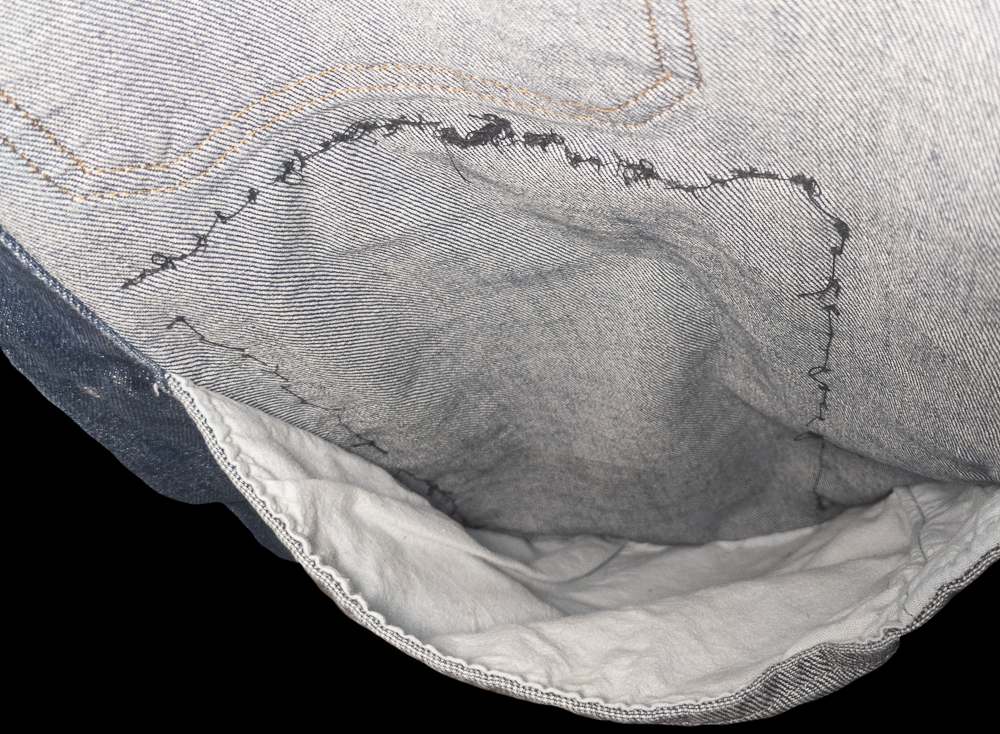
With the top row complete, it was time to move on to the sides. These were much harder because a pocket inside the jacket impedes access to the fabric behind the rings. To help, I reclined the chair back so the inlay and jacket were vertical and free-hanging, so I didn’t have my hand stuck in a pocket between the fabric and the chair. After some time, I found a good method for sewing the sides and finished sewing the inlay to the jacket (photo here), though the stitches were fairly messy (photo here).
Lessons Learned
While I am fairly happy with the result, there are some things I would change if I could restart the project. The first thing I would change is to allocate more time for sewing in my plan. My friend told me sewing would take 3 hours, but it took closer to 10. I would also be more careful when sewing to keep the edges straighter, which should help the inlay stay smoother. When sewing rings to the jacket in the future, I would like to try using a stronger thread, reducing the number of loops per ring, and speeding up the sewing.
Additionally, there are things I did this time that I would definitely repeat if I had to restart the project. Being able to incorporate rings I already had on hand allowed me to create something that would typically be over budget. Using the chair as a dress form was a great choice; without the ability to recline, I doubt I could have dealt with the pocket blocking the sides. I also find that not sewing the bottom rings in place has worked out quite well, as it has saved me time and the inlay still looks good.
Conclusion
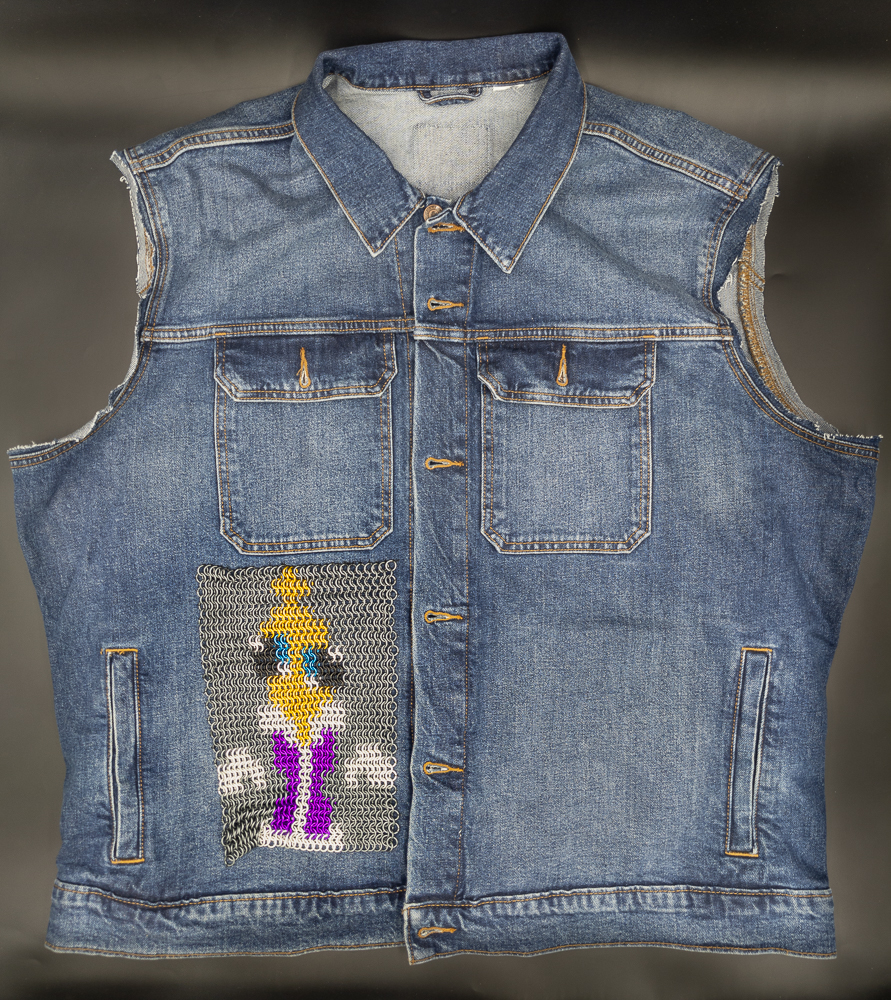
In general, I am happy with the jacket. While the sewn edges are rougher than I would like, I think it was good work for my first time sewing. I know I succeeded because when I wore the jacket to the theatre, quite a few people recognized the character and commented on it, which tells me it is recognizable to other people. Additionally, with the investment in the jacket, I can now use this as a base for other projects, which I find exciting.
Pictures
Finished Jacket
Inlay Pattern
Rings Ordered

Rings in Containers
Inlay In Progress

Prepared Jacket
Jacket With Inlay On It
Learning to Sew
First Stitches
Triangular Inlay Holder
Inlay With Holder Attatched
Pinning Inlay To Jacket - First Attempt
Pinning Inlay To Jacket - Final Attempt
Inlay Top Sewn To Jacket
Inlay Sewn To Jacket
Jacket Inside Stitches