Pheonix Wright Inlay
Overview
A short while after I first found M.A.I.L., I learned about chainmail inlay. At the time, I thought it was really cool, though I didn’t feel I had the skill to attempt something like that. Over time, I learned more weaves and worked with anodized rings, which gave me the confidence in my skills to branch out and investigate the inlay design process. A while after that, I was playing Phoenix Wright: Ace Attorney Trilogy (play it, it’s good) with a friend, and when I saw a pixel art version of Phoenix Wright, I knew I needed to make that as an inlay for myself. After a few weeks of planning the build and choosing colours, I placed my order for materials and made the inlay. This European 4-in-1 inlay of Phoenix Wright is now proudly hanging on my wall, making me happy every time I see it.
Materials
I bought all the rings used in this project from The Ring Lord. Here are the rings used in this project:
| Item | Option Details |
|---|---|
| Bright Red Rings | 16 SWG, 1/4” ID Bright Aluminum rings in red |
| Bright Black Rings | 16 SWG, 1/4” ID Bright Aluminum rings in black |
| Bright Silver Rings | 16 SWG, 1/4” ID Bright Aluminum rings in silver |
| Bright Champagne Rings | 16 SWG, 1/4” ID Bright Aluminum rings in champagne |
| Bright Royal Blue Rings | 16 SWG, 1/4” ID Bright Aluminum rings in royal blue |
Additionally, because I wasn’t sure what colour I wanted to use for the skin, I also ordered the following rings from The Ring Lord that didn’t end up in my final inlay:
| Item | Option Details |
|---|---|
| Bright Pink Rings | 16 SWG, 1/4” ID Bright Aluminum rings in pink |
Notes
Designing The Pattern
When I first saw the Phoenix Wright pixel art while playing the game with my friend, I immediately took a picture of it because I knew I needed to make it for myself. To make the inlay, I used Irregular Grid Painter (IGP from here on) by Zlosk. IGP loads a picture, creates one ring for each pixel, then shows you a preview of what it would look like. You can get material counts by colour, change the weave, ring size, ring orientation, or even use hexagons/scalemail. If you want to learn more about IGP, I recommend these tutorials by Shizzar Plays. When I loaded my original photo, it looked bad and needed over 1000 rings; this told me I needed to make a clean image file.
I used Microsoft Paint to create a new image pixel by pixel using the original photo as a reference, resulting in a tiny 14x13 pixel image. I loaded it into IGP, and the result wasn’t recognizable as the character. Mapping each pixel to a single ring in the weave moves them out of their square arrangement and makes them overlap. With such a small image, moving the pixels a small amount radically changes the image, destroying the small details the image required. I tried all the weave options, sadly, none of them gave me the look I was searching for. However, I thought that if I doubled the image in both dimensions, replacing every single pixel with 4, each new ‘pixel’ would look much more defined and separate from the others. When I tested the idea, seeing the result in a European 4-in-1 weave demonstrated that it worked; I could get a great result with a simple weave. In general, I think that pixel art makes a good foundation for easier inlays; the smaller size makes it easier and faster to make.
Colour Choices
One of the largest factors in inlay projects is the colour palette, as chainmail rings come in far fewer colour options than are typically available in other mediums. Additionally, unlike paint, you can’t mix chainmail rings together to create new colour options. One of the harshest restrictions is the lack of a durable white ring; the only white rings available would be plastic or coated (though most coatings are not very durable). Overall, these restrictions can be very fun to work under.
The original image I used for reference used 5 colours: peach for the skin, blue for the suit, red for the tie, back for the hair/eyes, grey for the eyes, and white for the undershirt/background. The black, red and blue rings were very easy to pick as each of them only had one good option. To work around my lack of white rings, I replaced the white with bright silver anodized aluminum rings and replaced the grey in the eyes with black. To work around the lack of a peach colour for skin, I was unable to pick a single colour, so I ordered bright pink and bright champagne anodized aluminum rings, then created heads from them and placed them next to the body to determine what colour I wanted to use (you can see those photos here and here). I ended up choosing the champagne rings, as I found they provided the best skin tone with the contrasting colours. Additionally, pixel art usually makes this step easier as it typically uses a smaller colour palette than other images and can help you avoid challenging gradients.
Making The Inlay
With European 4-in-1 as a base weave, the process of constructing the weave was trivial. However, ensuring that each ring was the right colour added a new dimension of challenge. To make the process easier, I made the item in sections (feet, torso, head, hair, then background). Additionally, the inlay was small enough that I could easily count rings in each section, making it much easier to ensure each section had no errors. In total, assembling this inlay was fairly simple and took around 10 hours.
Conclusion
I hope you like this chainmail inlay, and that it serves as an example of the wide variety of applications of chainmail. Additionally, inlays are not limited to standalone images; they can also be used in larger projects (like this hauberk by Dr. T). Overall, inlays are fun and rewarding projects if you find art you like that works well with the style. If you like any art that uses a limited colour palette and is small in size, or have extreme patience, I highly recommend giving inlay a try. I had so much fun designing, constructing, and viewing this inlay that I plan on writing about more inlay projects.
Pictures
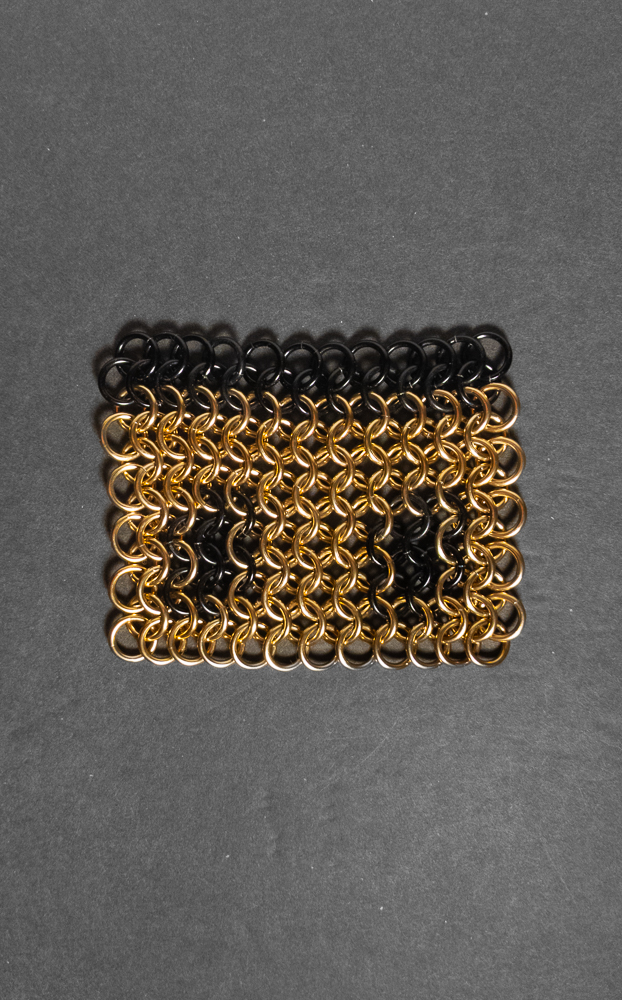
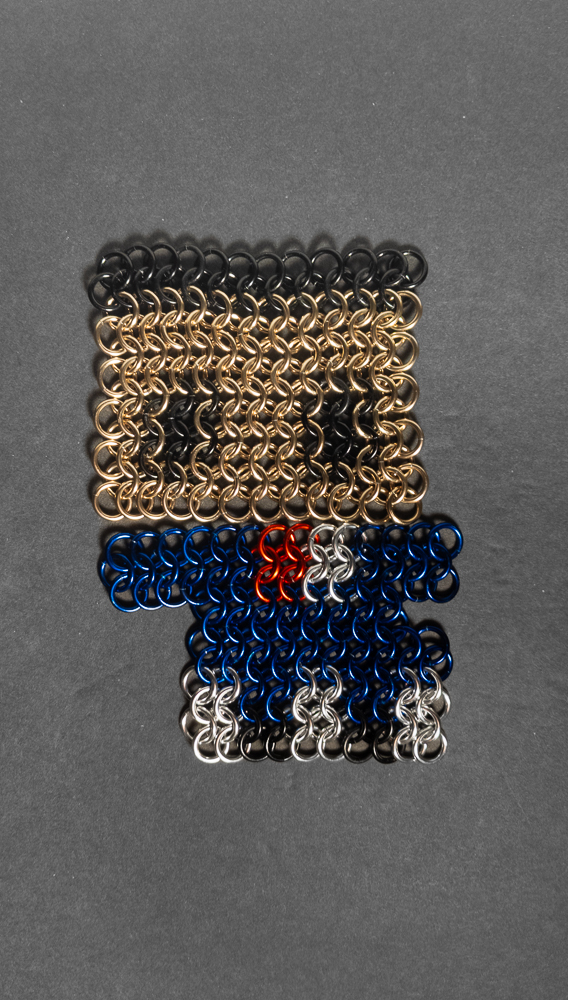
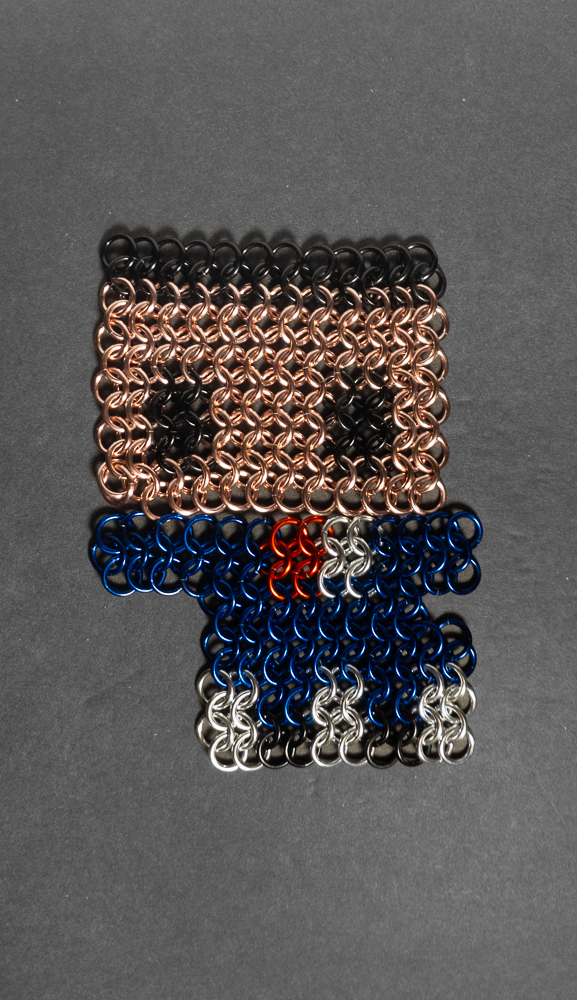
Flat: Narrow - Black Background

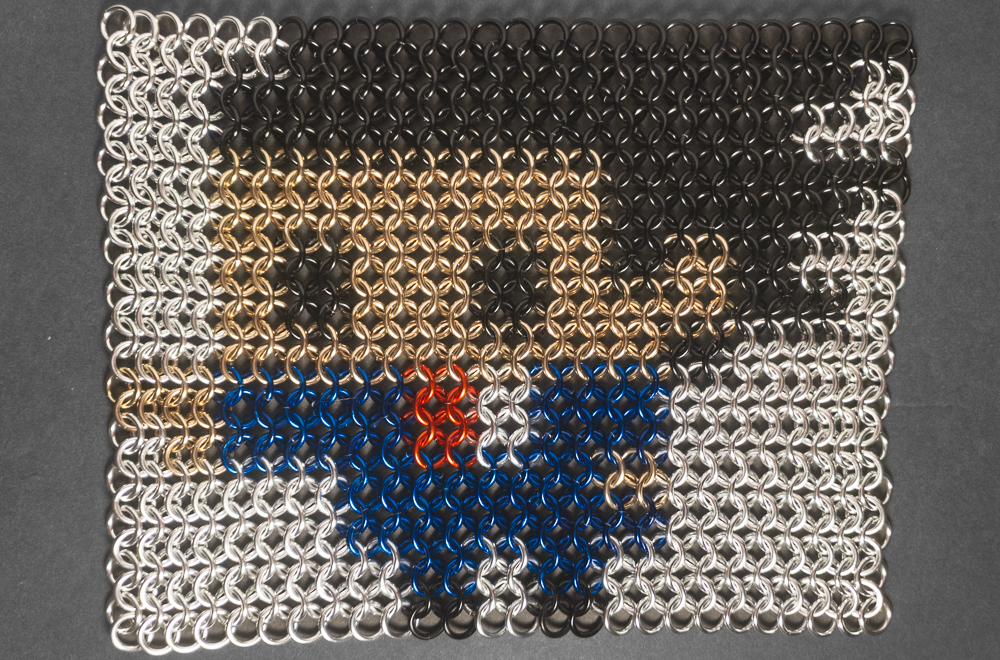
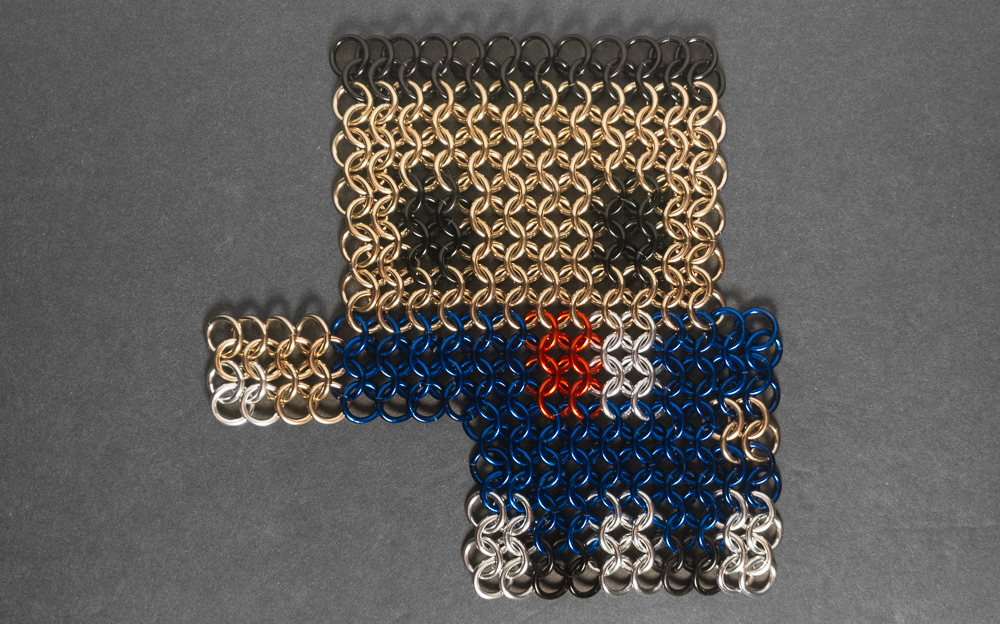
Flat: Square

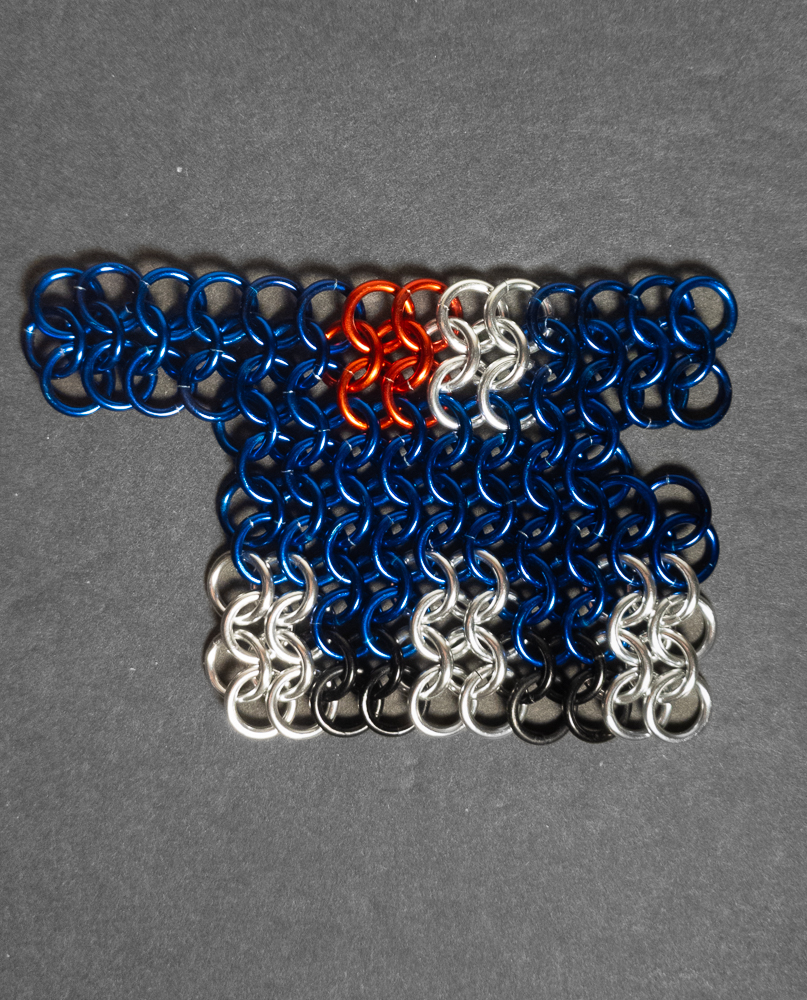
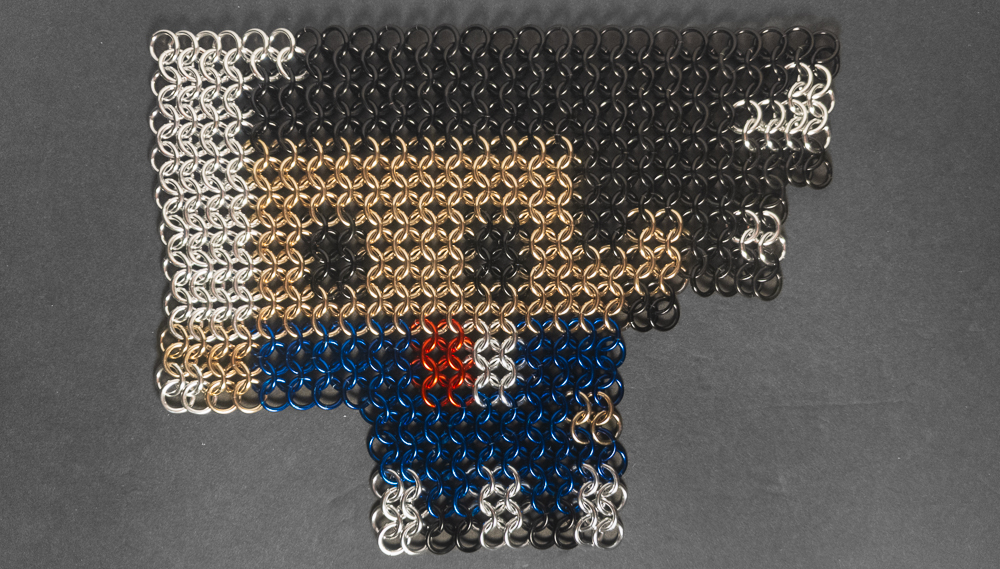
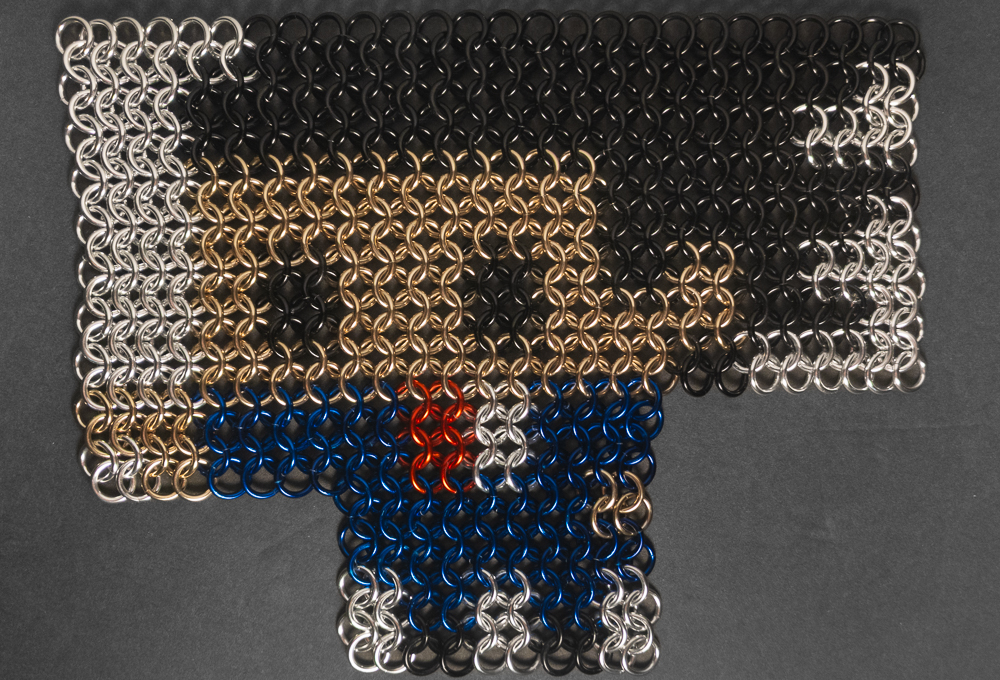
Flat: Wide
In Progress


Skin Tone Testing - Pink

Skin Tone Testing - Champagne