Dice Bag
Overview
I have been interested in and playing TTRPGs for a long time. I recently joined a game of Cyberpunk Red, and I decided to make a dice bag for my friend who runs the game as a fun and interesting project. After discussing my plans with members of the Off The Chain Discord community, I made a test sample, ordered the colored rings, and made the dice bag. I am quite happy with the final result, and so is my friend who is running the game.
Materials
I bought most of the rings I used from The Ring Lord, below are the rings I bought from them:
| Item | Option Details |
|---|---|
| Bright Aluminum | 16 SWG, 1/4” ID Bright Aluminum rings for the test piece |
| Matte Frost Rings | 16 SWG, 1/4” ID Matte Aluminum rings in frost |
| Bright Black Rings | 16 SWG, 1/4” ID Bright Aluminum rings in black |
| Bright Sky Blue Rings | 16 SWG, 1/4” ID Bright Aluminum rings in sky blue |
| Bright Royal Blue Rings | 16 SWG, 1/4” ID Bright Aluminum rings in royal blue |
| Bright Medium Blue Rings | 16 SWG, 1/4” ID Bright Aluminum rings in medium blue |
I also used some larger handmade rings for the dice bags to start the expansion:
| Item | Option Details |
|---|---|
| Bright Aluminum | 16 SWG, 10mm ID Bright Aluminum rings |
Additionally, to close the bag I bought the following items:
| Item | Store | Details |
|---|---|---|
| Cord Lock | The Ring Lord | Keeps the chainmail from expanding to keep the bag closed |
| Leather Cord | The Ring Lord | Original drawstring that snapped when used |
| Leather Lace | Tundra Leather | A tough durable drawstring |
Notes
Idea
I have always liked TTRPGs, though I prefer science fiction settings to fantasy ones, which has made finding a good in-person group hard. Around the end of July, one of my friends and I decided to try to get a group together to play Cyberpunk Red, and succeeded. I have also seen many chainmail dice bags at craft fairs, sparking my interest in making one. Now a in an active TTRPG group, it was the perfect time to make one. I reached out to my friend who was running the game to see if they were interested, and they were excited at the prospect of going from a plastic sandwich bag to a proper dice bag. I was happy to make one for them and finally make a dice bag.
Designing The Dice Bag
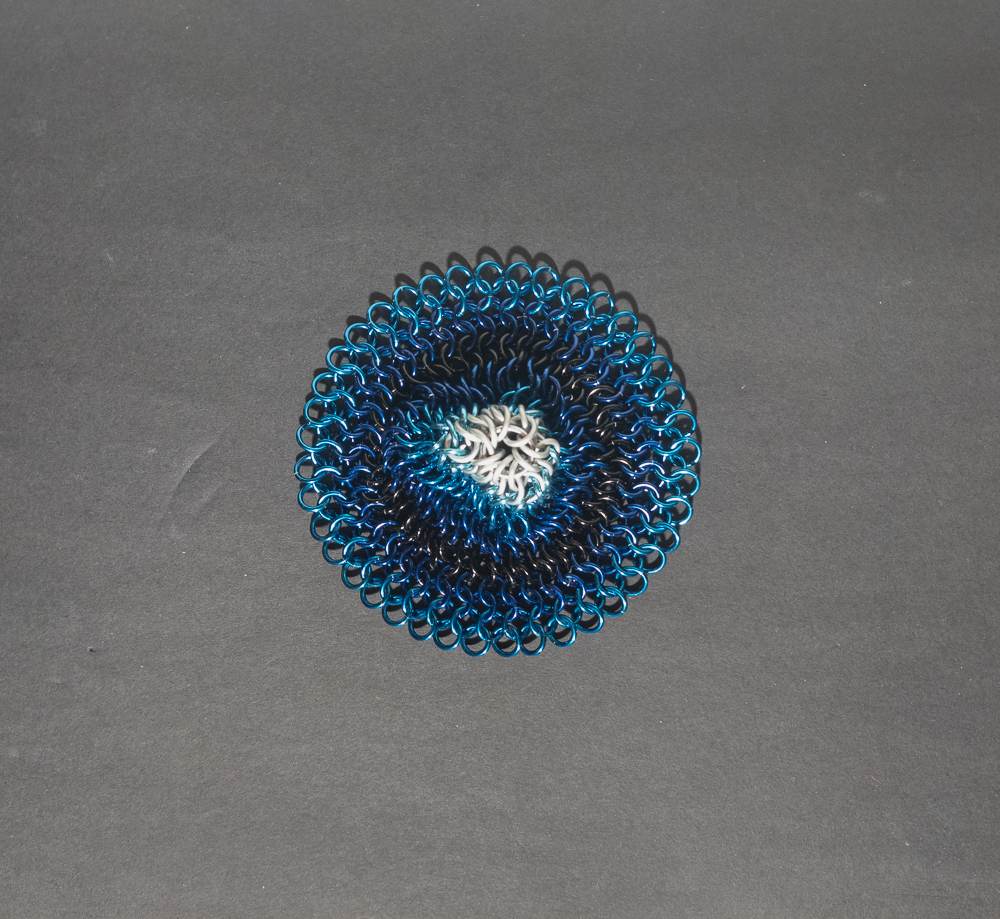
This was my first time making a dice bag, so I wanted to keep it simple and use European 4-in-1 as the base weave. However, I had never made a dice bag or read any tutorials on how to make them, so my first step was to research how to make one. The most common method I came across was to make a European 4-in-1 circular expansion and close it by putting a cord through the circumference; that style didn’t appeal to me, as it created bags that looked like small round pouches and would require a large number of rings to scale up. This gave me the idea of using a circular expansion for the base, then transitioning to non-expanding layers to create a shape closer to a cylinder. I reached out to the members of the Off The Chain Discord community, and they said that my idea should work, so I decided to make a test sample.
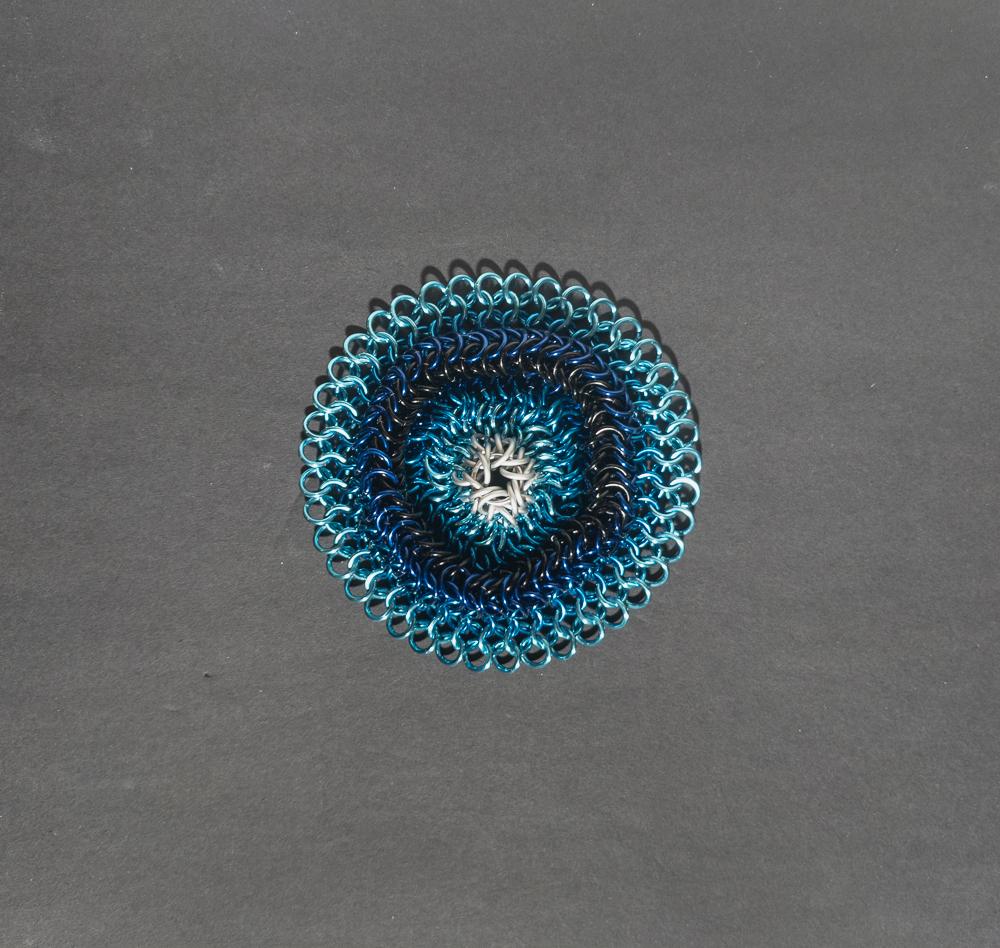
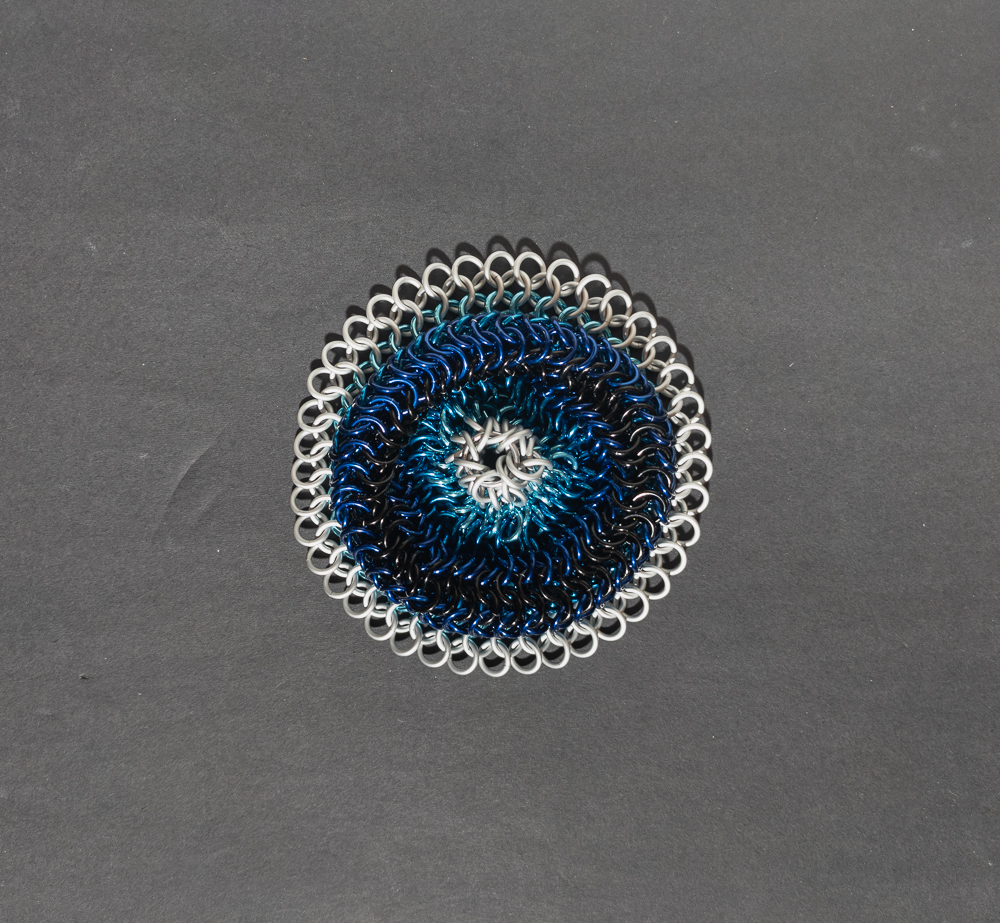
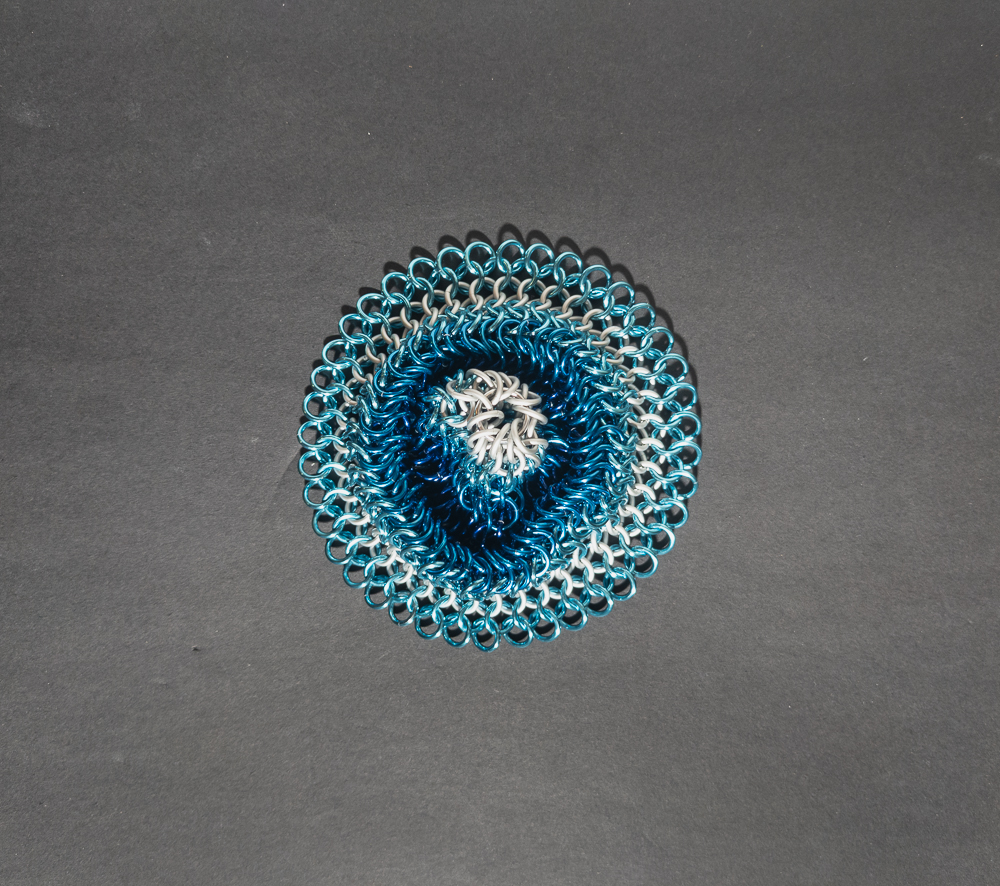
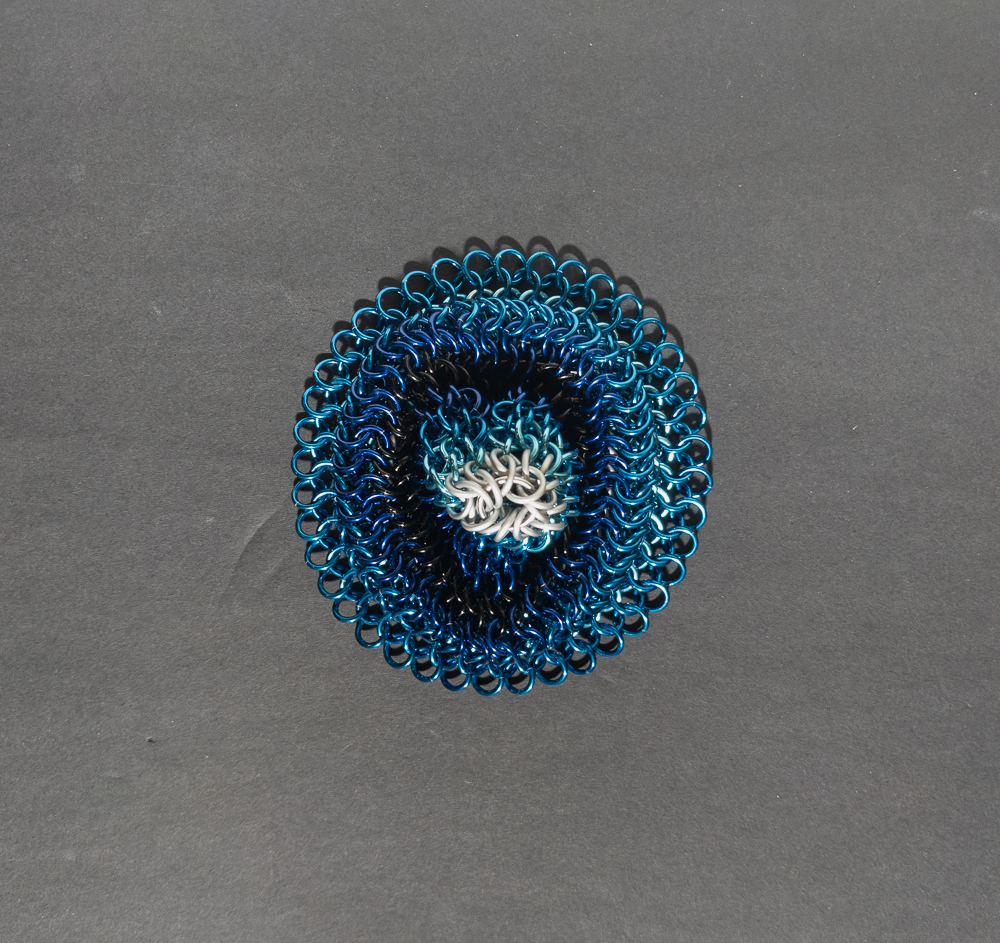
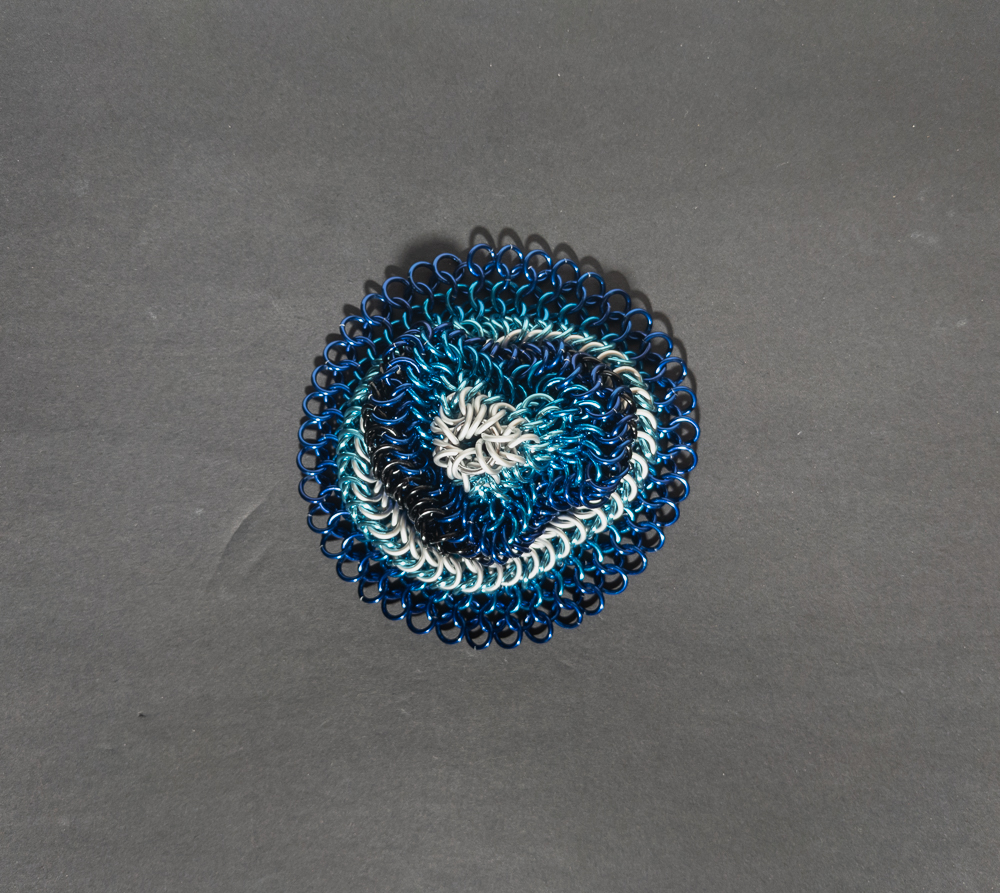
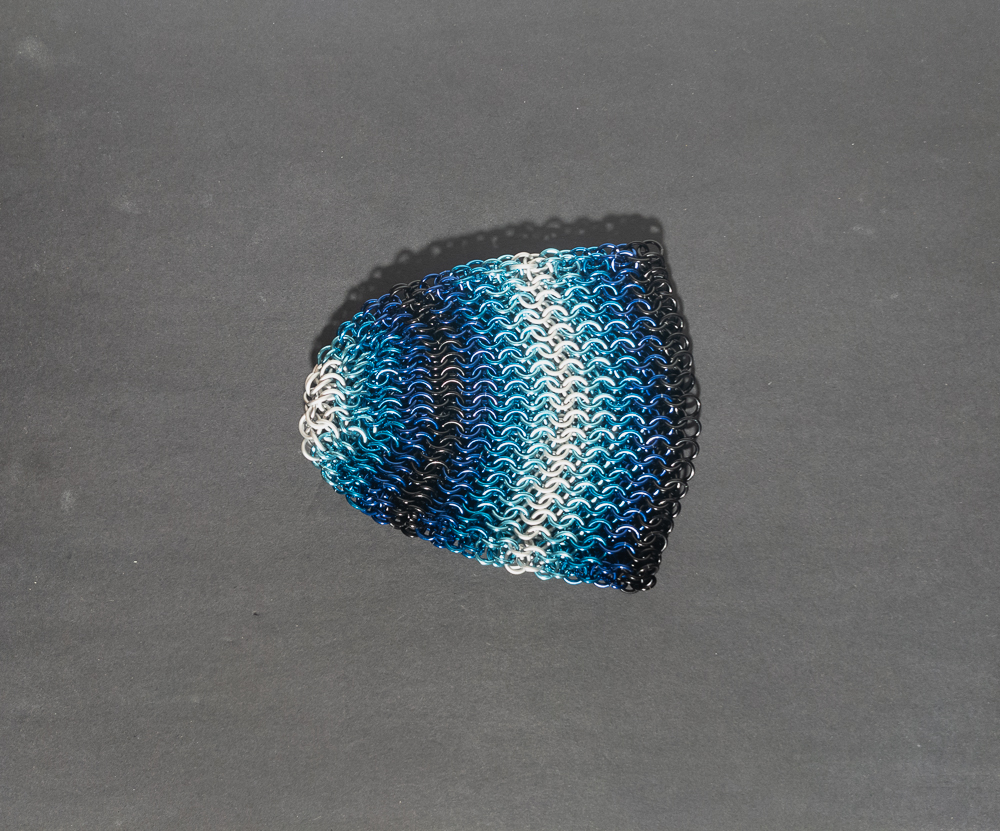
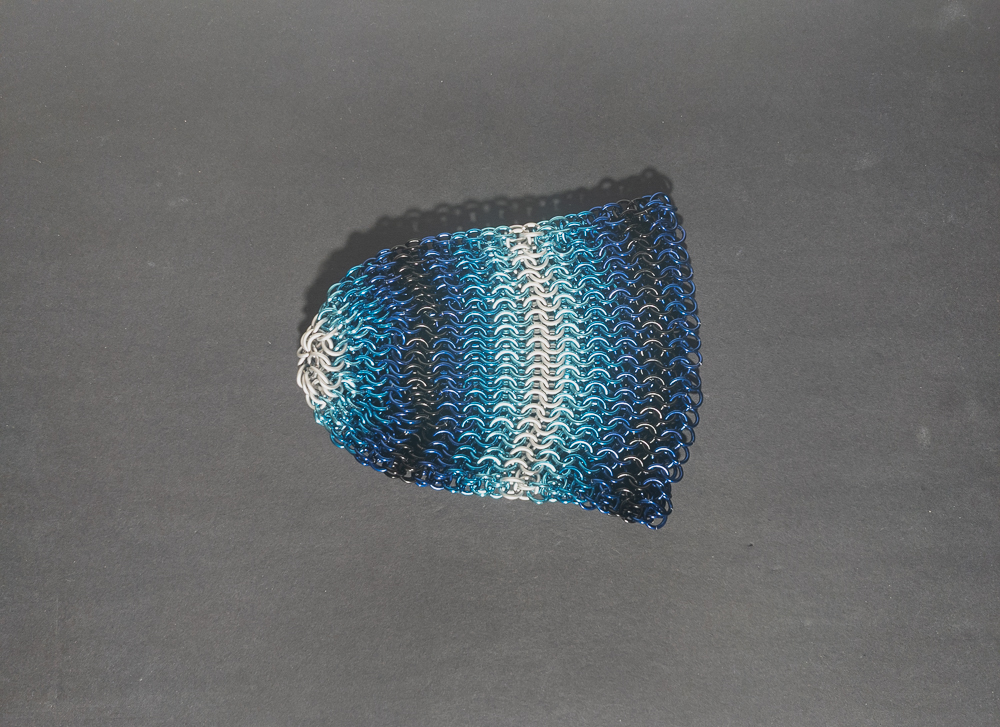
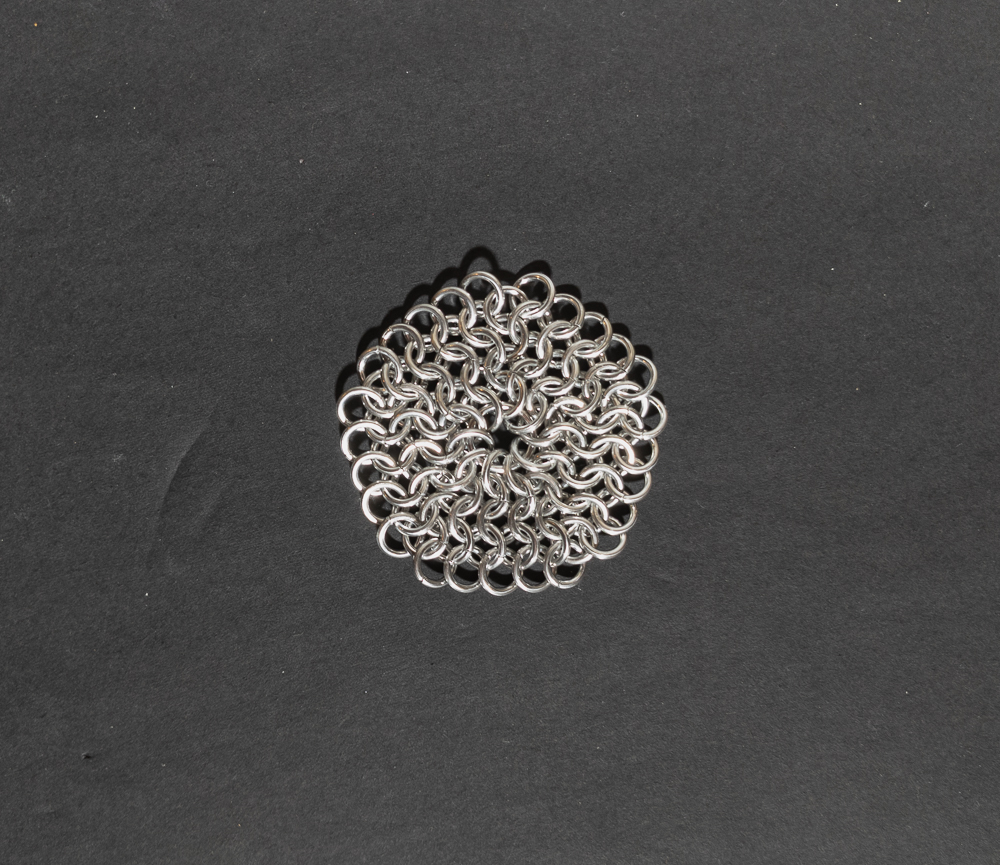
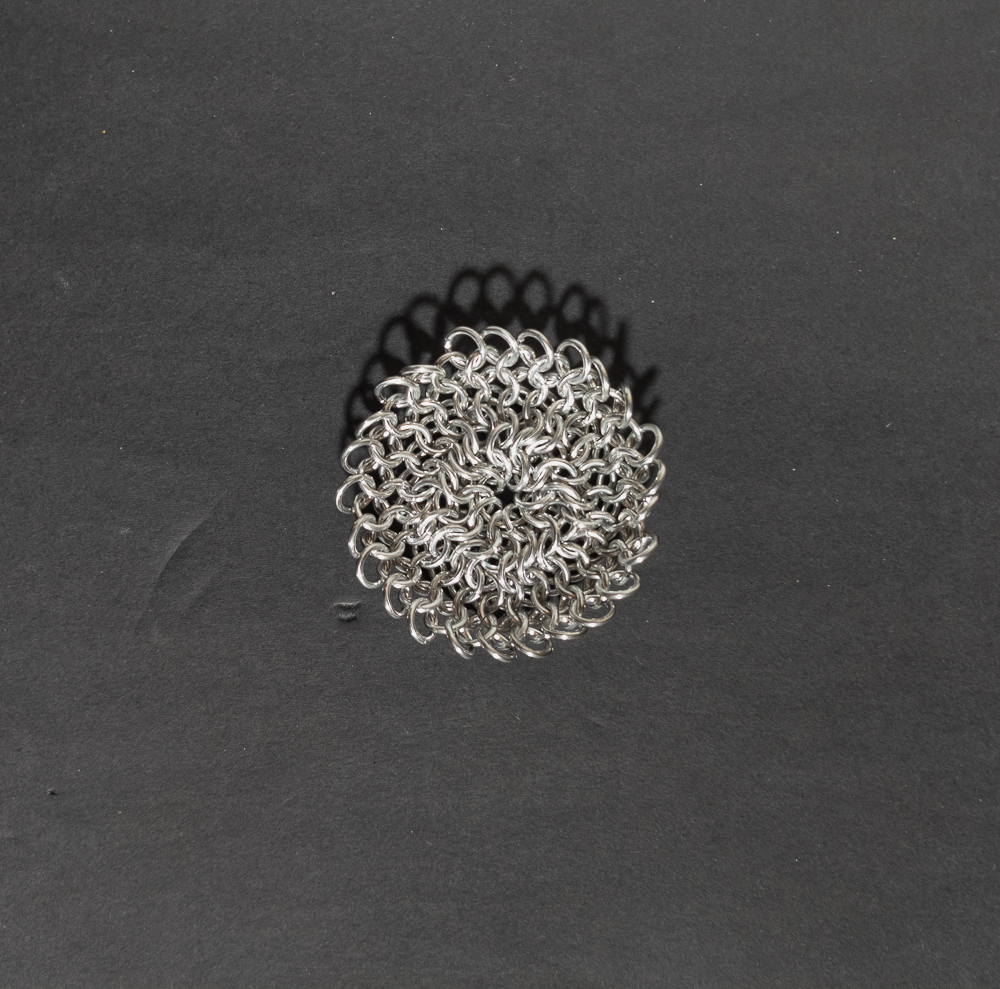
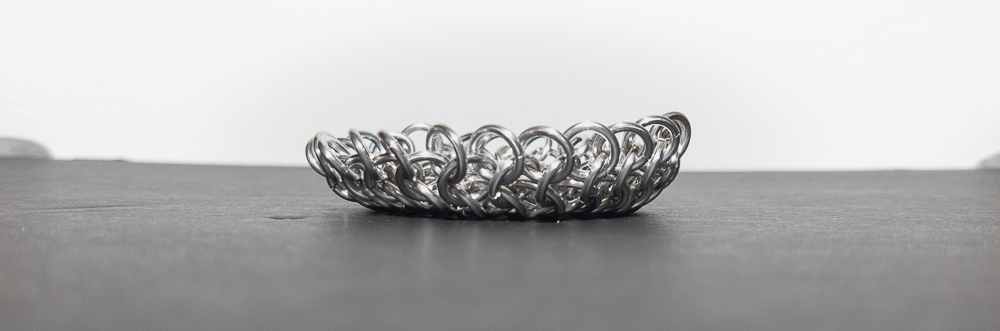
The first step in making a test sample was to start a European 4-in-1 circular expansion. Originally, I tried using nothing but 16 SWG, 1/4” ID rings; however, it was just too small, and I couldn’t get a layer of rings to lie flat in a circle while joined to it. Since that was too small, I tried again with a larger (16 SWG, 10mm ID) center ring. Using a larger ring worked; I could get a circle of rings lying flat around it, enabling the start of a circular expansion (you can see that here). The next thing to test was how to go from the flat circular expansion to a vertical expansion. I thought that if I kept adding more rows to the outside without any expansion rings, it should start to form a tube and curve up. Upon testing, my hypothesis was proven right (you can see that here).
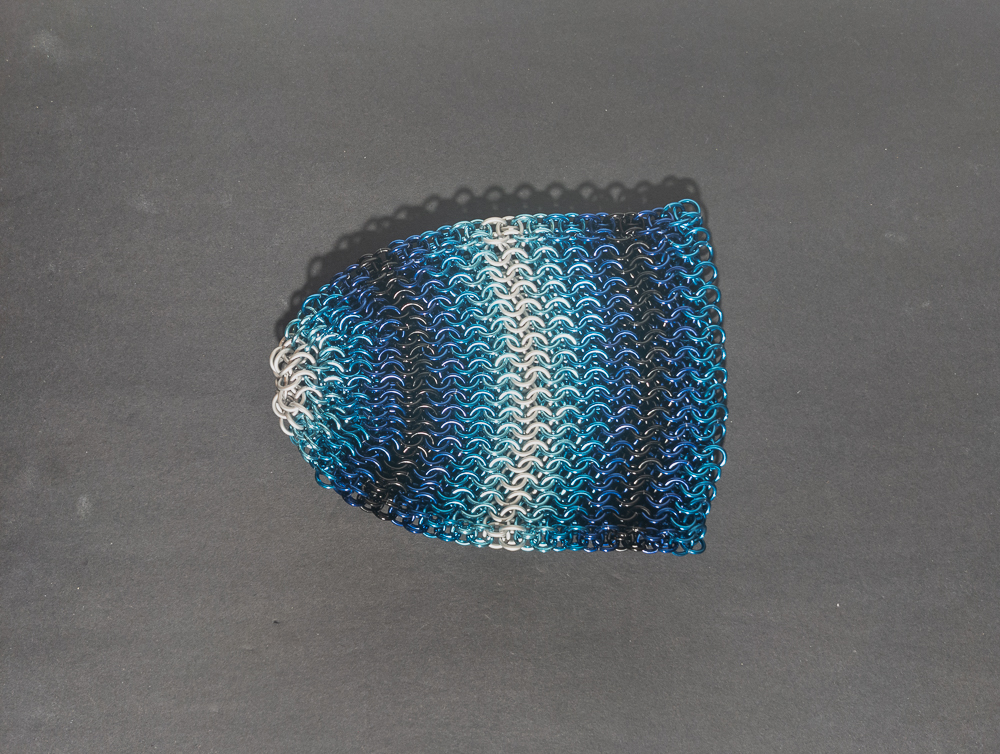
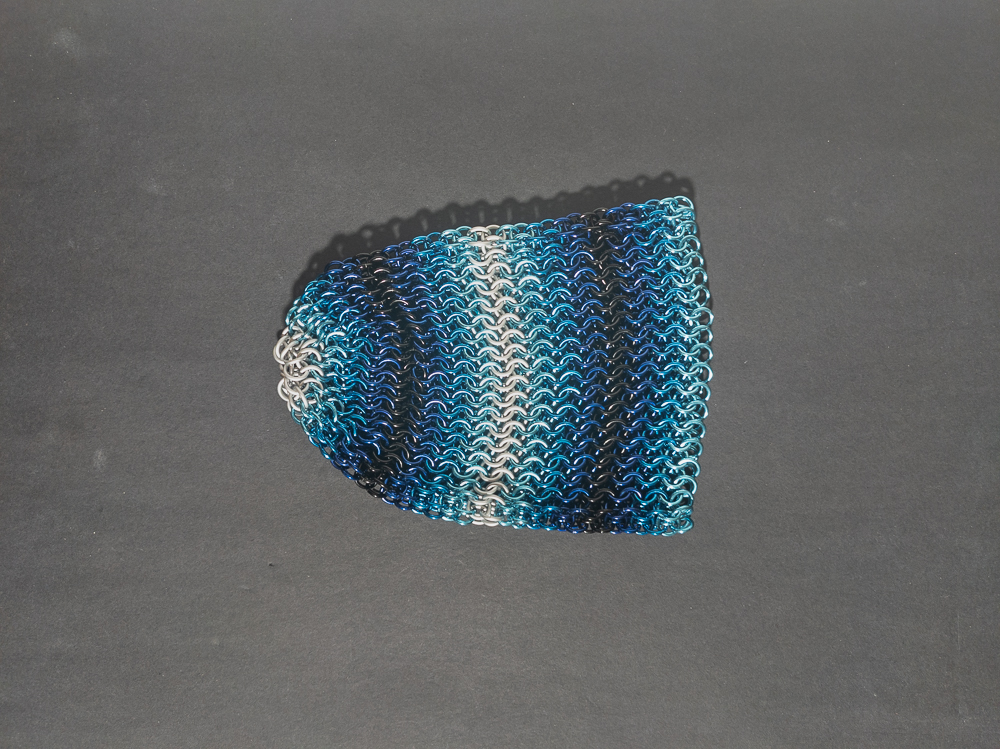
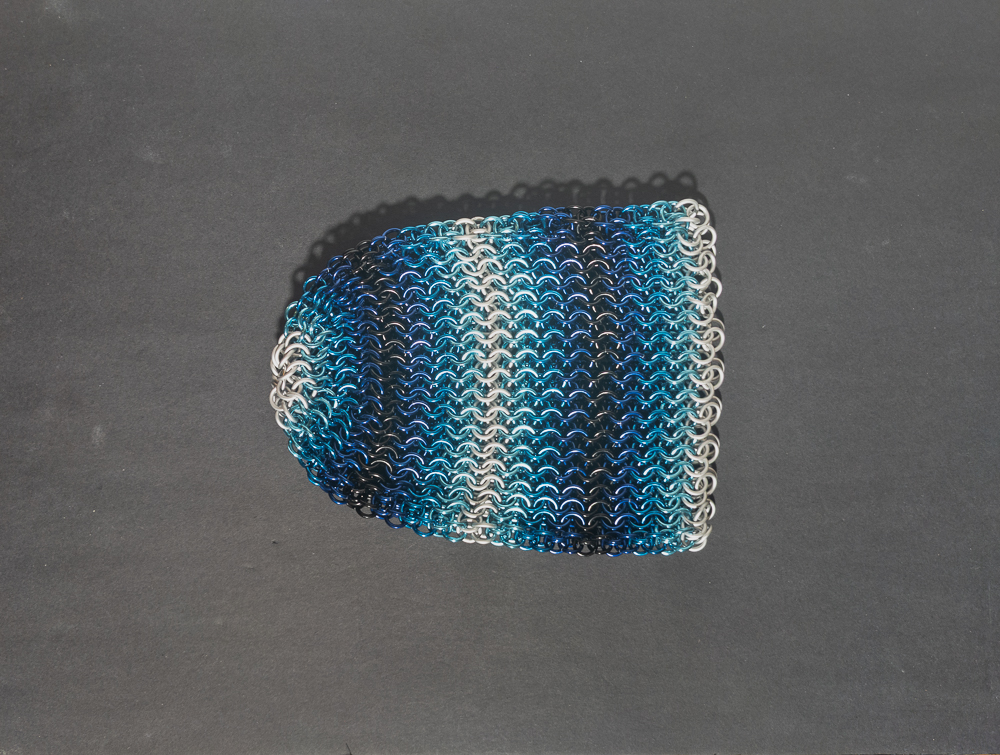
Now that I knew it was possible to make the bag, I discussed colour and pattern options with my friend. We ended up deciding on a fun gradient of black to white in blue tones. Thankfully, The Ring Lord has 3 blue colour options in ascending tones that allowed me to make it.
Making the Bag
After making a test sample of the bag from bright aluminum, making it again using anodized aluminum was fairly straightforward. Towards the end, I was missing 5-7 rings in the right colour for some colour bands. To make the bag larger despite that shortfall, I used leftover rings from older projects. Usually, this should be avoided because the anodizing process is inconsistent. This inconsistency means you can place two separate orders of the same colour and get slightly different results. Knowing this, I checked with my friend, and I only did it after choosing the rings that had the closest colour match and keeping them away from each other to help them blend in more.
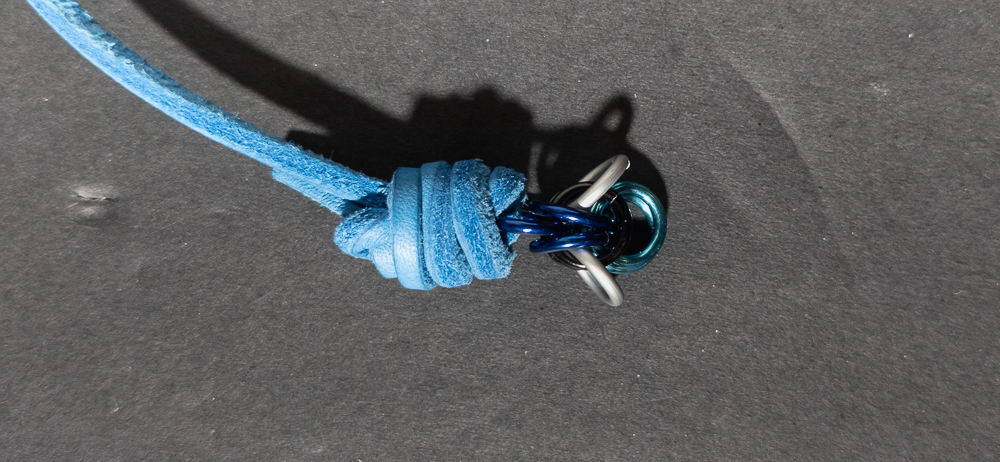
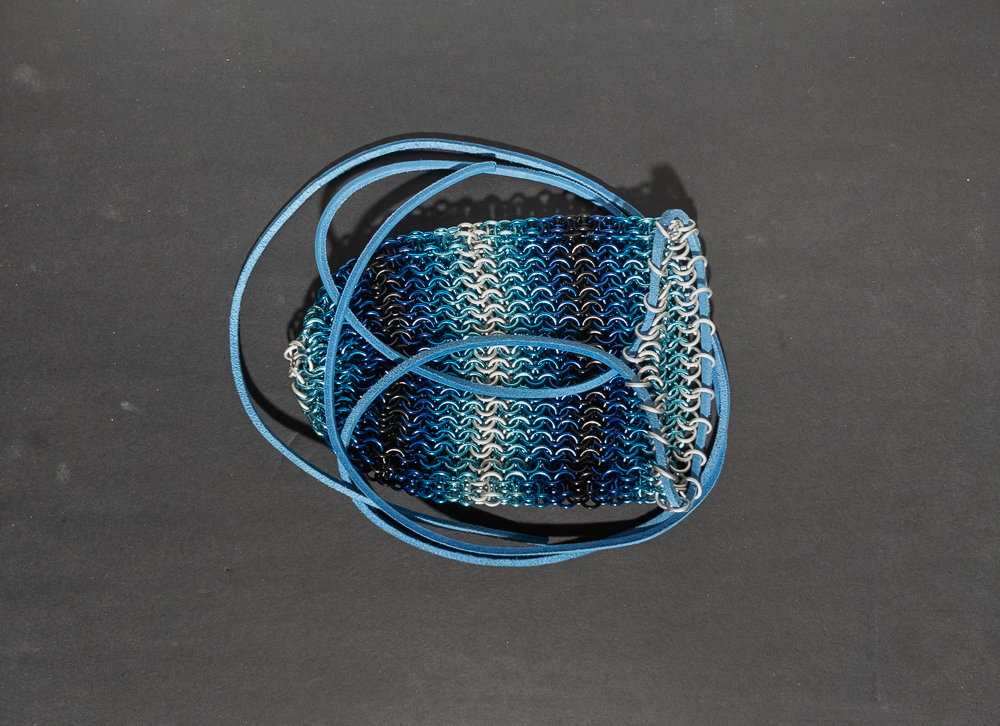
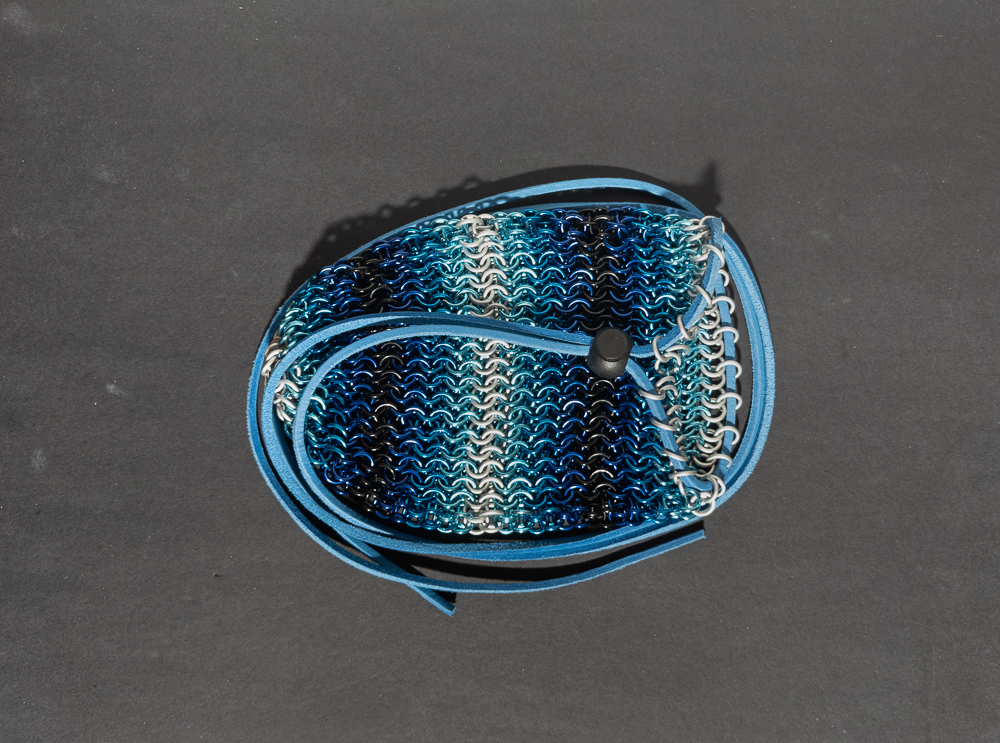
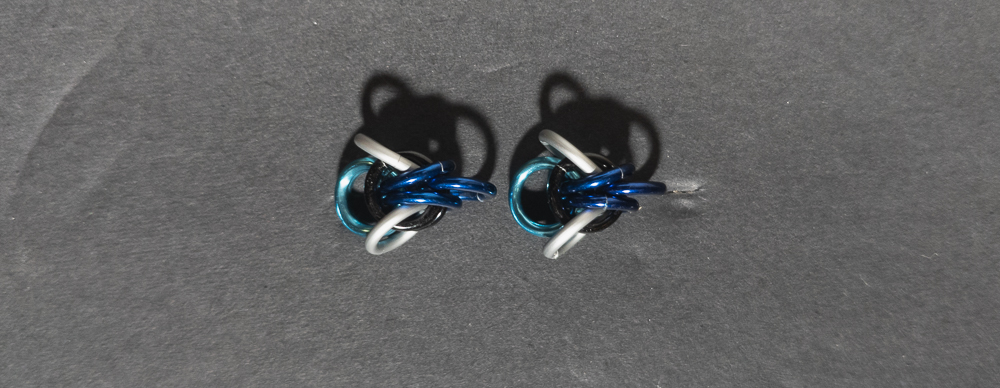
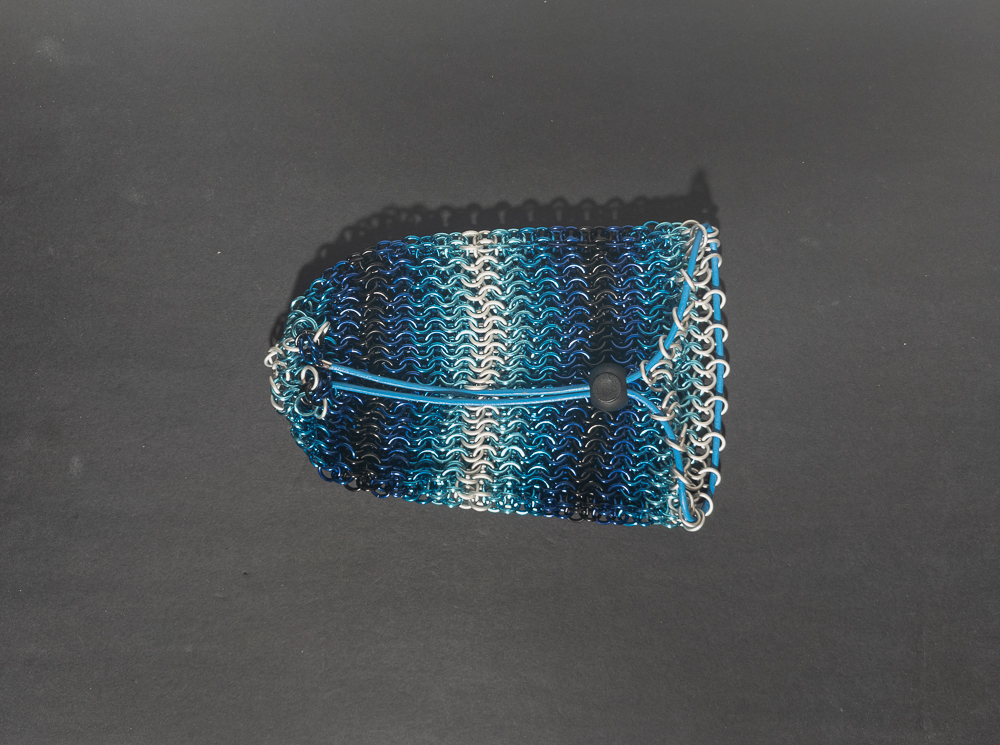
To keep the bag closed, I fed a leather cord through the rings on the top row and used a cord lock to hold the bag closed. When I originally tried it, the hole was large enough to add dice to the bag while it was closed, so I needed to fix that. It was open wide because all the rings were bunched up on the cord, keeping it from closing more, so the clear solution was to feed the cord through fewer rings. I experimented with skipping every other ring as well as keeping just one of every 4 rings and found that skipping every other ring kept the hole small enough without making the closure awkward. I also added some small units (still pending identification, and shown here) to the end of the cord after going through the cord lock to keep the cord from slipping out.
Leather Lessons
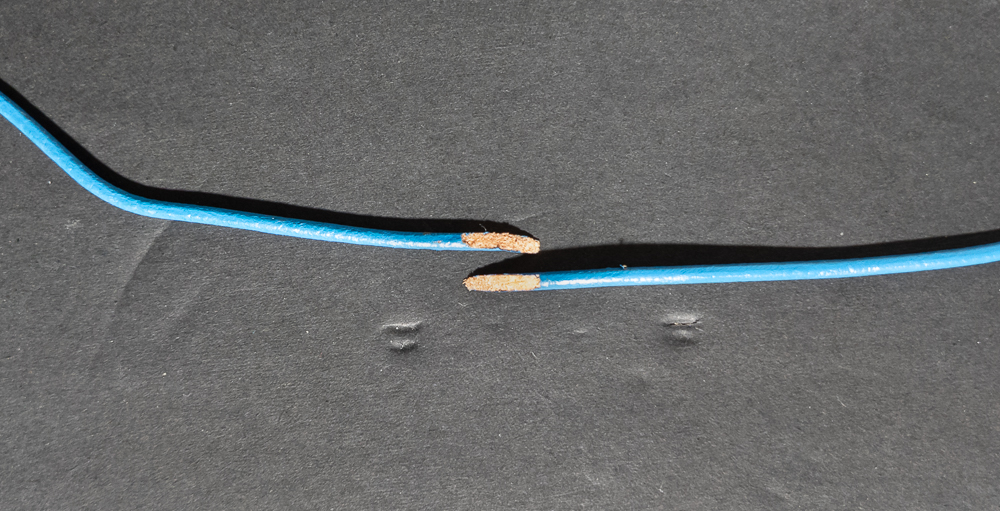
After adding the cord to the bag (shown here), I wanted to bring it to a session and start using it; however, after I added dice to the bag and tried to close it, the cord snapped in half (shown here). To figure out what happened and how to repair the cord, I reached out to Local Nonsatiation, the best leather worker I know. They told me that leather cord can be weak, and if I wanted something more durable, I should get leather lace. I learned that leather lace is a strip of leather from a hide and thus stronger than leather cord, which is typically scrap leather glued together in a plastic case.
Unlike the cord, the lace did not have any metal attachment point for rings. Thus, I had to adjust how I attached the drawstring ends to the cord. I ended up feeding the lace through the drawstring ends and tying a knot to keep them on there (photo here).
Lessons Learned
Overall, this project went quite well and taught me some interesting lessons. My first lesson was not to add expansion rings in the same place each time, since that made the expansion portion of the weave look like a pentagon instead of a circle. The second lesson was that leather cord is weak and that I should use leather lace when strength counts. The third lesson was that sizing a dice bag is tricky, and I should default to a larger base to make expansion easier. The fourth lesson I learned is that when ordering rings to make a gradient, blue is a wonderful choice since the blues blend well together as well as into frost and black. The final lesson I learned was that leather lace is a great/tough cord material and surprisingly affordable.
Conclusion
While I would have liked to make a larger dice bag, it is still quite large (only about 66% full) and gives my friend room for more dice. The bag closes well, the leather lace is sturdy and looks great, the gradient is stunning, and the drawstring ends are a fun touch. I was glad I could give this to my friend, and they were happy to receive it and use it for game days.
Pictures
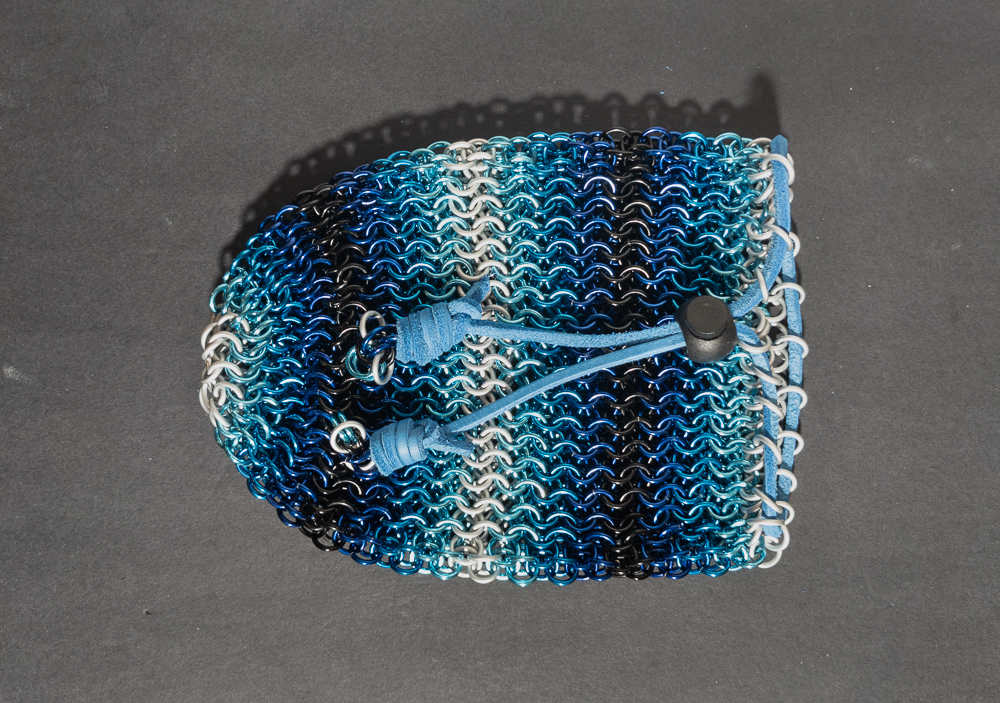
Empty: Flat
Full: Angled
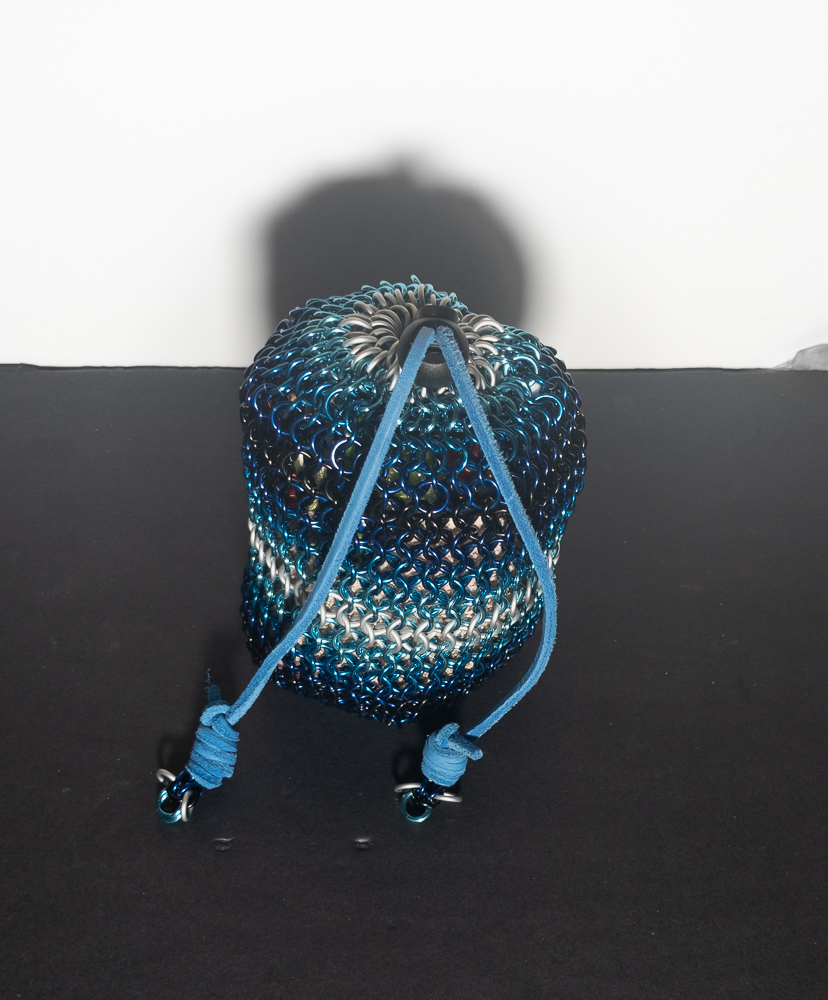
Full: Profile
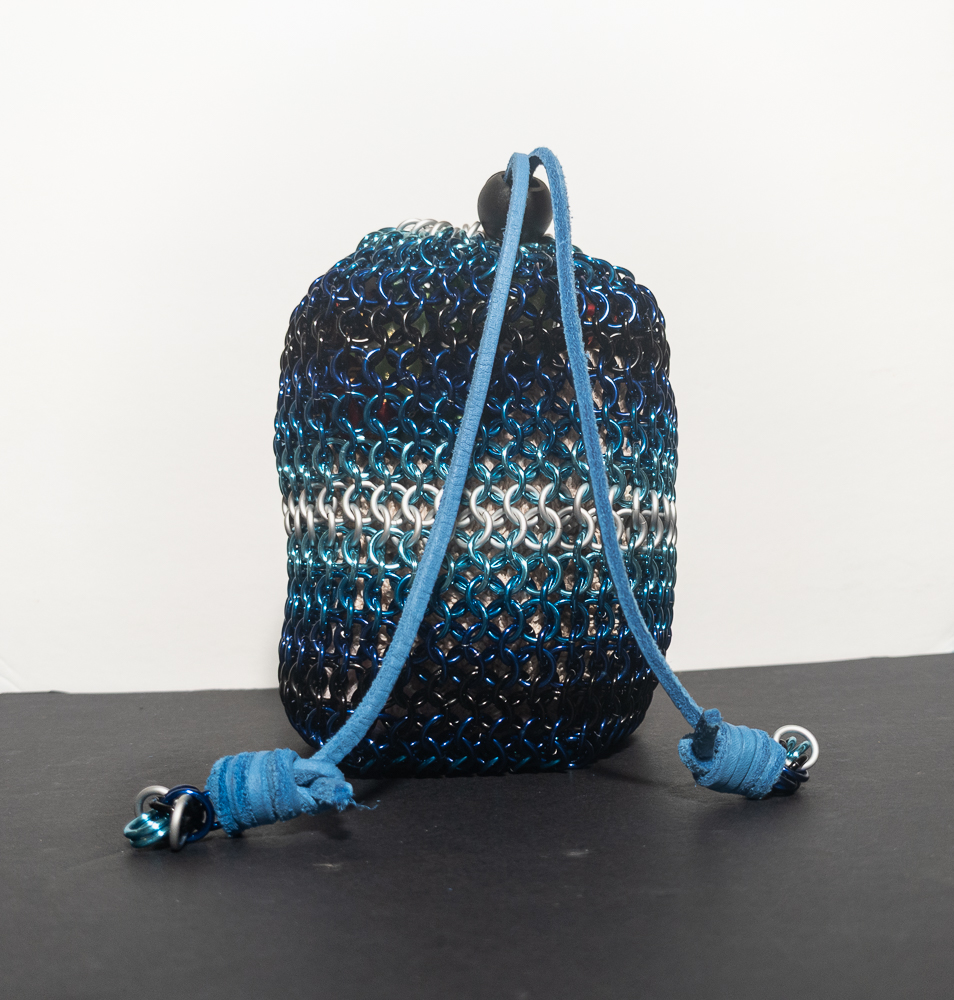
Full: Top-Down
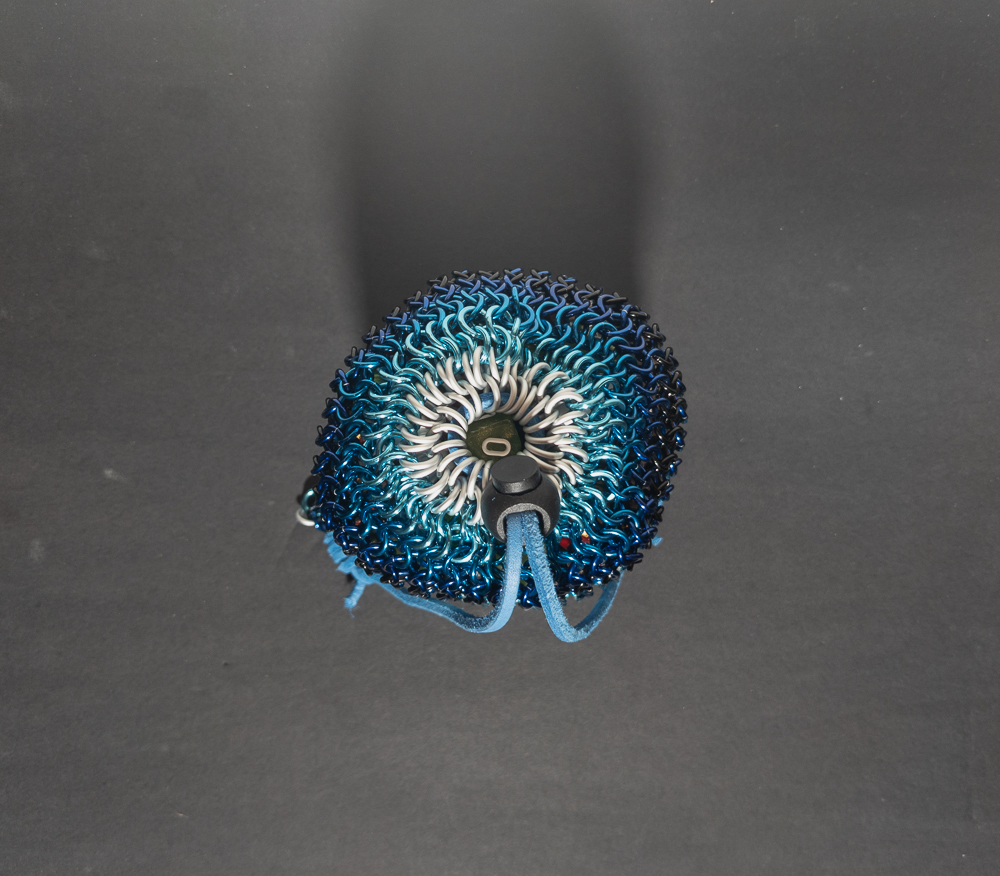
In Use
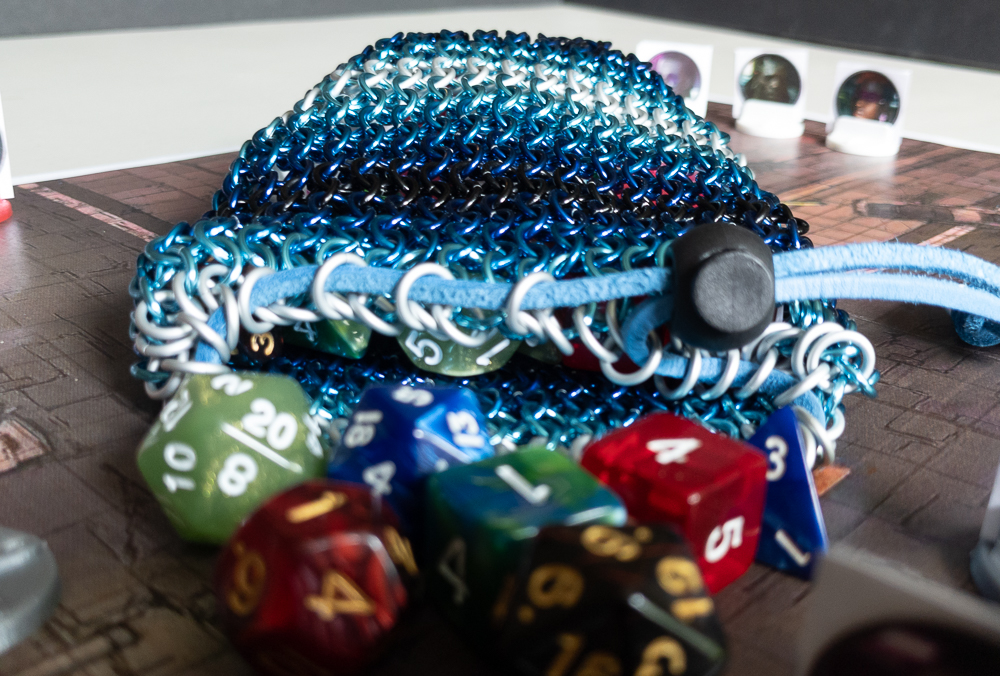
In Progress
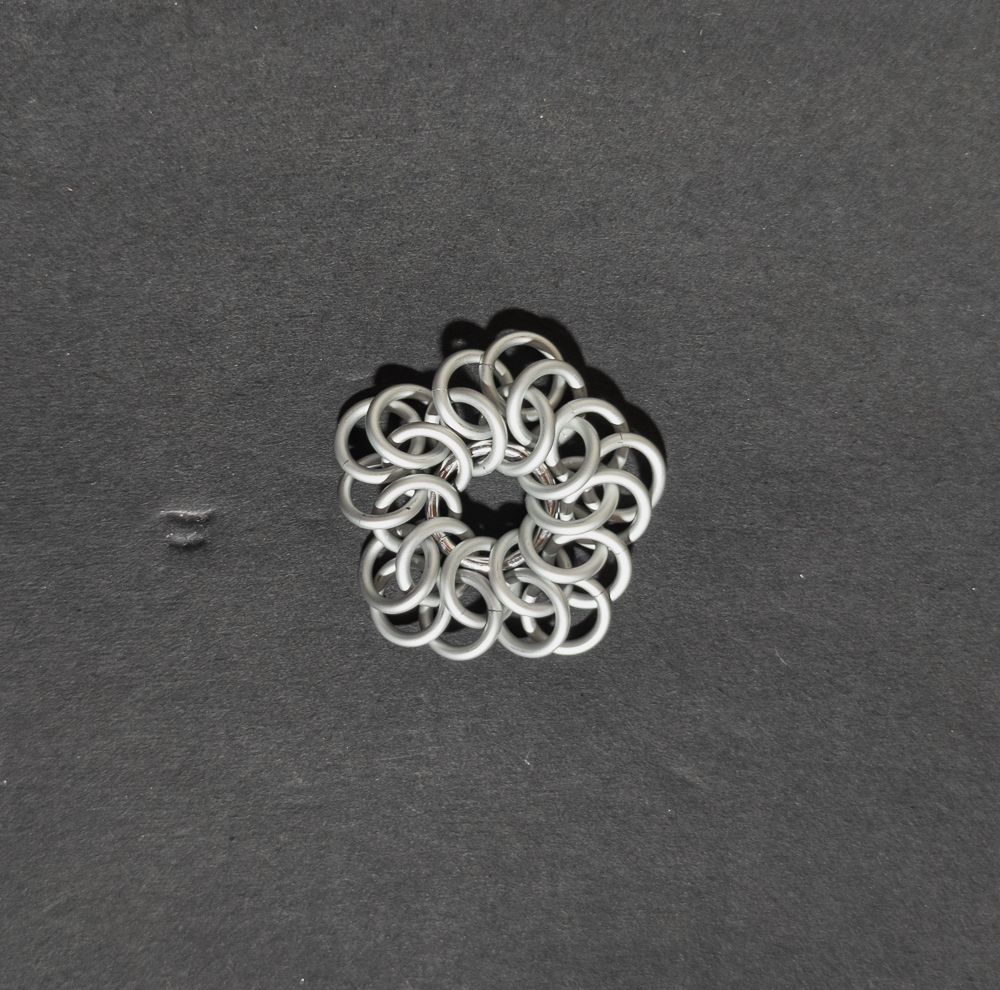
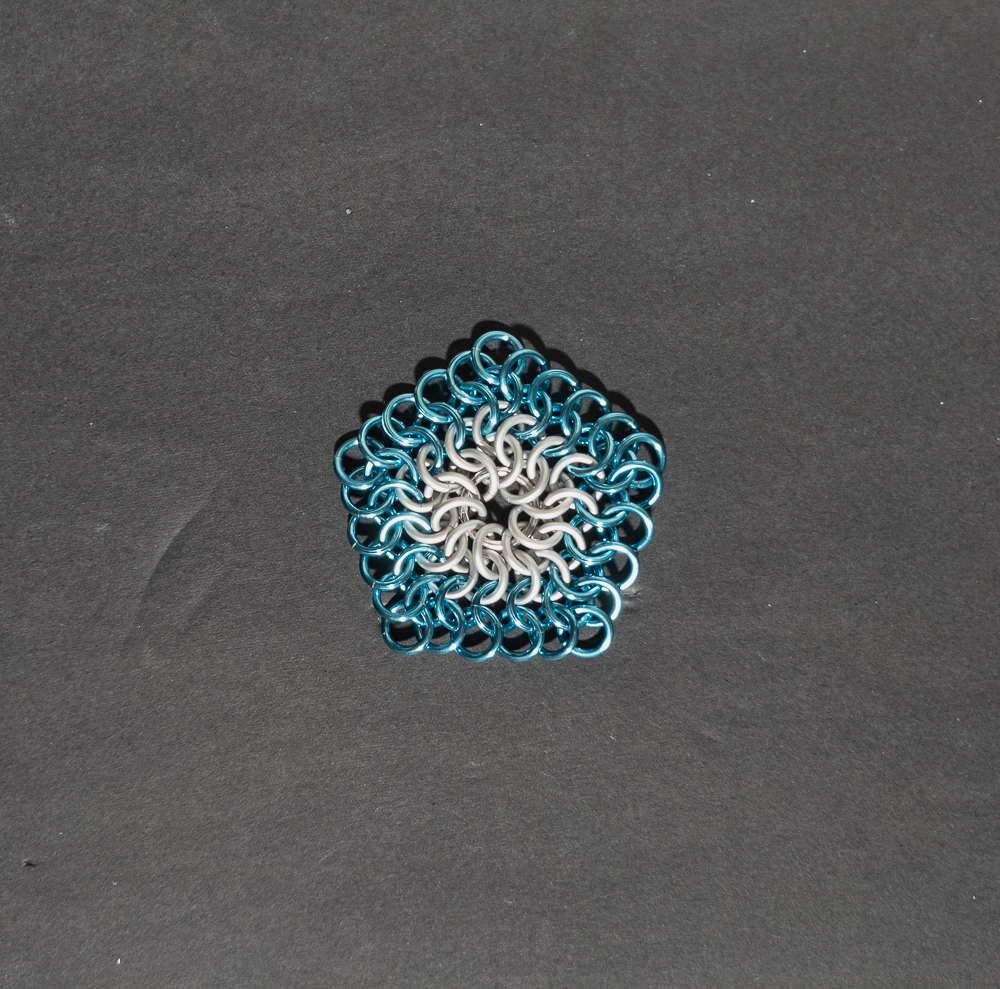
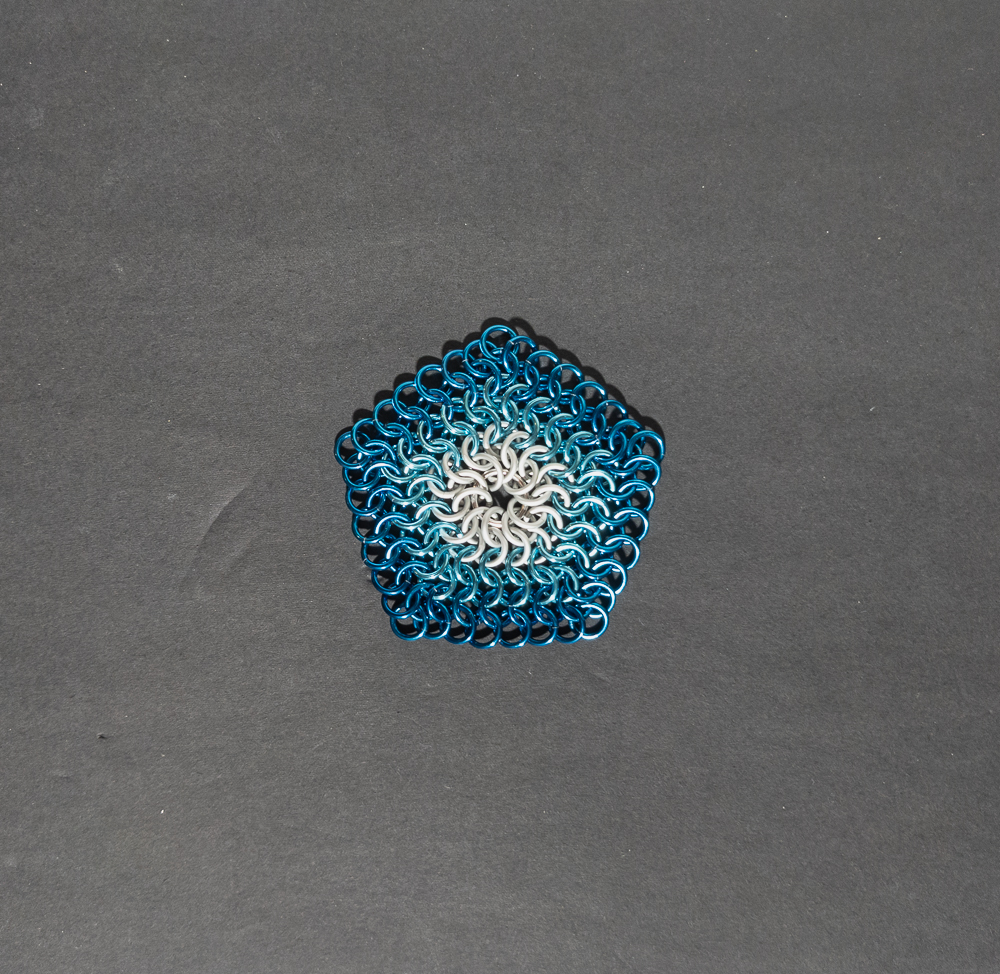
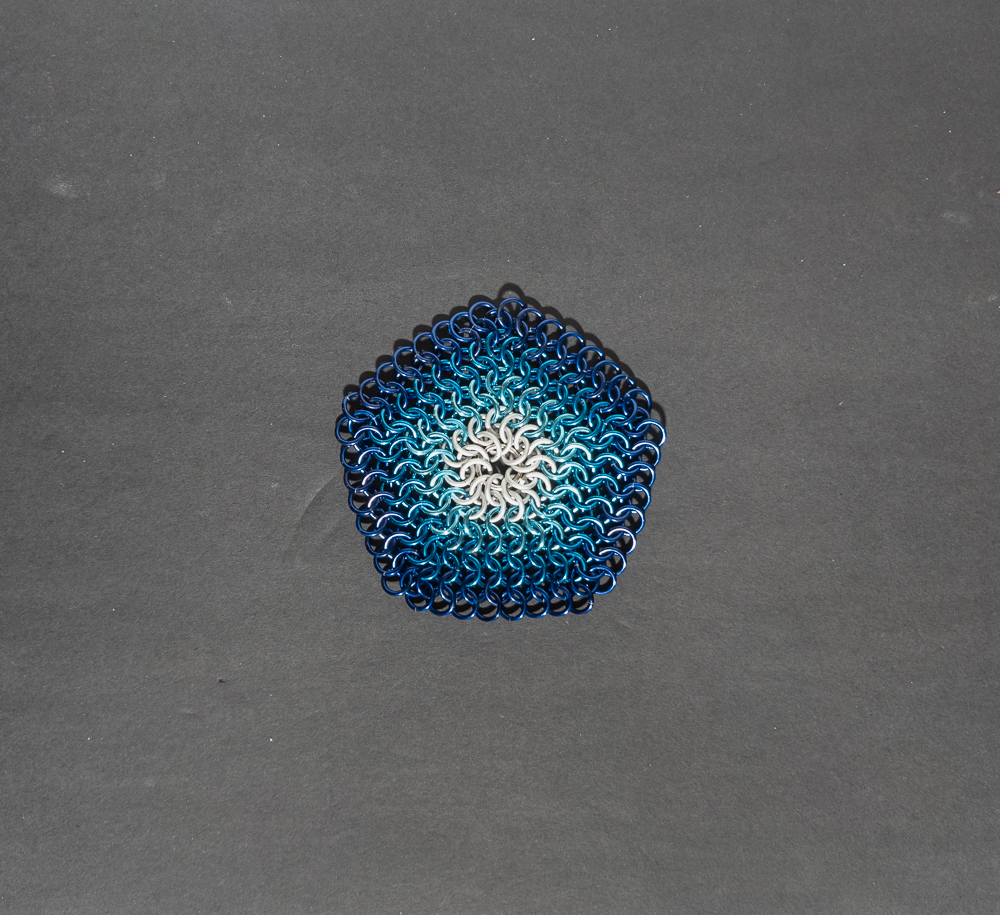
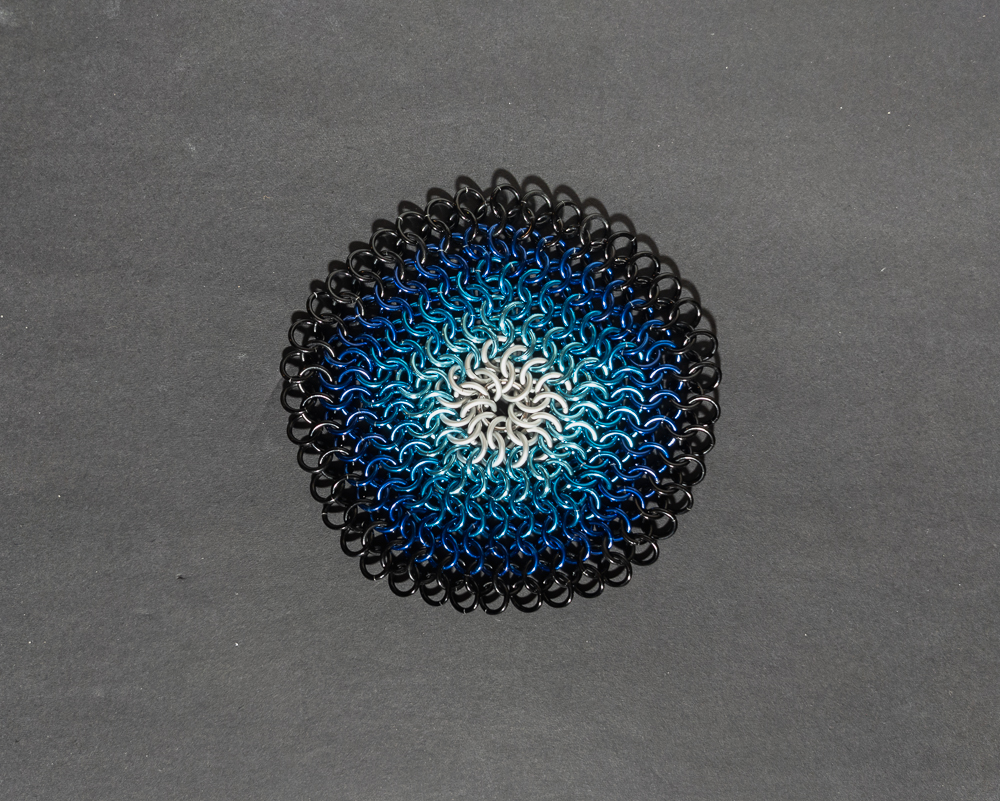
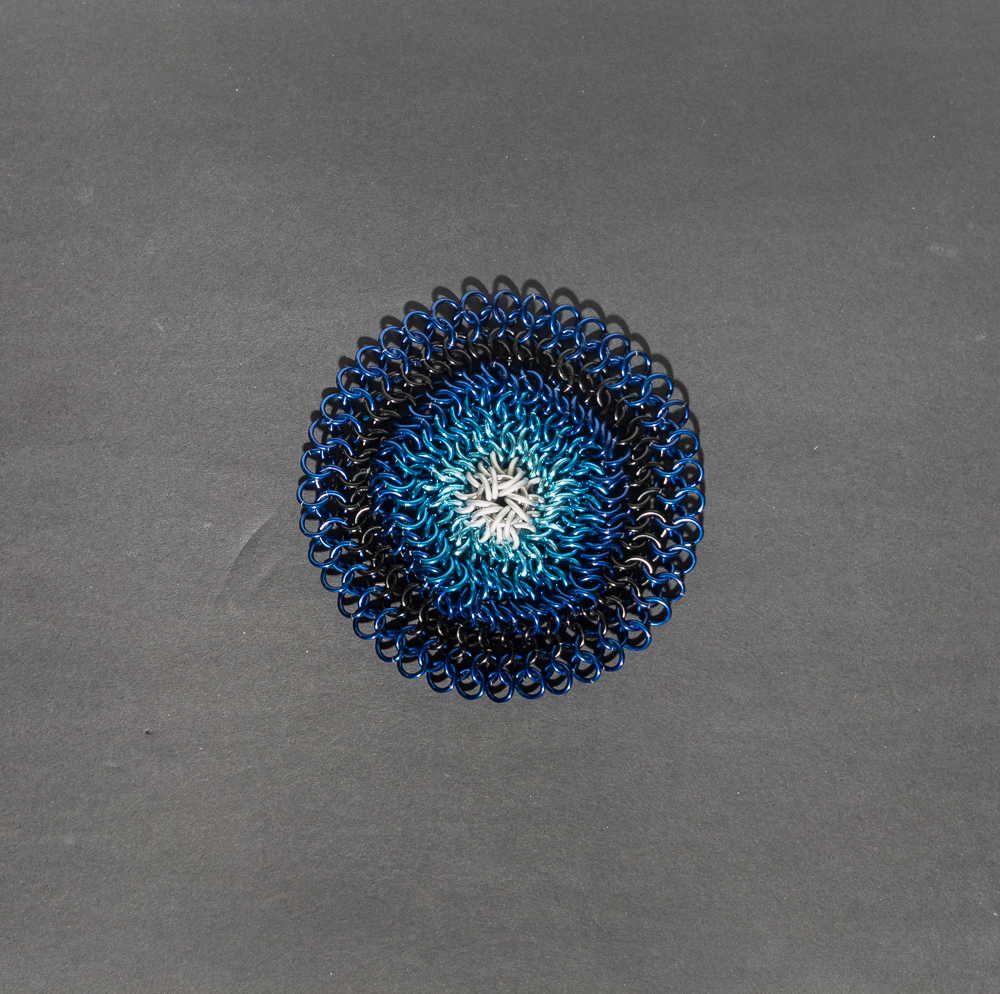
Expansion Testing
Flat To Vertical Testing
Drawstring Ends
Original Version - Using Cord
Cord Break
Drawstring End Attachment