Kirby Inlay
Overview
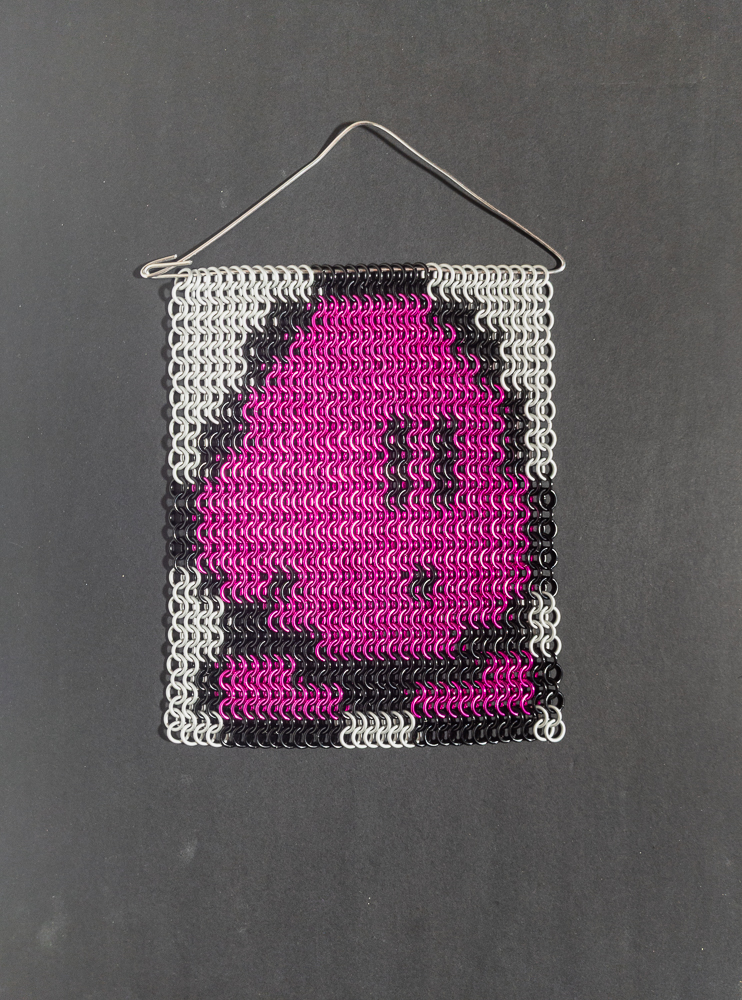
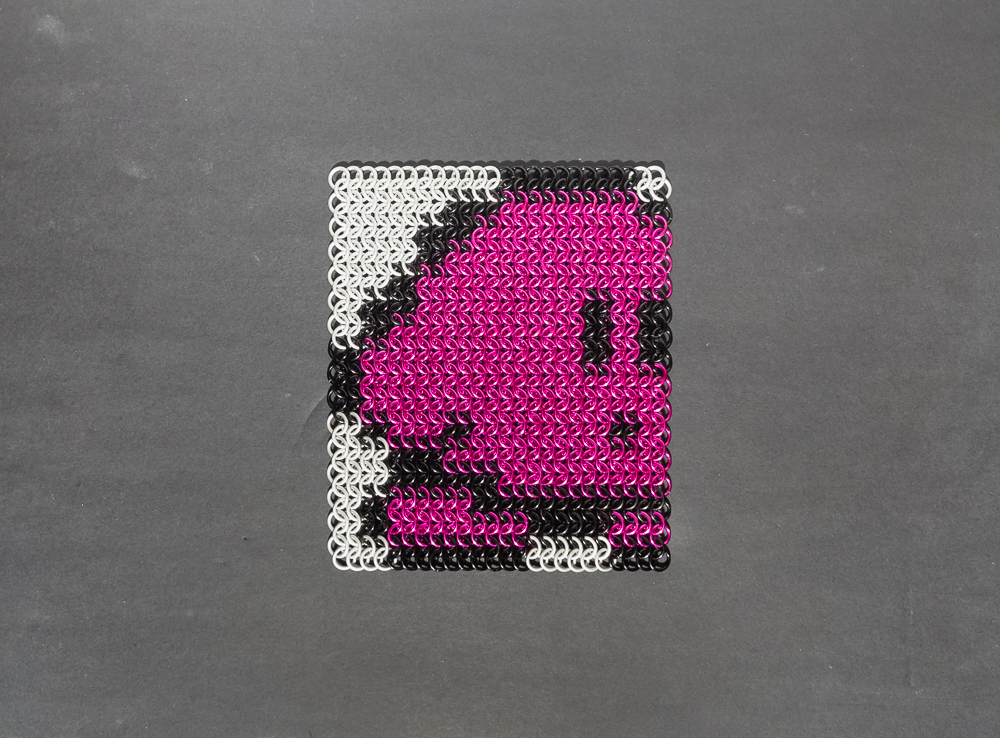
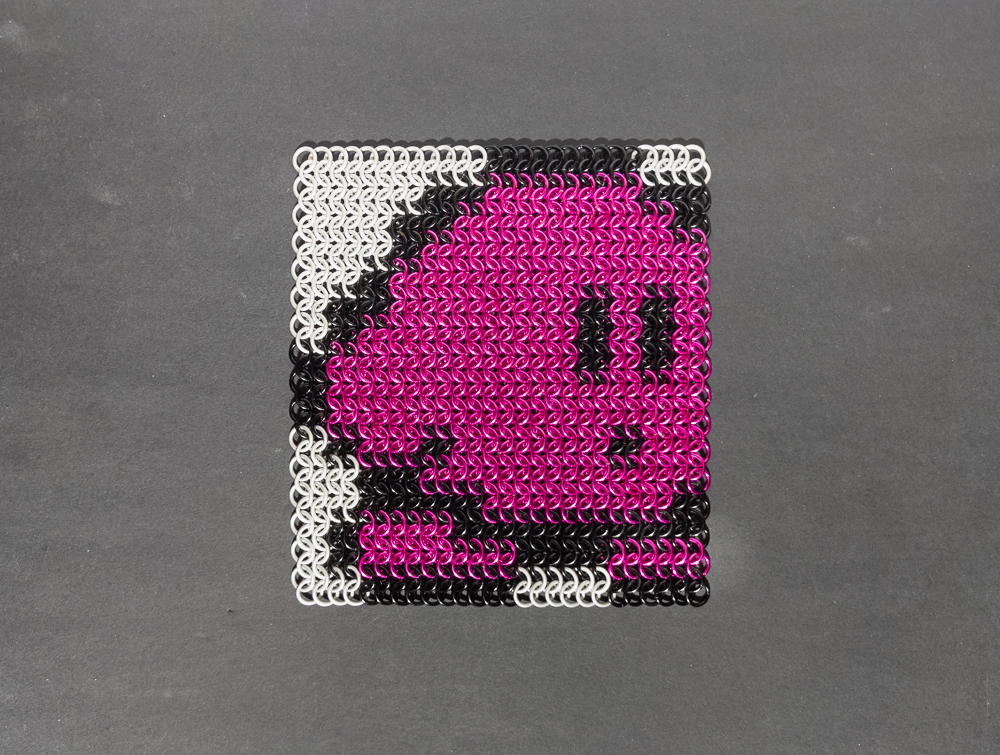
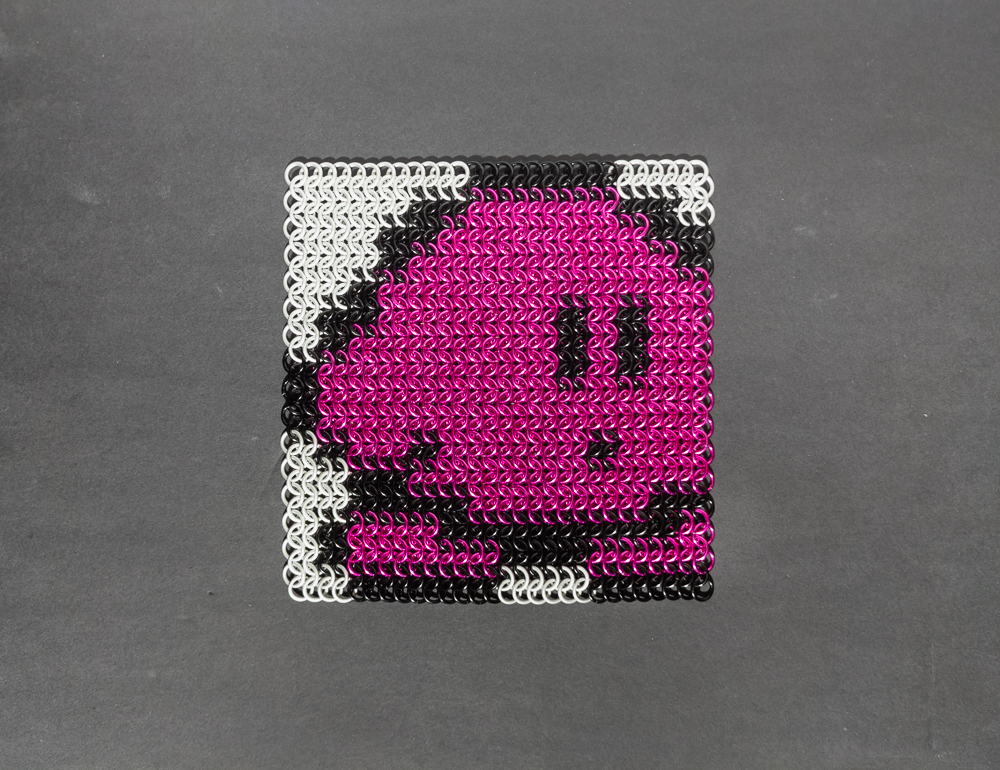
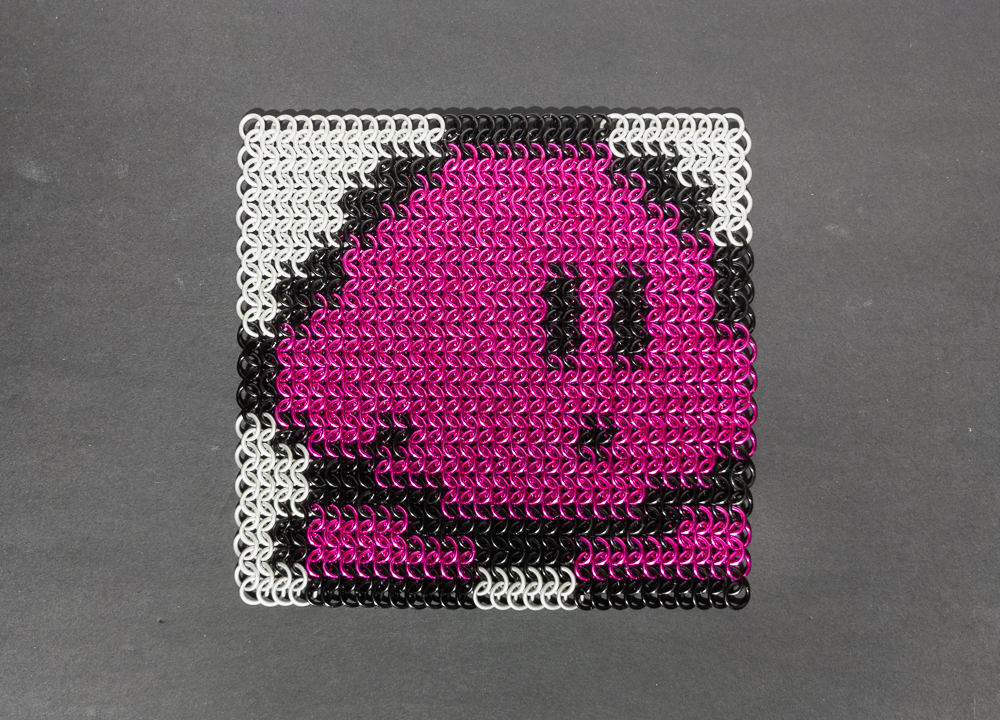
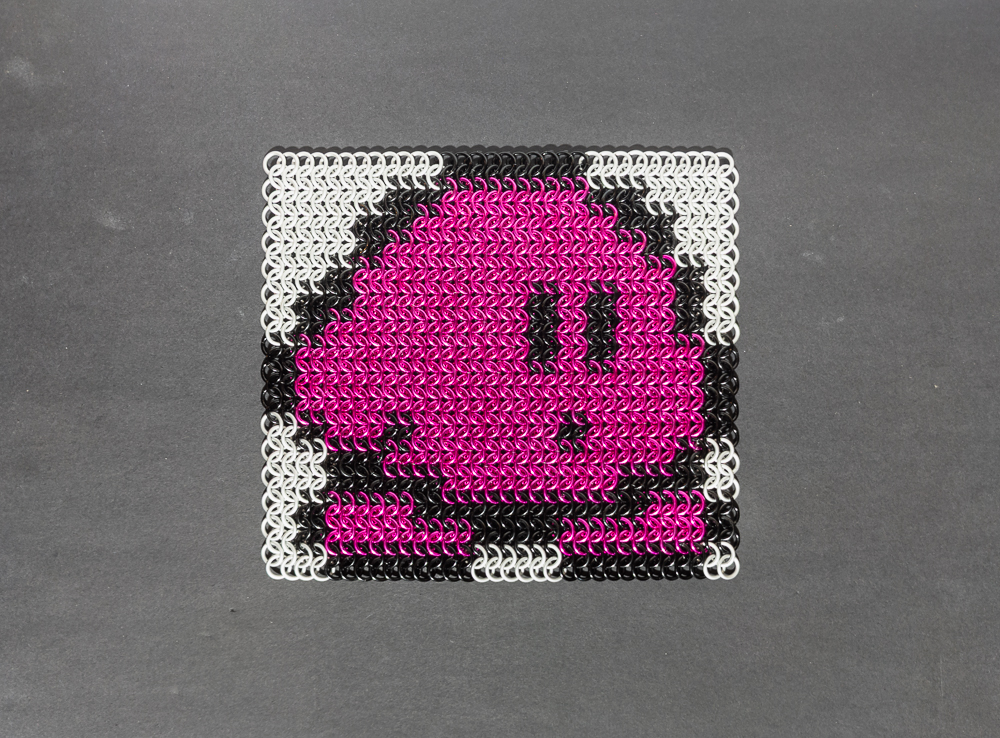
After making a few inlays, I am learning less from each one as I have gotten a fair amount of experience with the style I use. However, making them is incredibly fun, and I end up with art for characters I adore. So I decided to make an inlay of my go-to cosplay character (not specified to avoid spoiling a future project); sadly, I made a colour mistake and could not continue with my original plan. I was left with a large quantity of pink rings on hand and no idea what to do with them. After spending time looking at NES-era games, I remembered Kirby and realized he would be a great fit since he is primarily pink, and I had enough white/black to make the rest. I ended up using his idle sprite from Kirby’s Dream Land 2 for the GBA as exported by Jermungandr. Since this was an unplanned inlay, I didn’t really have a clear idea of what to do with it, so I asked my friends, and one of them decided to adopt him.
Materials
I bought all the rings used in this project from The Ring Lord. Here are the rings I used for the inlay:
| Item | Option Details |
|---|---|
| Matte Frost Rings | 16 SWG, 1/4” ID Matte Aluminum rings in frost |
| Bright Black Rings | 16 SWG, 1/4” ID Bright Aluminum rings in black |
| Bright Black Dragonfruit Pink | 16 SWG, 1/4” ID Bright Aluminum rings in dragonfruit pink |
Notes
Original Plan
My original goal for the month was to create an inlay of my go-to cosplay character. I downloaded a sprite from The Spriters Resource, simplified the colours in MS Paint, then popped it into my Pixel Art Helper. The preview I saw looked good, and the buy list for that and my September project fit in my budget, so I bought the rings. This was my first time working with Dragonfruit Pink, and Pixel Art Helper considered it a dark red; unfortunately, it is much closer to a magenta/pink. I learned this after the rings arrived, and when I compared the real colour to the expected colour from the preview, my plan became impossible at that moment.
Pivoting
With my original plan being impossible and having already spent my budget for two months of projects, I could not simply design a new inlay and order more materials. The only option I had was to use the materials I ordered for the inlay for a new project. I decided that I still wanted to make an inlay, so I spent some time looking through games from the Game Boy/NES era. I chose that era since the devices’ lower resolution results in simpler sprites, and I wanted to use fewer rings because I could not order more. Because I ordered 900 pink rings, I was looking primarily for pink characters; then I remembered playing Kirby games as a child and eventually found Kirby’s Dreamland 2 for the GBA.
Designing The New Inlay
My first step in creating an inlay is obtaining an image file of the subject. To do this for game characters, I like to start by searching the game on The Spriters Resource. For each game, there is a list of spritesheets, typically one per character or group of related characters/items/levels, etc. A spritesheet typically contains multiple sprites, usually grouped by animation. To choose a sprite, I go to the spritesheet for my character of choice, and unless there is a good-looking or iconic animation frame, I will typically choose a neutral/idle sprite. To select my chosen sprite from the sprite sheet, I typically open the full sprite sheet in MS Paint and crop the image to just the target sprite. You can see the sprite cut from the spritesheet here.
My next step is to clean up the image from the spritesheet. I start by replacing non-neutral background colours with white or grey depending on the colours on the edges of the subject. For this inlay, I replaced the green background with a white one. Next, I make aesthetic changes I feel improve the inlay. In this instance, I went with a full pink body instead of a white body with pink edges. You can see the results of those edits here.
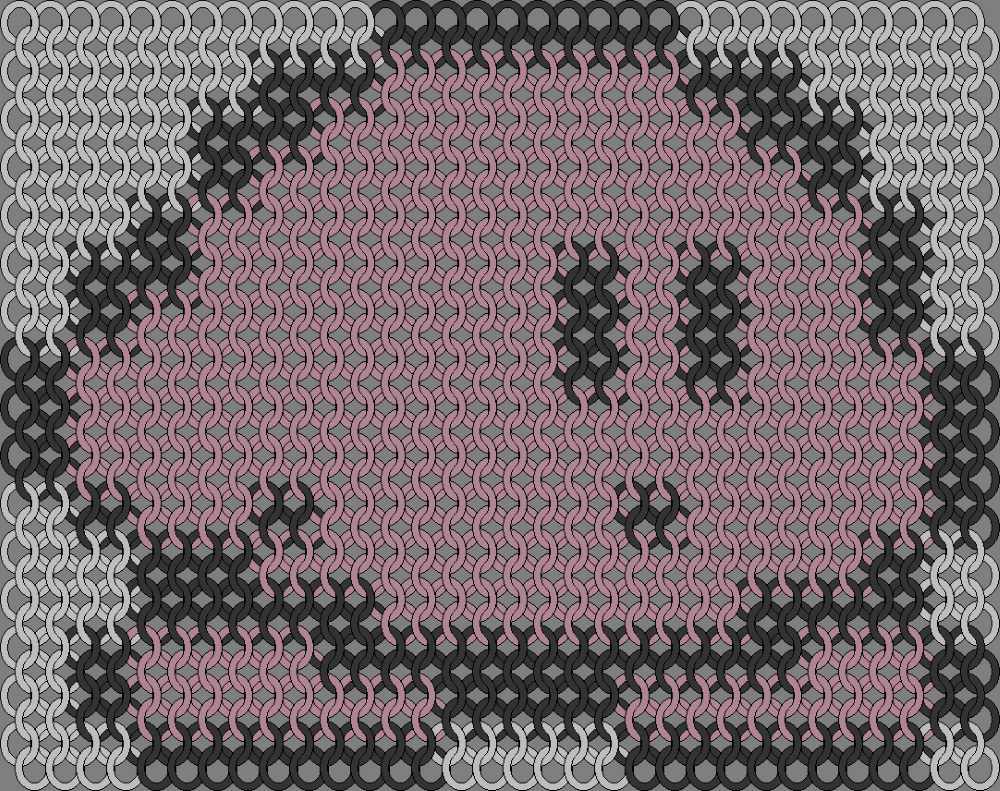
My final step is to use my Pixel Art Helper to turn the sprite image into a patterned preview. This starts with loading the image into the application, checking The Ring Lord’s ring colour availability (or in this case setting it to what I had on hand) to restrict the palette of colours available to the colour choice algorithm, then selecting a colour choice algortihm that gives me the result I am happiest with to get an idea of how the colours will look when made with real rings. At this point, I can get an idea of what the inlay would look like by selecting the Half Stretch pattern option. Then, since this is an older sprite, I replaced each pixel with a 2x2 section of rings instead of a single ring to make the pixels more defined. You can see the resulting design here.
Weaving & Hanging The Inlay
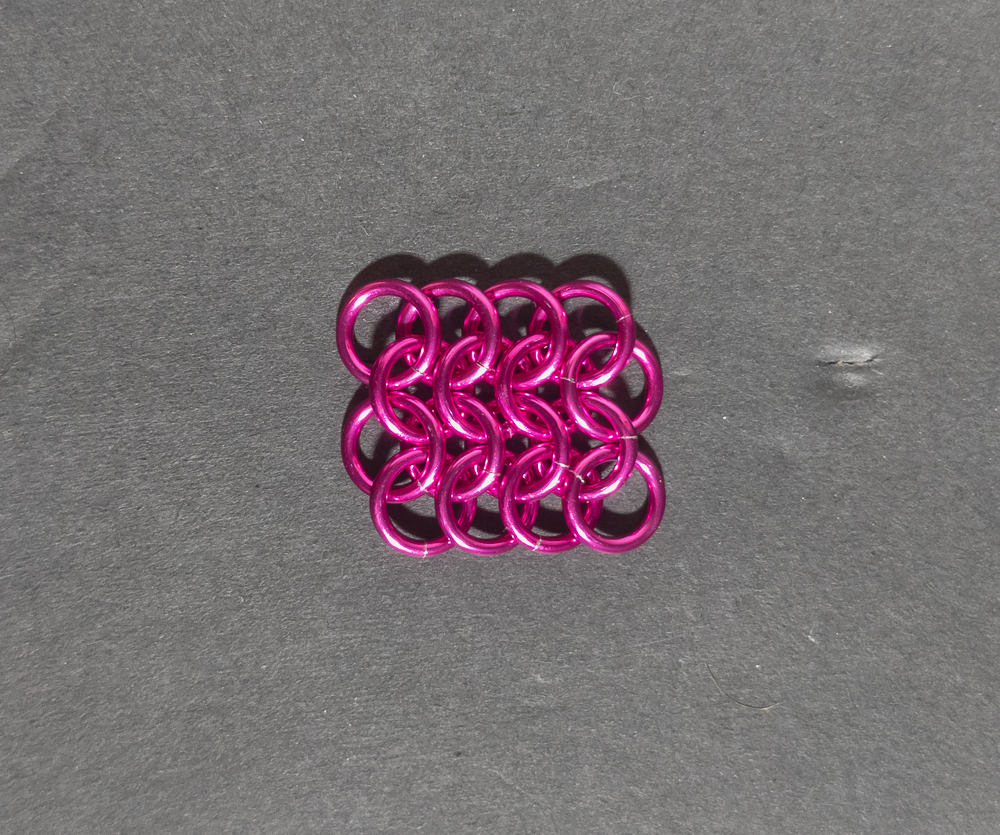
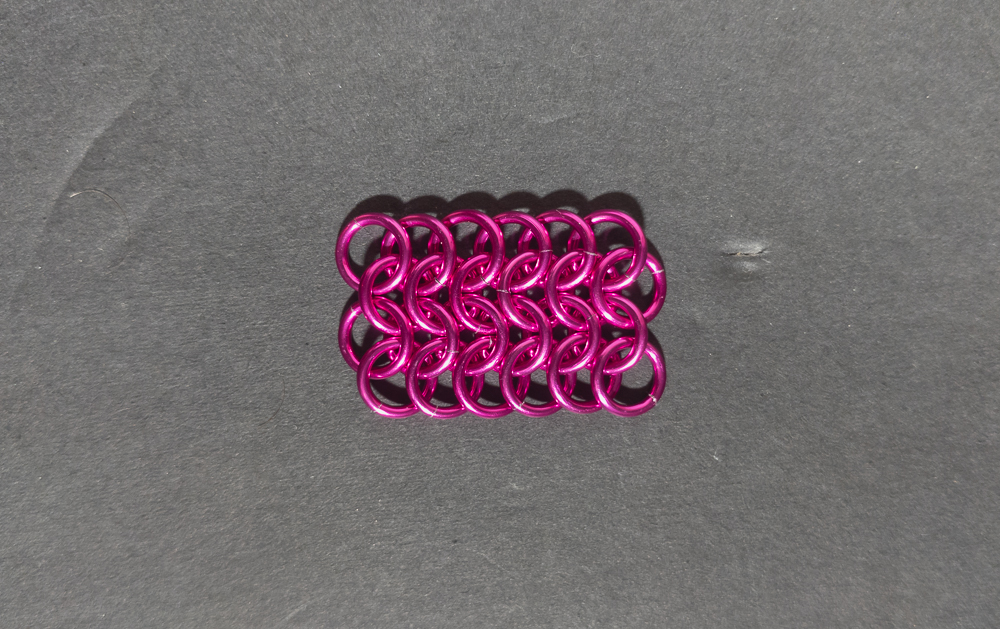
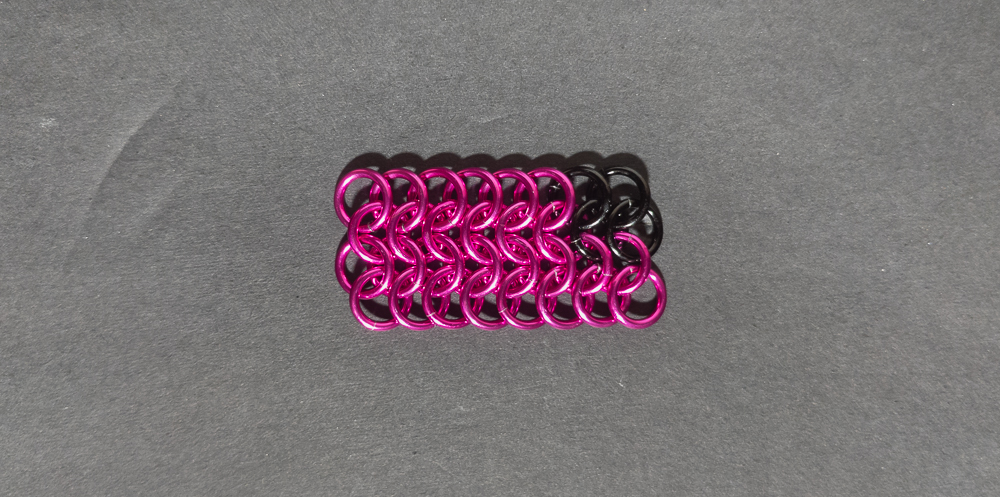
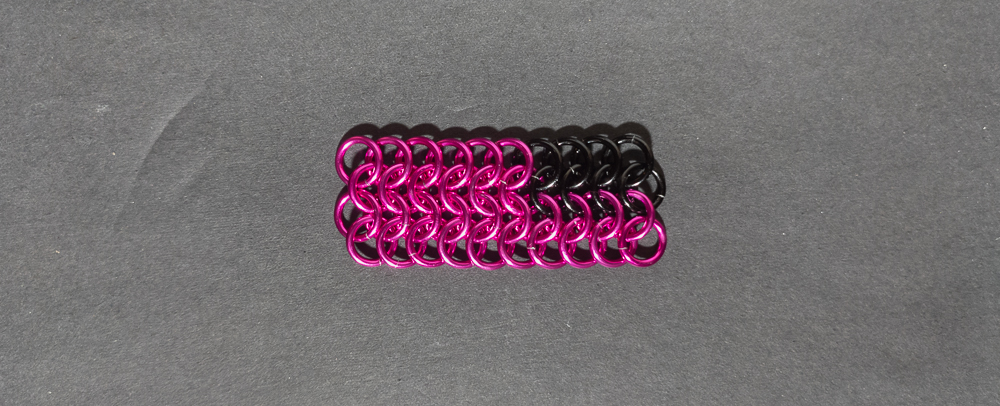
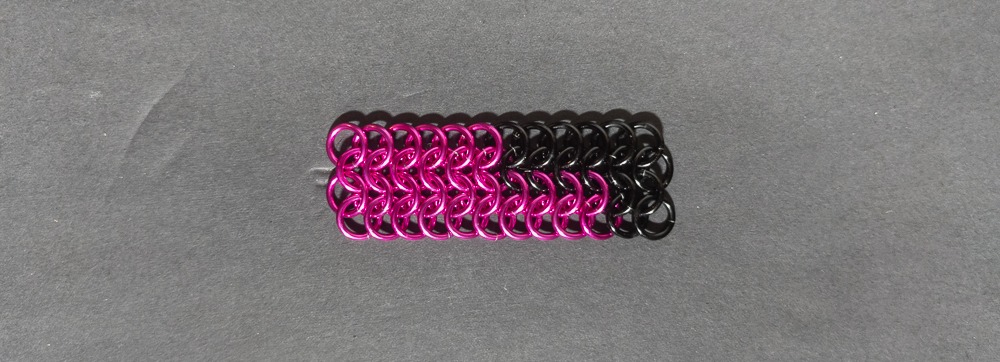
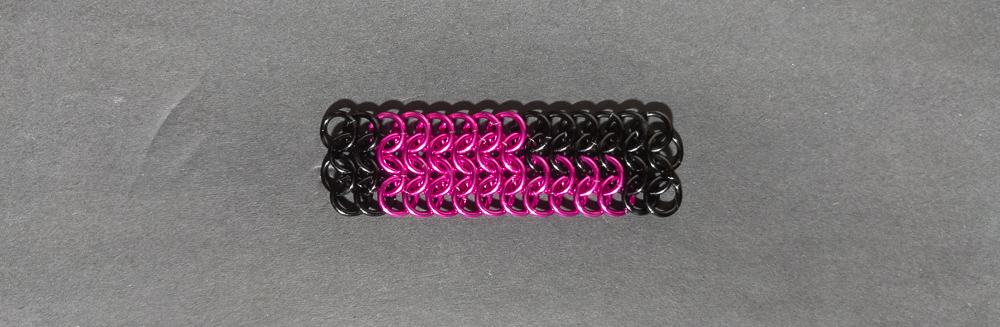
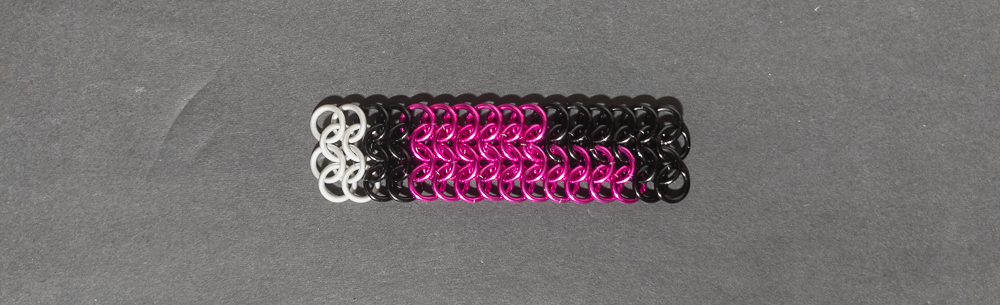
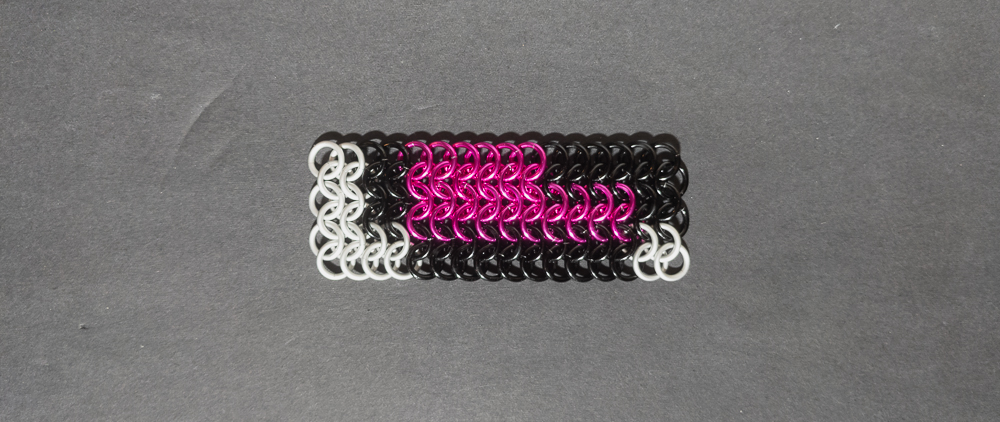
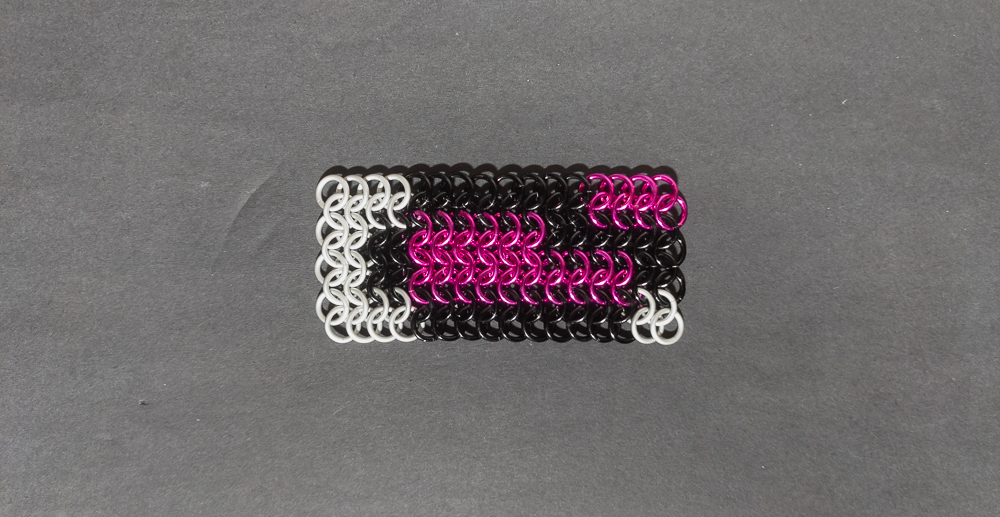
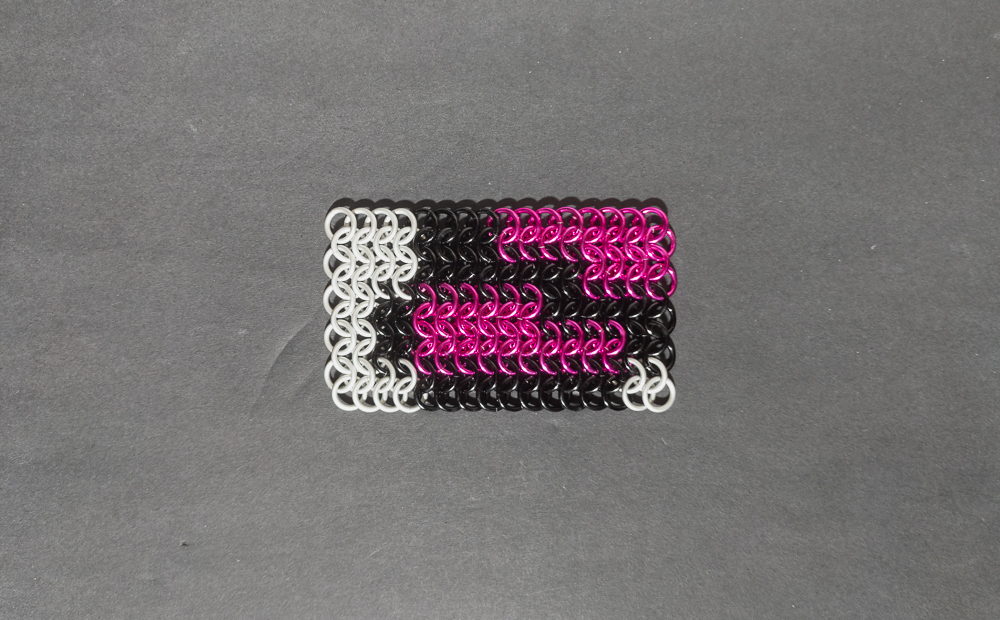
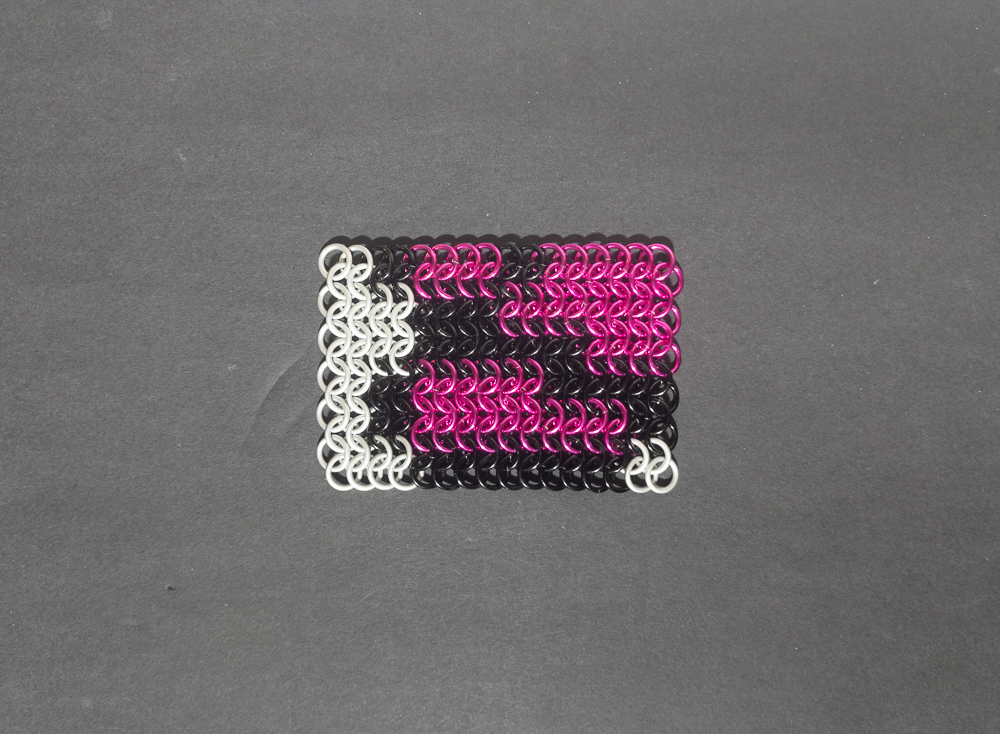
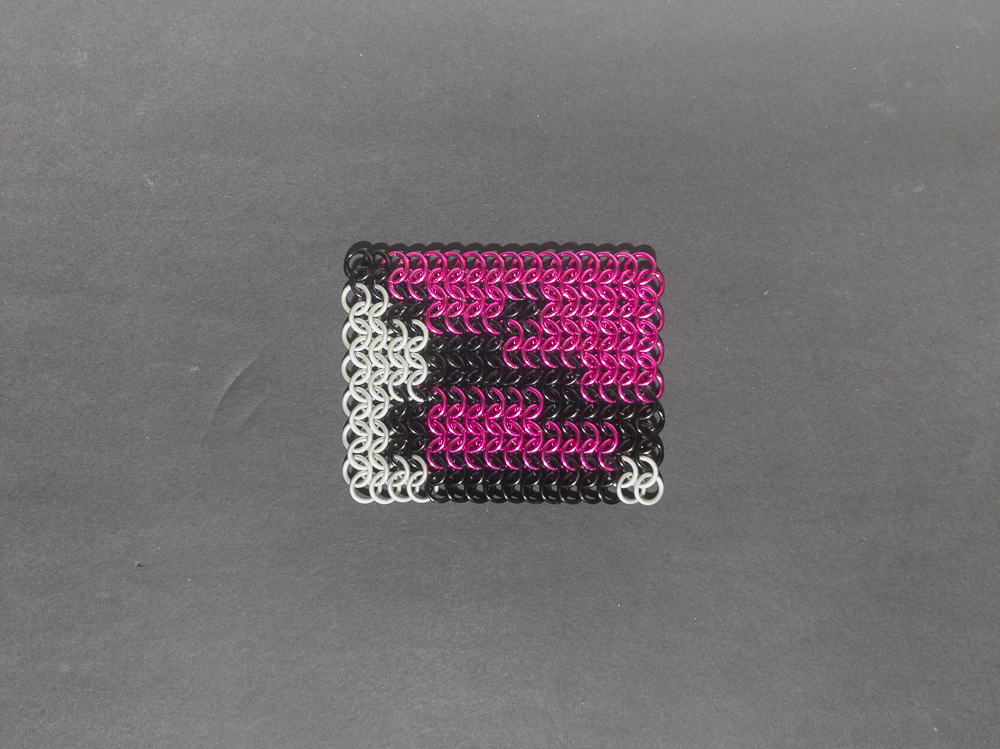
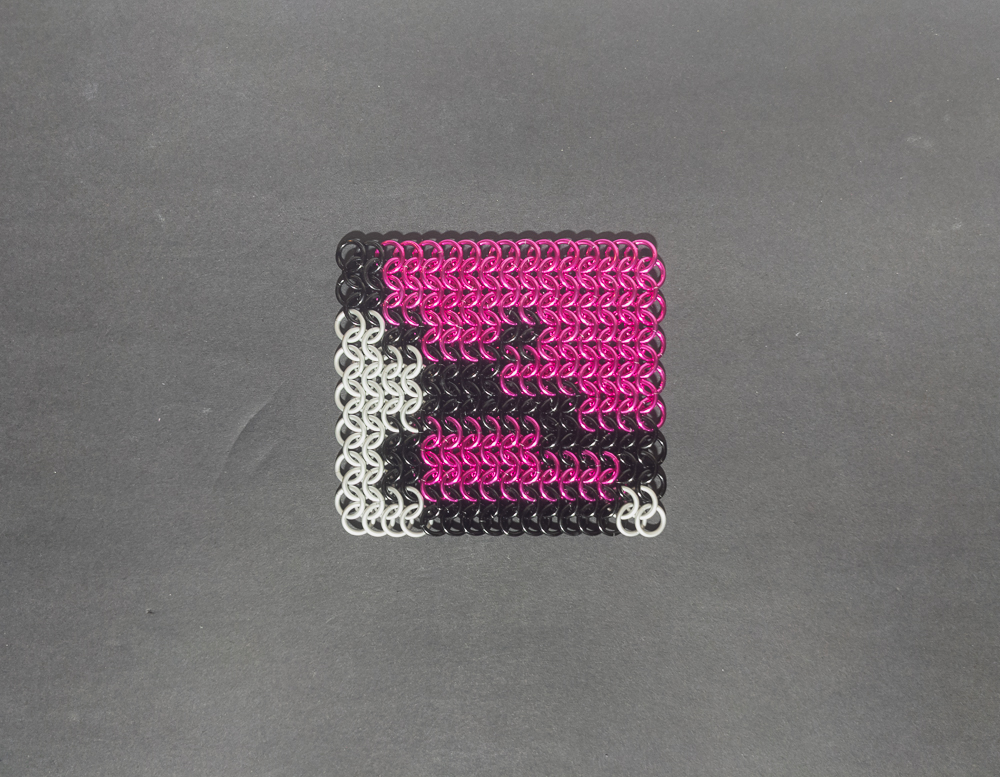
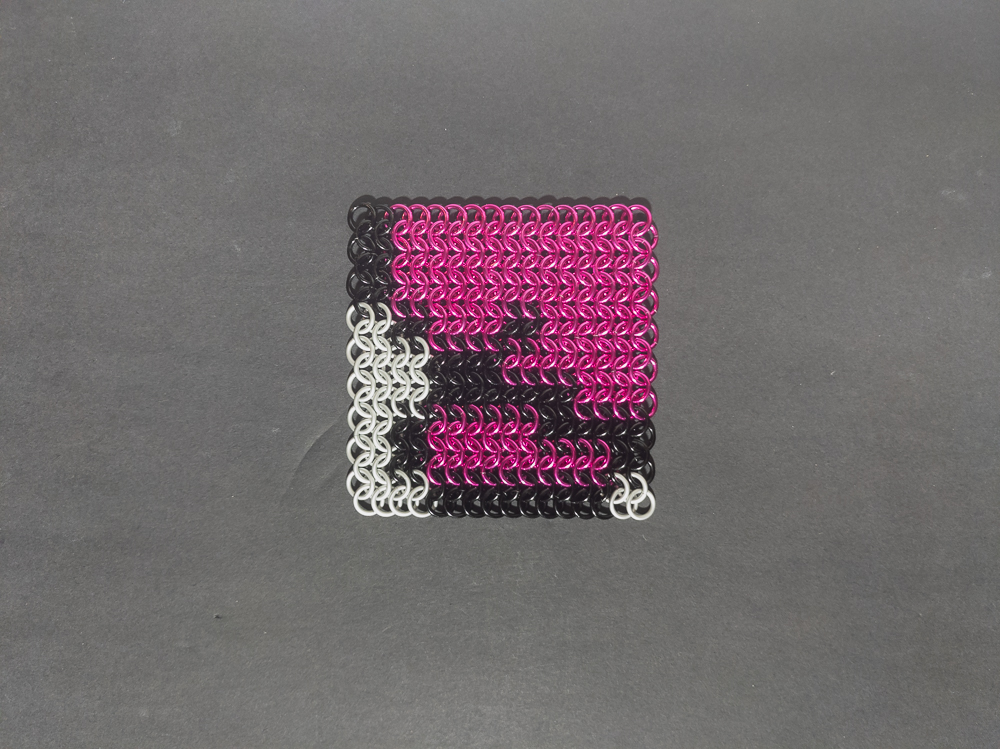
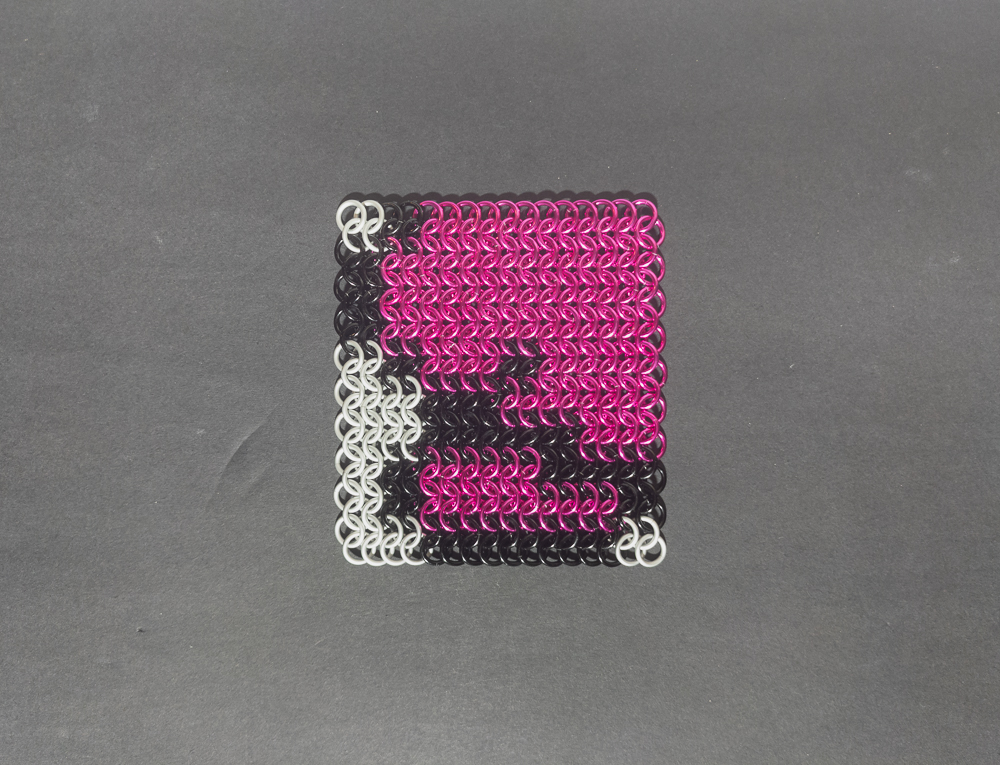
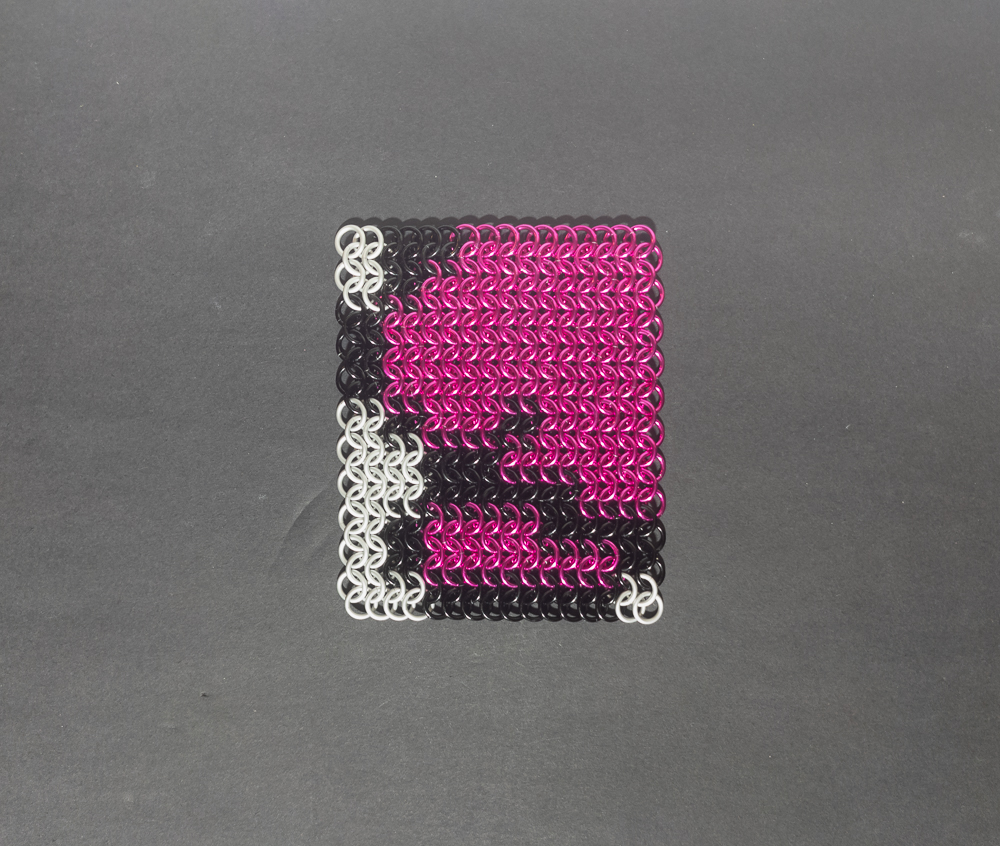
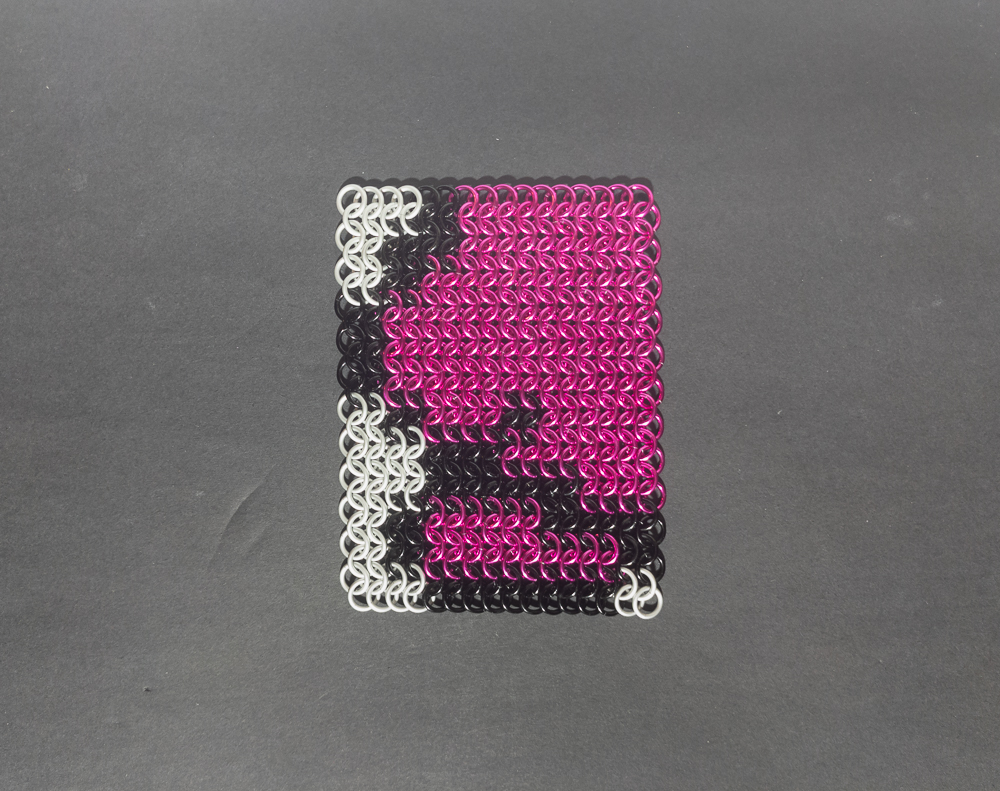
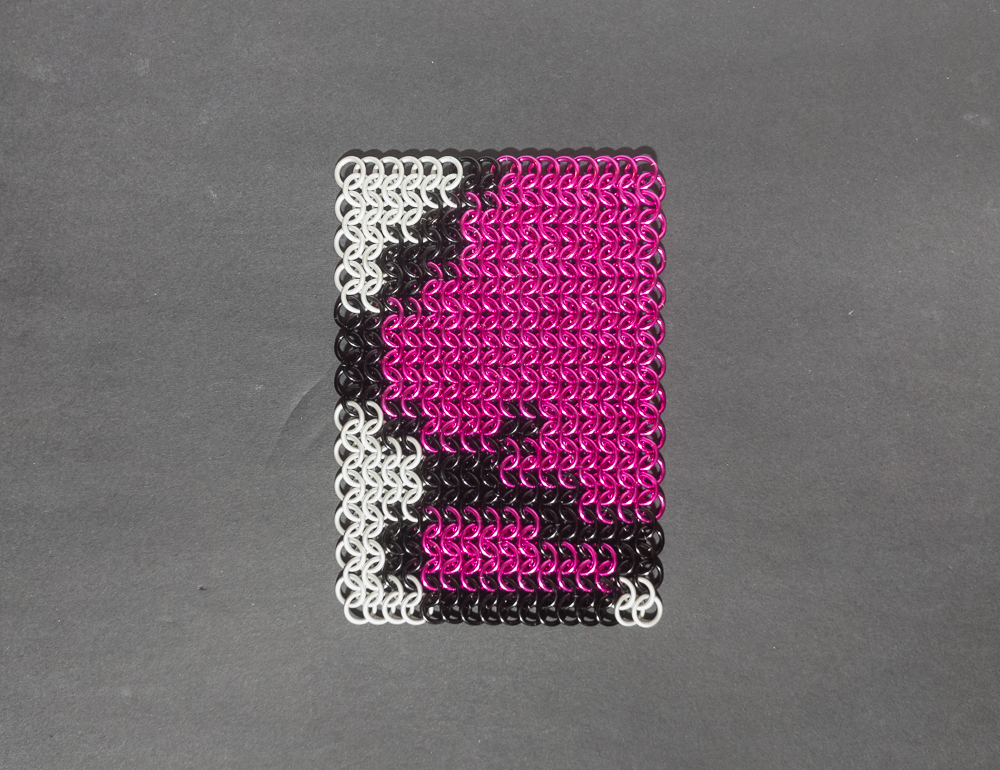
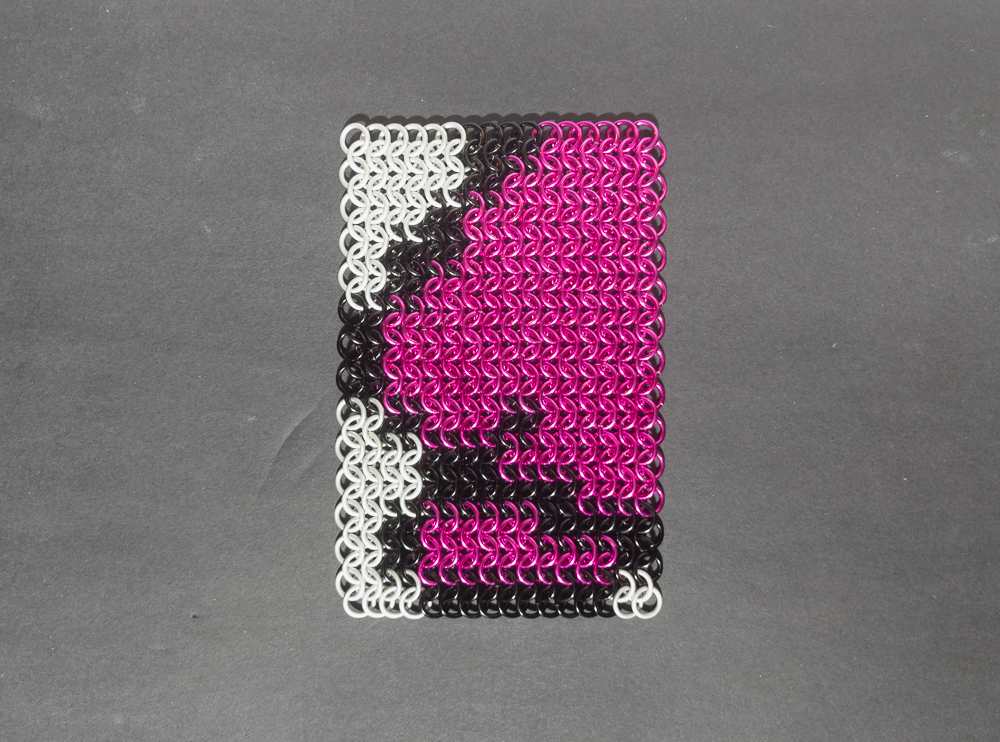
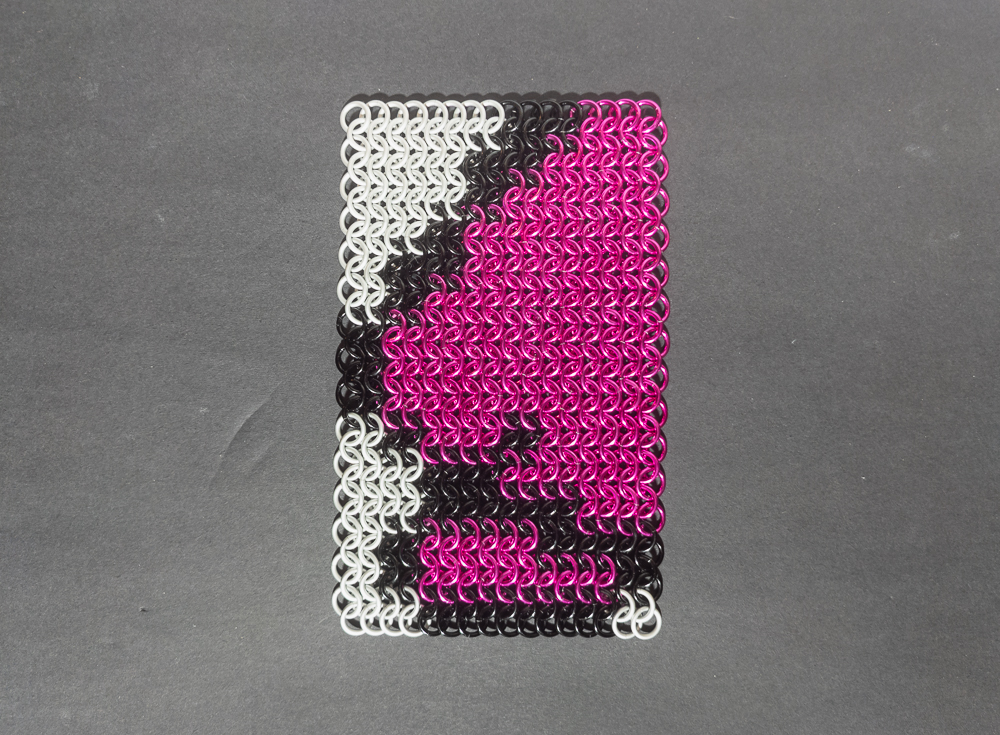
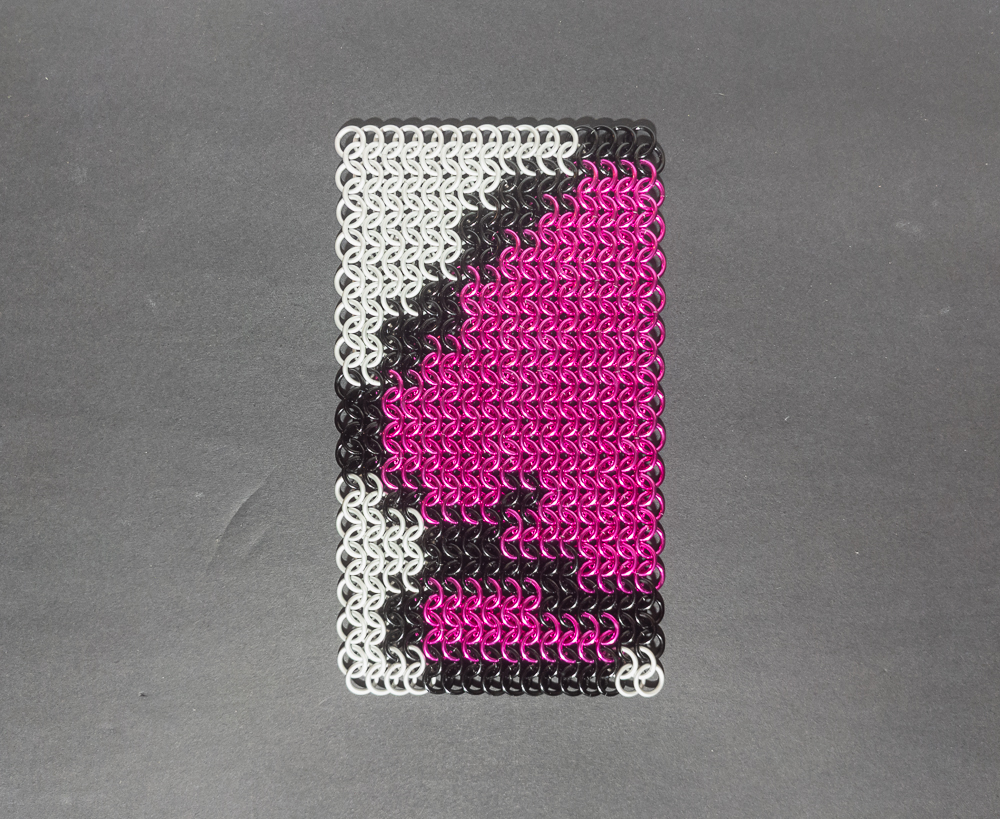
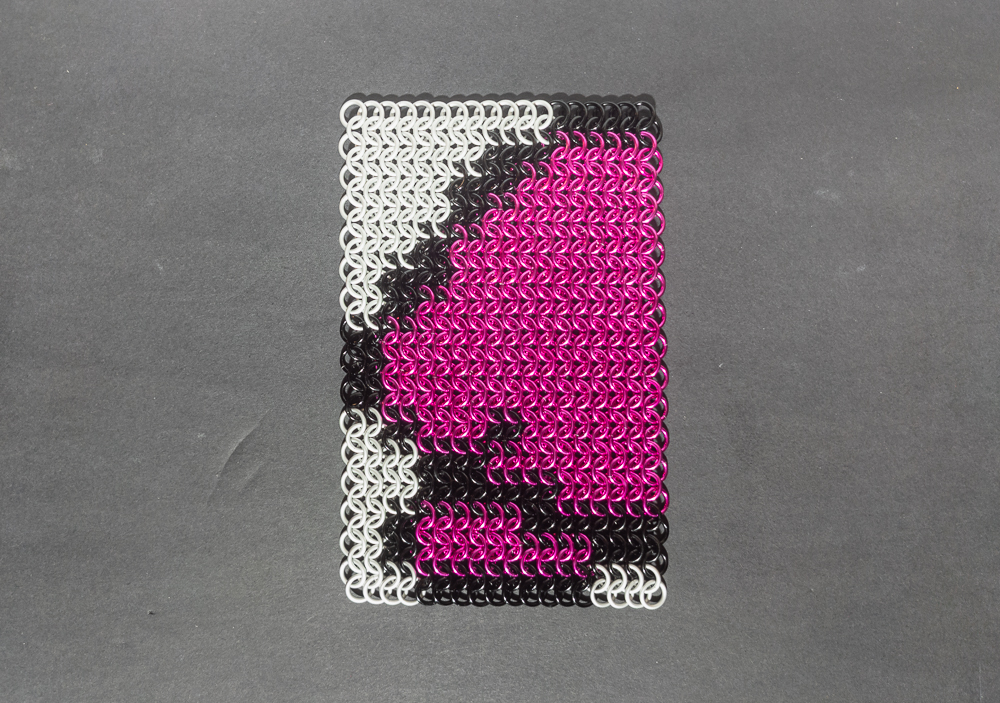
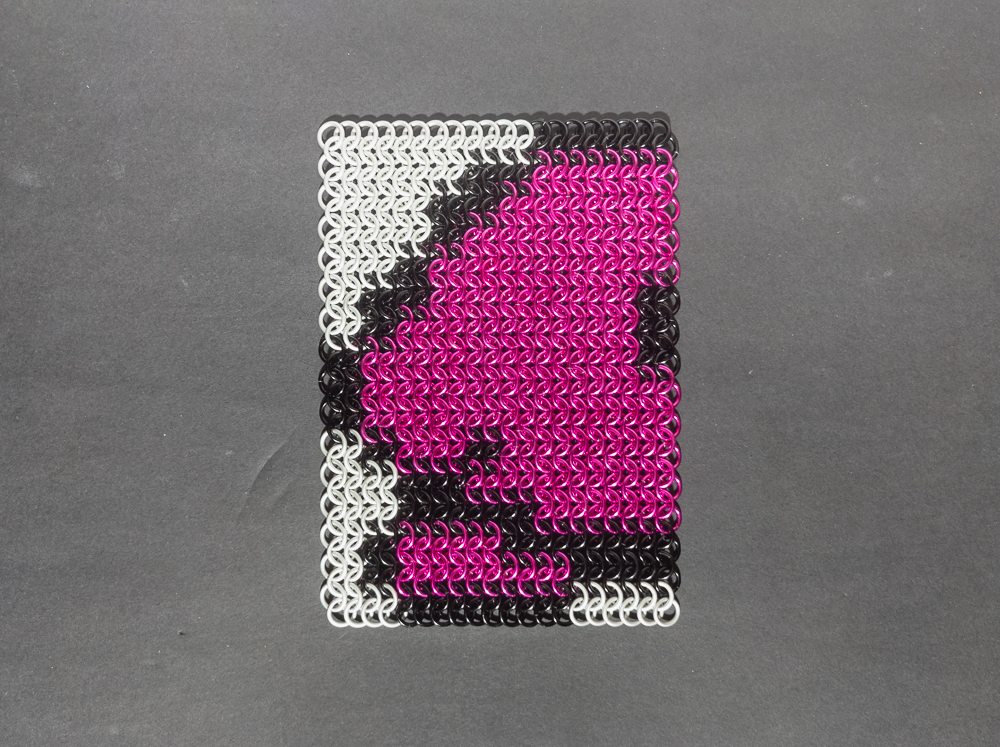
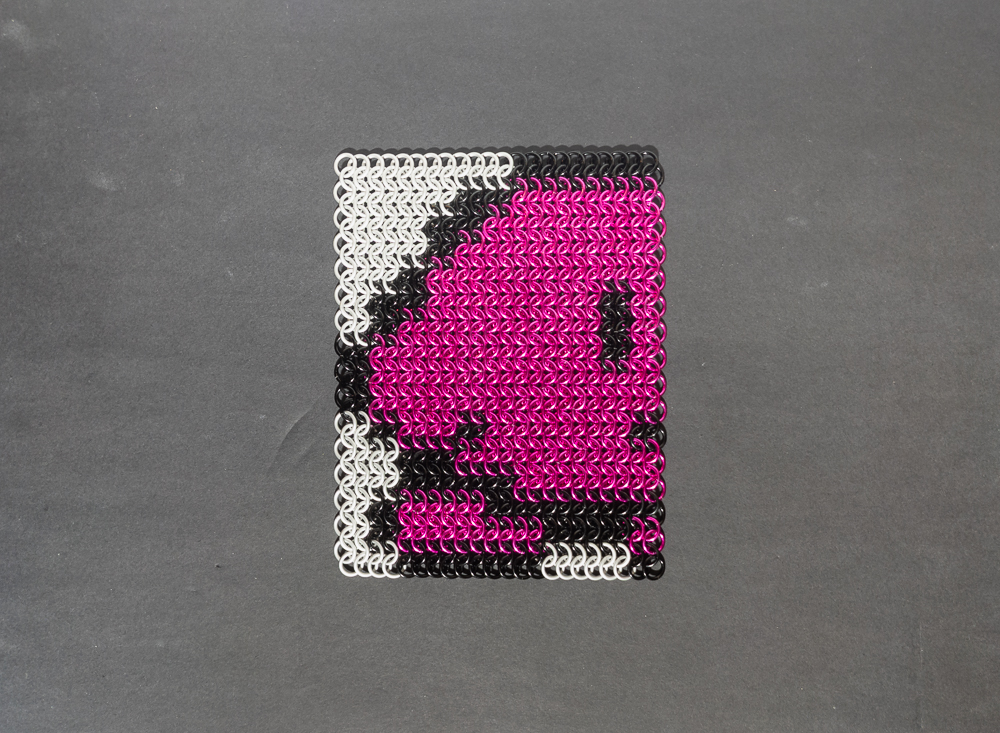
As a basic European 4-in-1 inlay, it was very simple; however, it took about 20 hours to weave. I also accidentally started out weaving it backwards and had to take it apart and reweave it, which took a bit more time. You can see the progress shots of the inlay here.
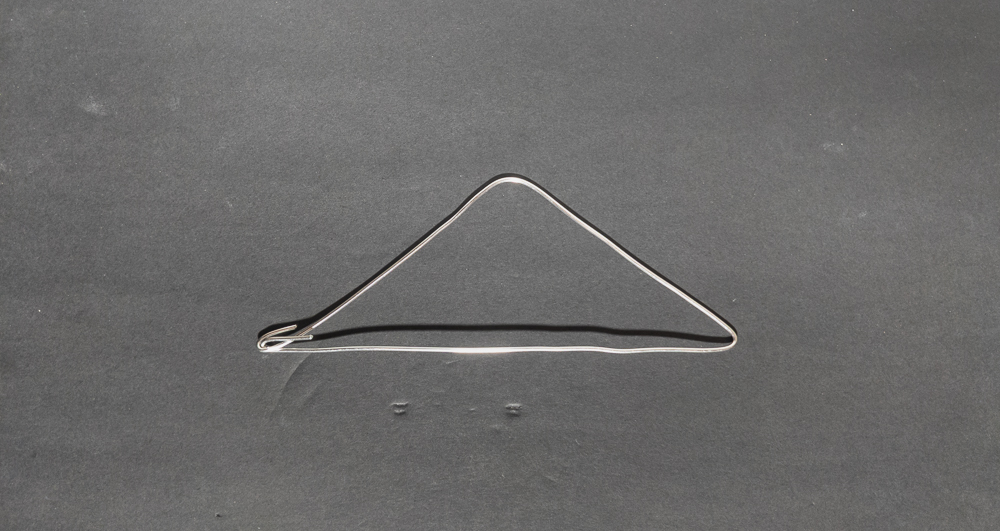
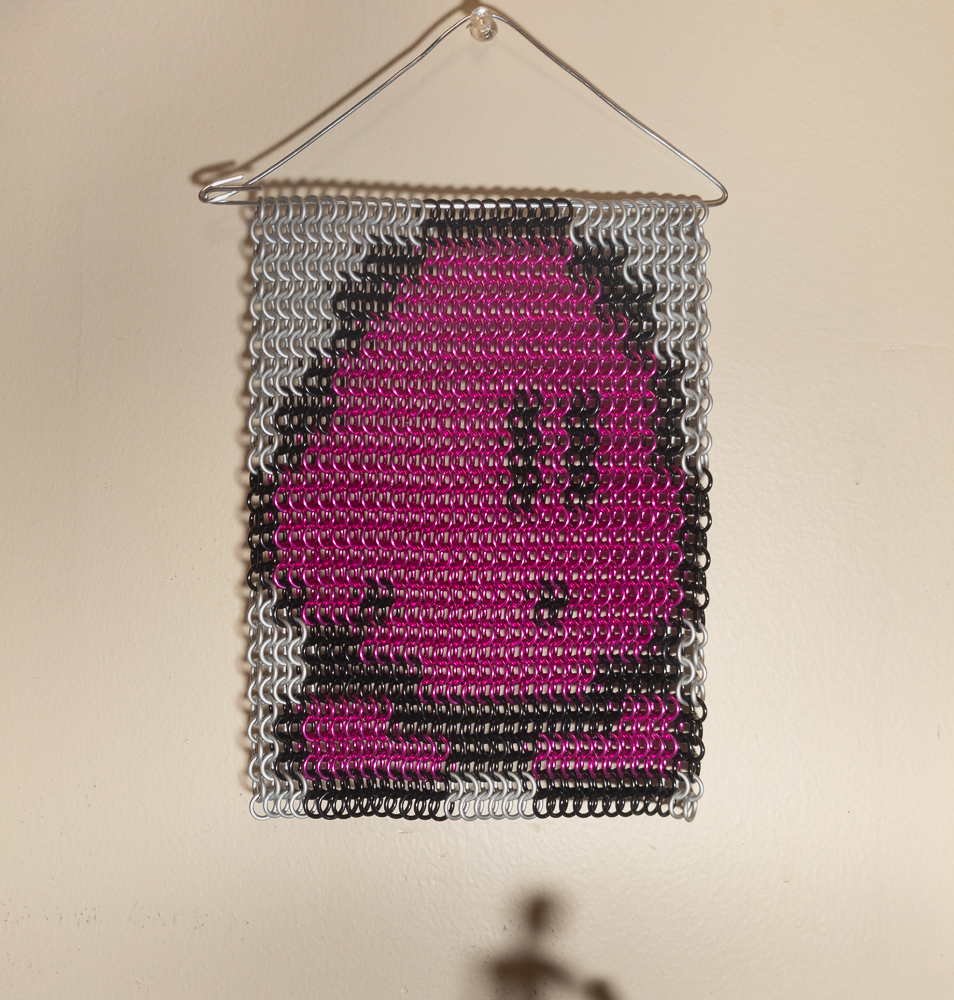
Part of the original discussion with the friend who adopted Kirby was his home and accommodations. Originally, the agreement was that they would hang him; however, a few days after signing over custody, I was told they did not have a hanger for it. Due to time/budget constraints, we settled on me quickly making a wire triangle to hang it on. To create the hanger I straighted a length of 16 SWG Aluminum wire with my hands, fed it through the top row of the inlay, bent a closing hook at the end sticking out of the inlay, bent the first angle of the triangle on the other end, bent the second angle wire above the inlay where it reached about halfway across the inlay, bent a second closing hook around the other closing hook, and cut off the excess wire. You can see the hanger I made here.
Lessons Learned
The biggest issue I ran into was the ring colour differing from what I expected. I have three separate plans to prevent a recurrence of the issue. First, I updated the palette file to fix the bad colour code for Dragonfruit Pink. Secondly, I am working on a better palette creation tool to make managing the palettes easier and more accurate. Finally, I am adding a strict review step between design creation and spending money to double-check the colours. Together, these changes should drastically reduce the likelihood I will order the wrong colour again.
Additionally, I am not pleased with how the wire hanger turned out, and I would like to get better at making them. Every time, they are larger than needed and/or have wider angles than necessary, both of which use extra wire. To solve this, I am looking into specialized wire-bending pliers to get better control over my bends. Additionally, I want to investigate how I can straighten the wire better; currently, I am doing it by hand.
Conclusion
Even though I did not set out to create a Kirby inlay, I think it turned out fairly well. While Kirby does look best at rest and the hanger does stretch the weave, it suits his cartoonish nature. Additionally, my friend is happy with the result, so I managed to make something good from this unfortunate situation. In the future, I may give my original goal another shot.
Pictures
Flat
Hanging
Original Sprite

Simplified Sprite

Inlay Design
In Progress
Hanger