Chainmail Coasters
Overview
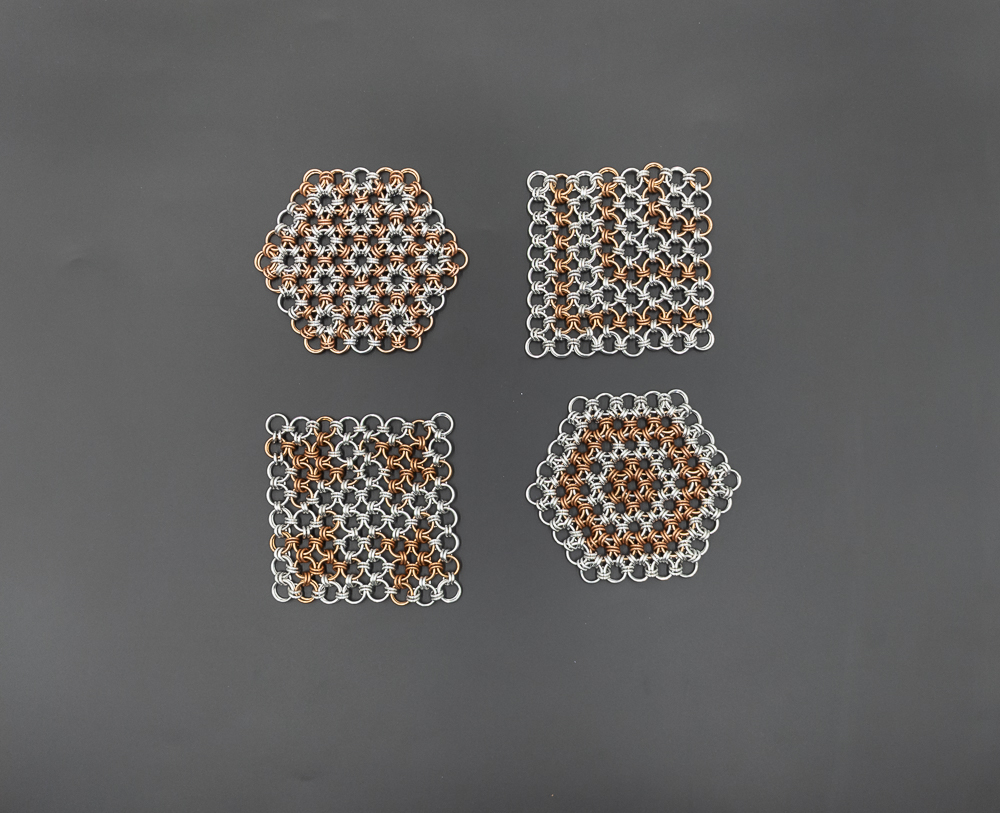
Japanese 12-in-2 and Japanese 8-in-2 have always been two of my favourite sheet weaves, and I have wanted to use them in a project for a while. I had previously thought about making coasters, and since they were well-suited for making coasters, the path forward was obvious. This project did not go very smoothly and required a lot of pivots, but I got to work with two new materials, and the results are pretty good for a first attempt.
Materials
I bought all the rings used in this project from The Ring Lord. Here are the rings used in this project:
| Item | Option Details |
|---|---|
| Large Copper | 16 SWG, 23/64” ID Copper rings |
| Small Copper | 16 SWG, 3/16” ID Copper rings |
| Large Aluminum | 16 SWG, 23/64” ID Bright Aluminum rings |
| Small Aluminum | 16 SWG, 3/16” ID Bright Aluminum rings |
Additionally, to turn the weaves into proper coasters, I bought additional supplies from other retailers. The supplies I bought and where I bought them are:
| Item | Store | Details |
|---|---|---|
| Cork | Michaels | Used in the middle layer of the coaster to absorb moisture and provide a bit of stiffness to the weave |
| Felt | Lens Mills | Used as the bottom layer of the coaster to ensure that it doesnt scuff any surface it is placed on |
| Hot Glue | N/A | Hot glue I borrowed from a friend to attach the weave to the cork |
| Contact Cement | Dollarama | Used to attatch the felt to the cork |
Notes
Coming Up With the Idea
I am unable to remember when I first thought about making chainmail coasters, but the idea has been at the back of my mind for quite a while. Now that I am working on projects, this was the perfect time to make these coasters.
Since coasters are sheets placed on surfaces to protect them, I started with the list of weaves with the sheet tag as my starting point for what to use. As of the time of writing, that gave me 28 options to choose from, and I was not going to make 28 different coasters. After spending some more time, I settled on the following list of weaves of interest: Japanese Dragonscale, Japanese 12-in-2, Japanese 8-in-2, Parallel Byzantine Sheet and Cloud Cover.
If I made coasters that were just sheets of chainmail, they could scratch or damage the surfaces I made them to protect. To prevent this from happening, I planned on adding felt to the bottom of each coaster. I was going to add grommets to the felt to create attachment points for the weaves.
Choosing Weaves and Setting the Size
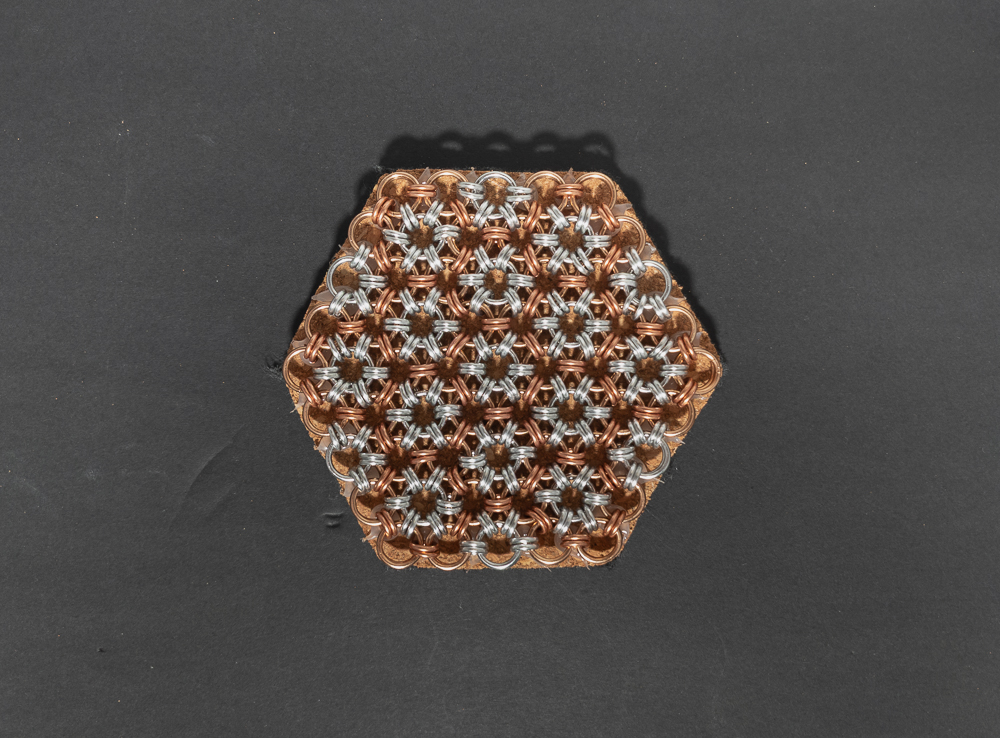
Before I could design any patterns for the coasters, I needed to decide how large to make each coaster and how many coasters to make. I did some research on typical coaster sizes and how many come in a set. Based on this, I chose to make a set of 4 coasters that had a diameter of at least 4 inches, leaving me with one fewer coaster than weaves to choose from. I removed Parallel Byzantine Sheet from the list as I didn’t have the correct rings on hand to make a sizing sample. I started making a sizing sample for Japanese 8-in-2 first, since it was very easy, since I only needed to make a single line of rings, and found that 8 by 8 was the perfect size. After that, I worked on Japanese 12-in-2. I made a full-size sample to get the best idea of the necessary size, which was 4 layers on the center ring. At this point, I had unfortunately run out of time to make sizing samples. I was ok with losing Cloud Cover; however, I was quite sad to lose Japanese Dragonscale.
Material Colour & Pattern Decisions
With 4 coasters to make and two weaves to choose from, I decided to make two coasters from each weave, so my set had a nice pairing. I wanted to use anodized aluminum to make colourful patterns. Unfortunately, I was unable to find a vendor offering anodized aluminum in the appropriate sizes. So came the first major pivot point of the project, where I looked to use different metals to create a two-tone palette.
My first fallback was to use aluminum and brass; the Ring Lord did not have the brass rings in the sizes I needed in stock. I then checked their bronze rings, which were also not in stock. I ended up having to settle for using aluminum and copper rings to produce a two-tone colour scheme.
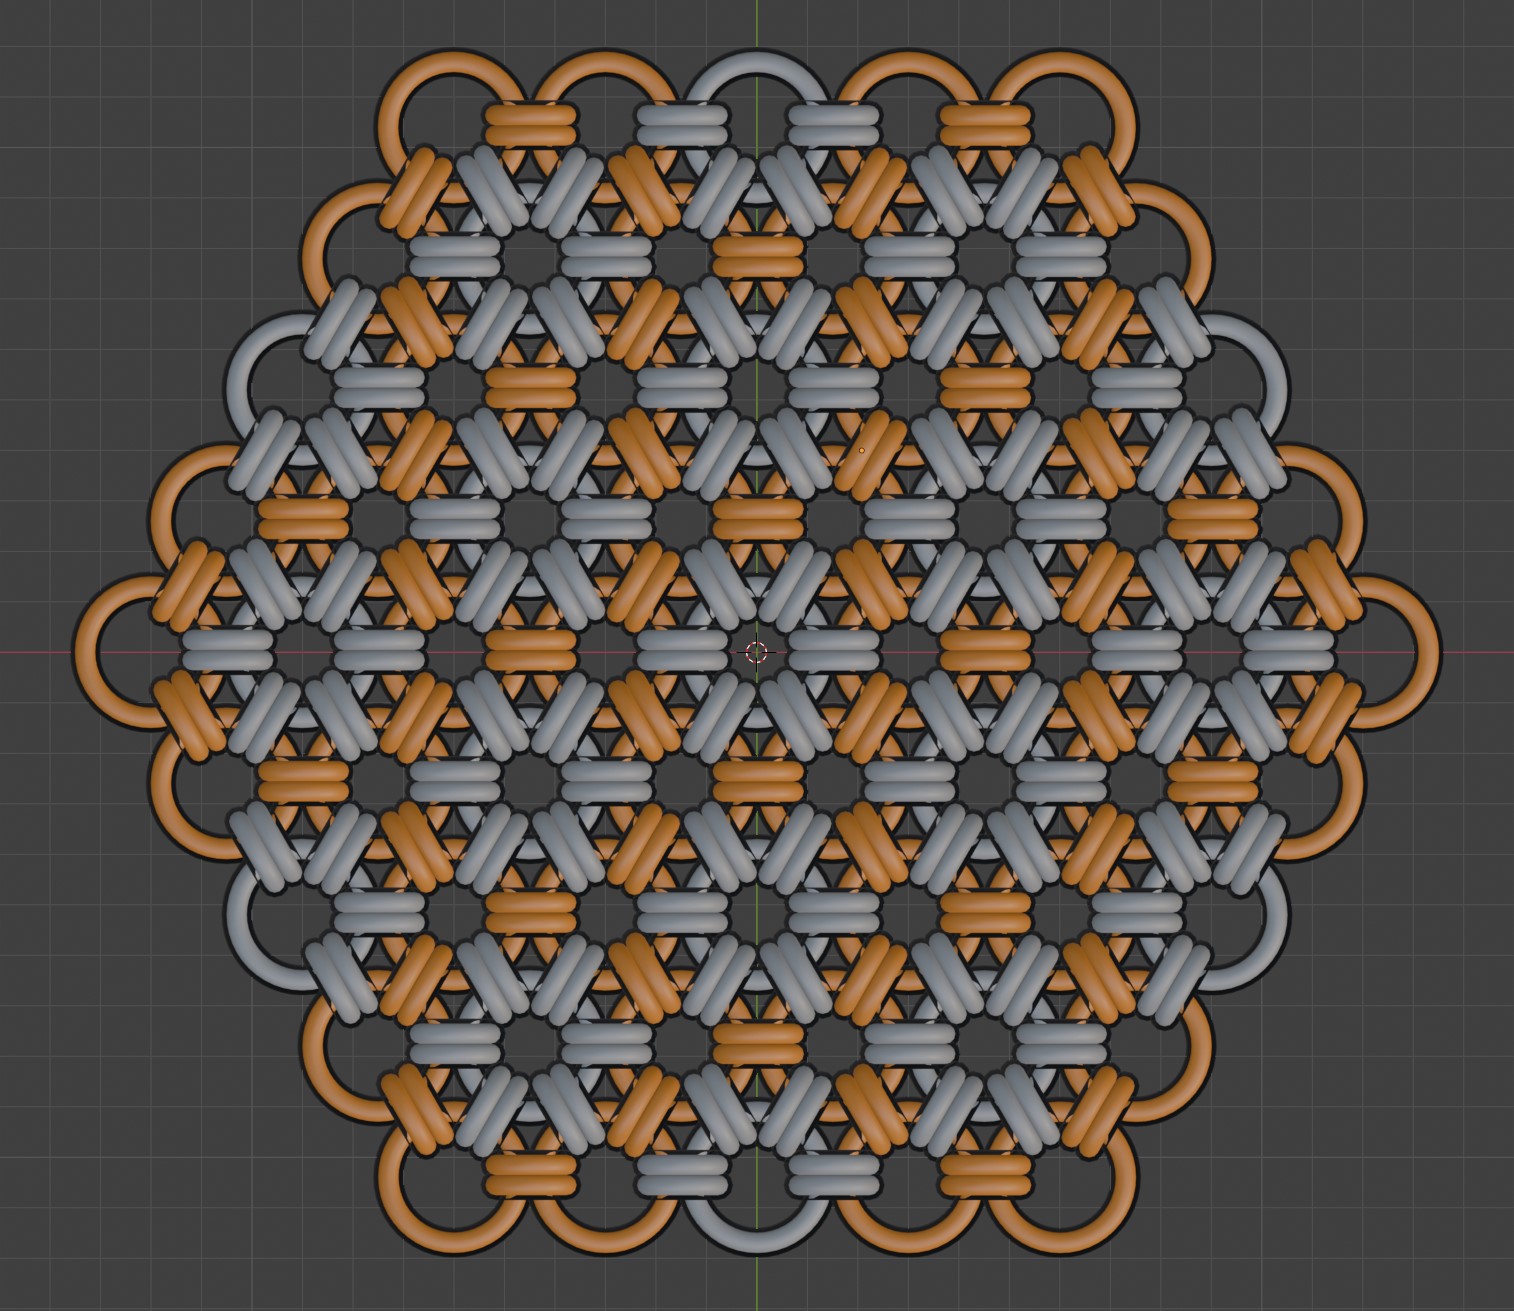
With my colour palette set, it was time to design the patterns. I started by creating blank templates of the weaves in Blender, creating the two colours to use, and making any ideas that came to mind. After some time, I had 14 rough ideas to choose from, and I went through multiple stages of ranking and choice until I had selected two options for each weave. You can see the initial designs I chose here.
What About Galvanic Corrosion
A short while after I ordered my rings, I remembered that copper corrodes much faster than aluminum. While looking into methods to prevent this, I also discovered that copper corrodes aluminum. This corrosion occurs via galvanic corrosion, with water speeding up the process. Since my intended use case was coasters, this was quite bad news, especially since I had already ordered the materials.
My initial thought was to encase the weave in hot glue. I rejected that idea because once it cooled down, it would go from clear to cloudy, ruining the view of the weave. Additionally, hot enough drinks might even melt the glue. My second thought was to encase it in resin, but that would require a vacuum chamber and leave me unable to appreciate the texture of the weaves. I decided that I needed to spend more time investigating solutions, after which I came up with the following two-fold approach to the problem.
The first approach would be to use rust-proofing metal paint with a clear finish. Given the complicated geometry of the weaves, covering the whole surface would be difficult. Additionally, when coasters are in contact with objects, their finish can be worn down. However, I still planned to use rust-proofing paint to prolong their lives.
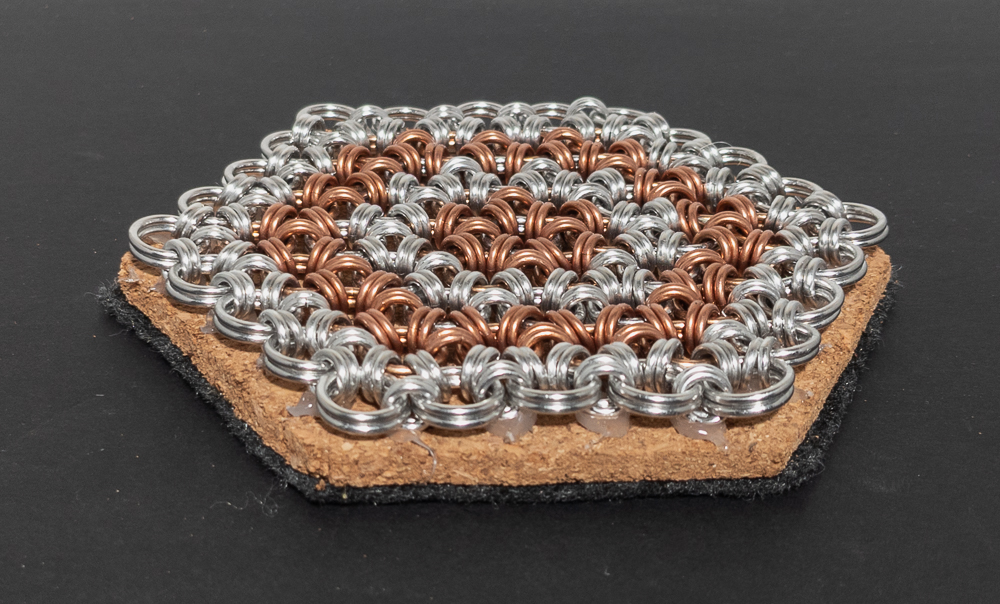
My second approach was to add a layer of cork to the coaster under the weave. I planned on adding cork to absorb moisture and keep it away from the metal. The cork also provided a convenient place to attach the felt to, and added helpful stiffness to the looser 8-in-2 coasters.
Making the Coasters
These chainmail weaves are quite simple to make. While making the sheets was the most time-consuming part of the process, it was by far the easiest. Though there was a camera setting issue that led to me having to tear down and remake one of the sheets, that was not hard, just time-consuming.
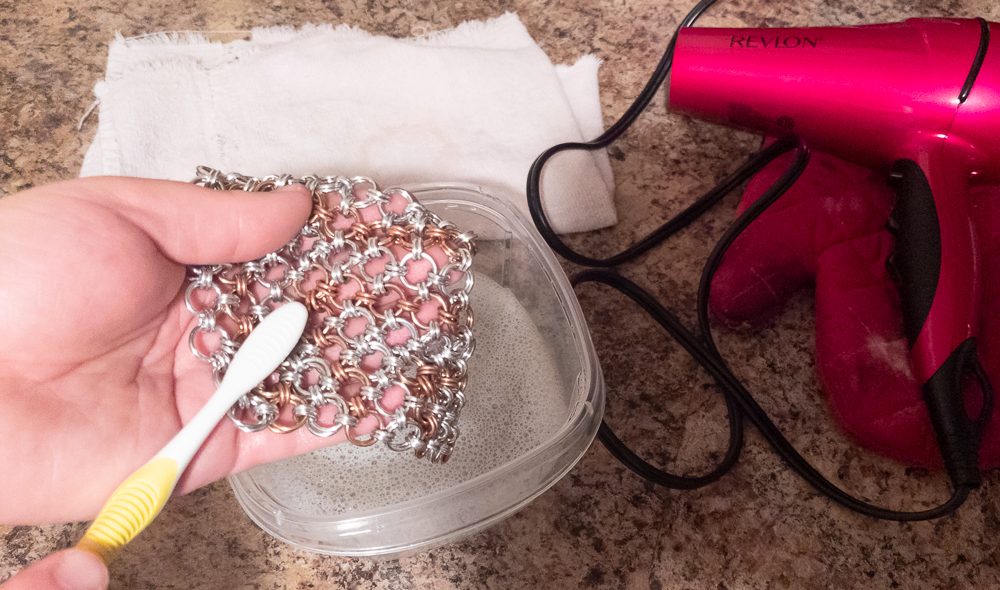
After making the weaves, I needed to prepare them for the rust-proofing coating by thoroughly washing them to remove any oil or dirt. To do this, I filled a small container with soap and water, then used a toothbrush to wash each ring on both sides. Additionally, to prevent corrosion, I needed to dry the weaves quickly. I accomplished that by placing them on a towel and using a hairdryer to dry them. After it was dry, I used a glove to move it to a separate area to cool before coating it. You can see a photo of the washing process here.
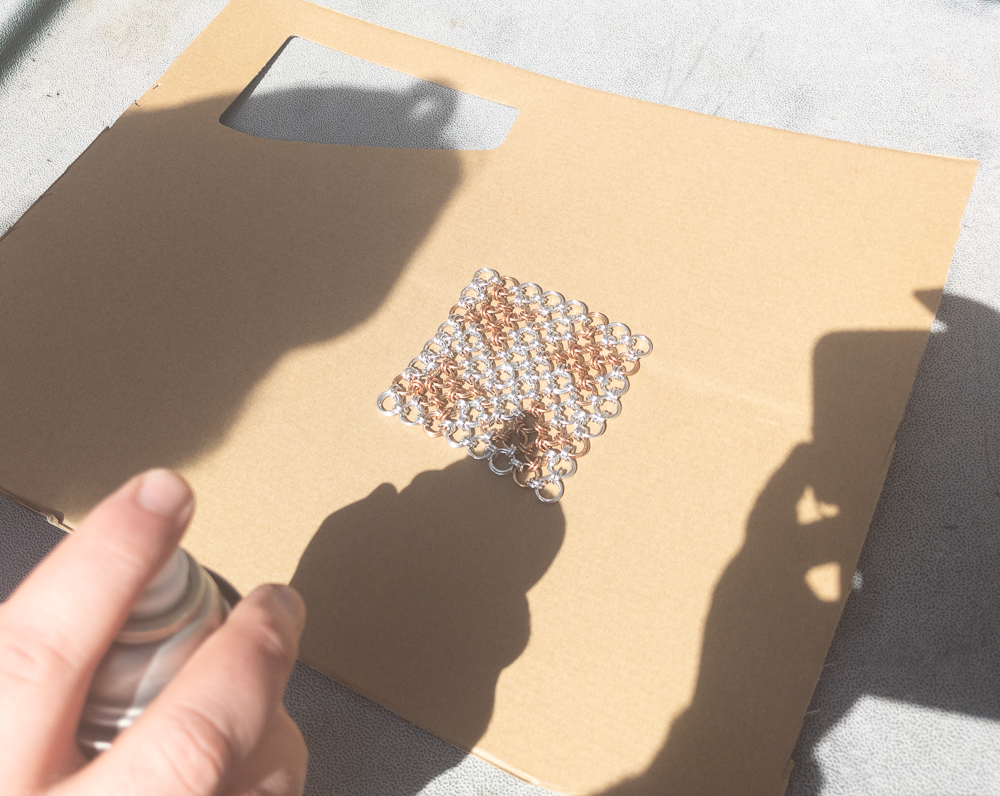
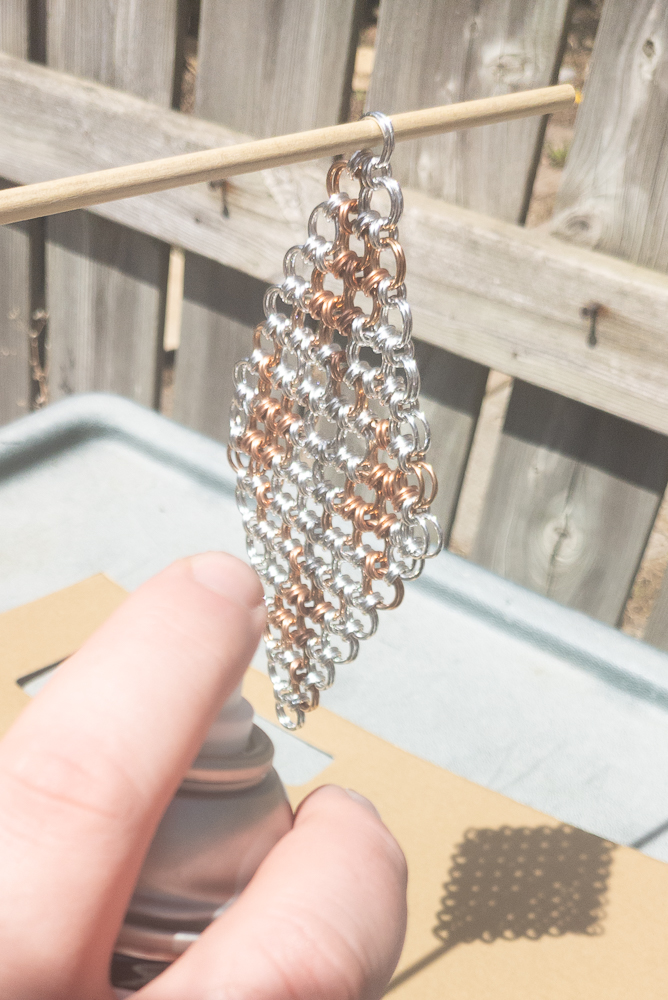
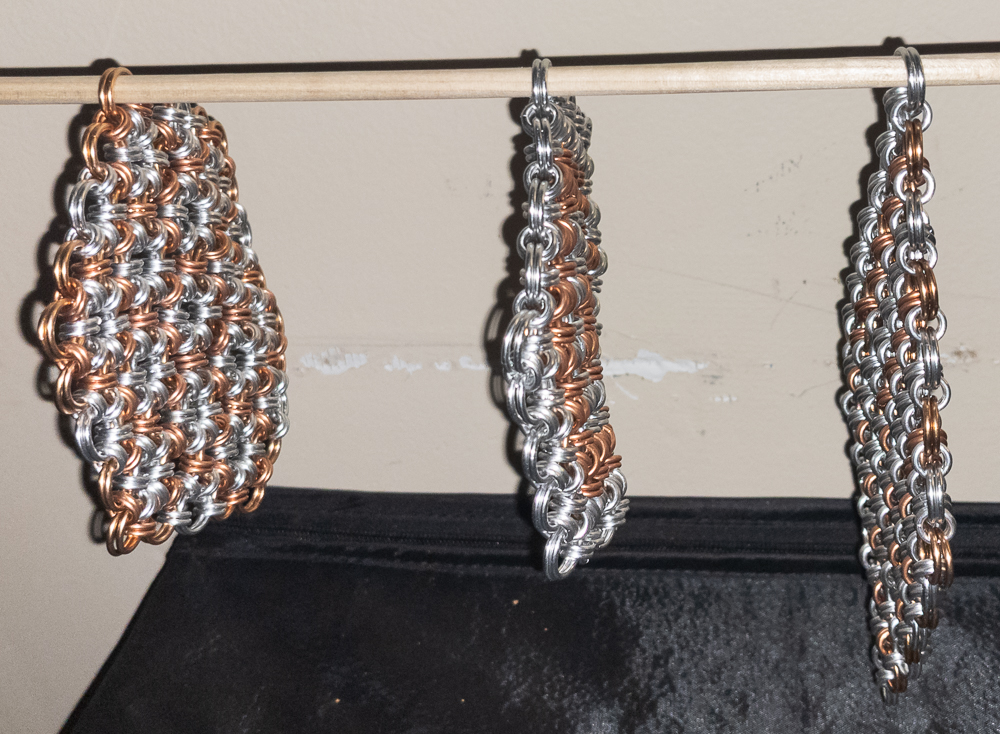
At the advice of the hardware store employees, I bought a spray can of rust-proof coating. I applied it outside, placing the weave on cardboard for coatings while flat and a dowel for coatings while vertical. Each weave received coatings from 4 different angles, two for each side when flat and two vertical coats with the weave held from different corners. To let the coating set, I used another dowel held by hooks on a wall (transferring weaves between dowels without touching them was hard). See here for photos of coating the weaves and here for photos of the weaves hanging to dry.
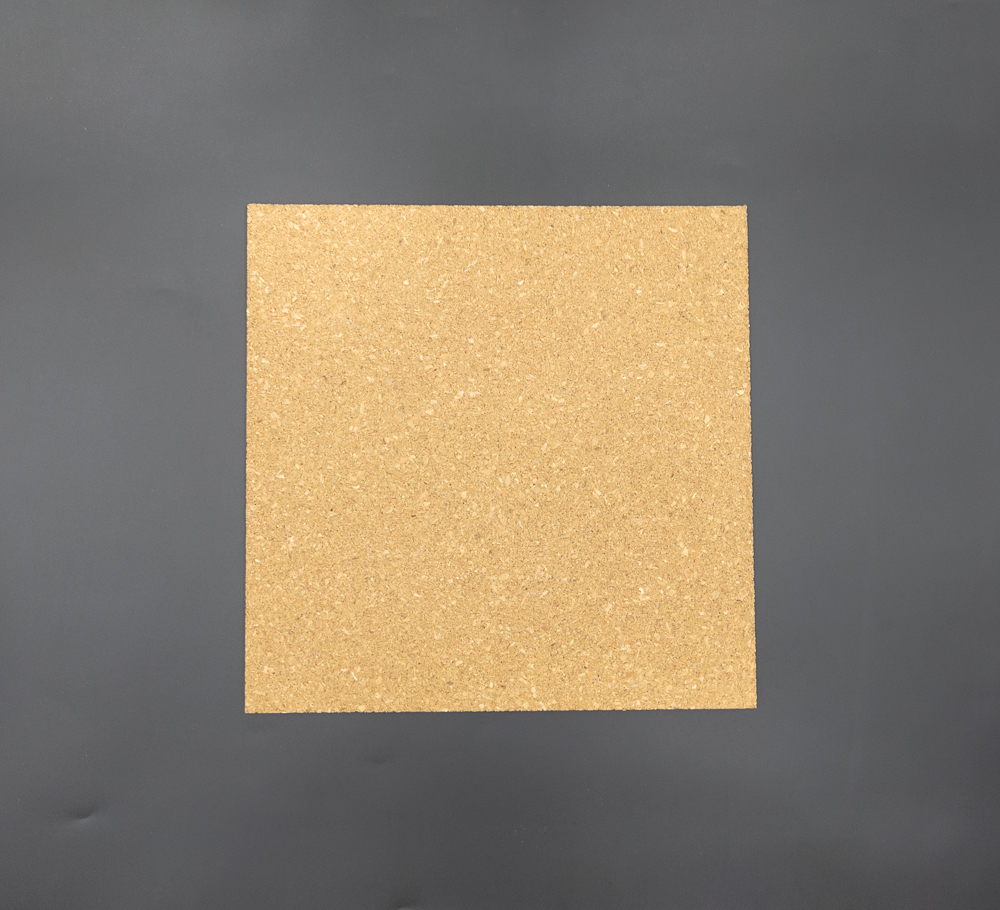
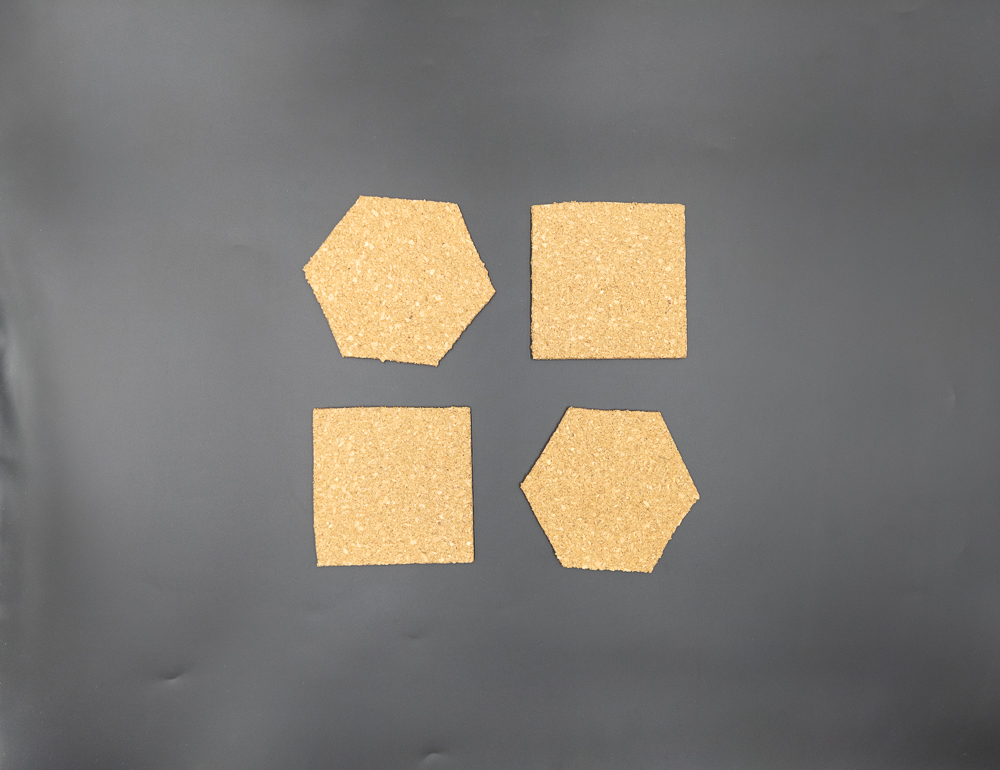
With the coated weaves ready, I started preparing the middle layers. I used two 12” by 12” sheets of cork. I cut the first one into 6” by 6” squares and used the second one as a cutting board to avoid cutting the table. I took two of the smaller squares and pinned an 8-in-2 weave to one and a 12-in-2 weave to the other, then used a marker to outline each weave. Then I cut the cork off of them to get one hexagon and one square. I drew the outlines of the hexagon and the square on the other sheets to cut them out, giving me my rough cork blanks. You can see the full cork sheet and rough cork blanks here.
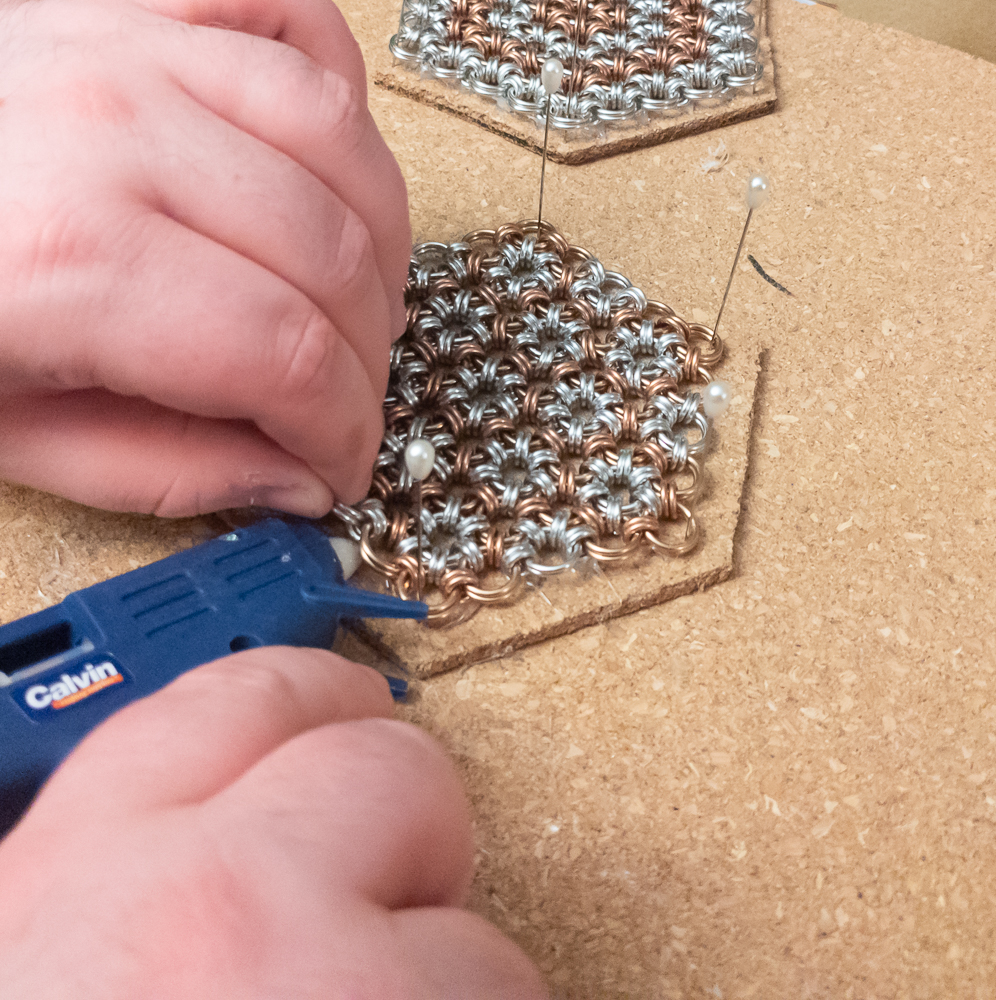
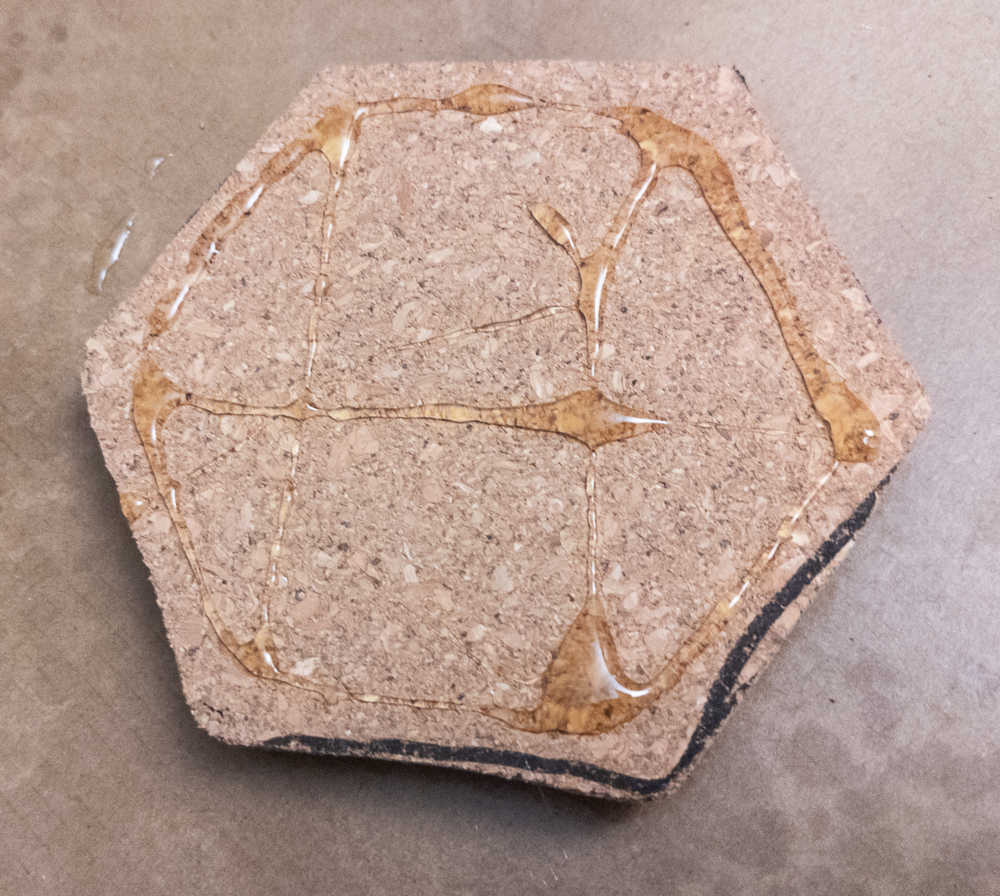
With my rough cork blanks ready, it was time to glue the weaves to the blanks. I paired each weave with an appropriately shaped blank, pinned the weave into position on the blank, and glued each pair of outermost small rings into place. For three coasters, I used hot glue because it was easier and faster; however, for one coaster, I went through the trouble of using contact cement. The hot glue held the weave in place on the cork, but the adhesion was much worse than that of the contact cement. Unfortunately, I did not have time to replace the hot glue with contact cement. However, if the hot glue fails in the future, I plan to fix it with contact cement. You can see the gluing here and the roughly corked weaves here.
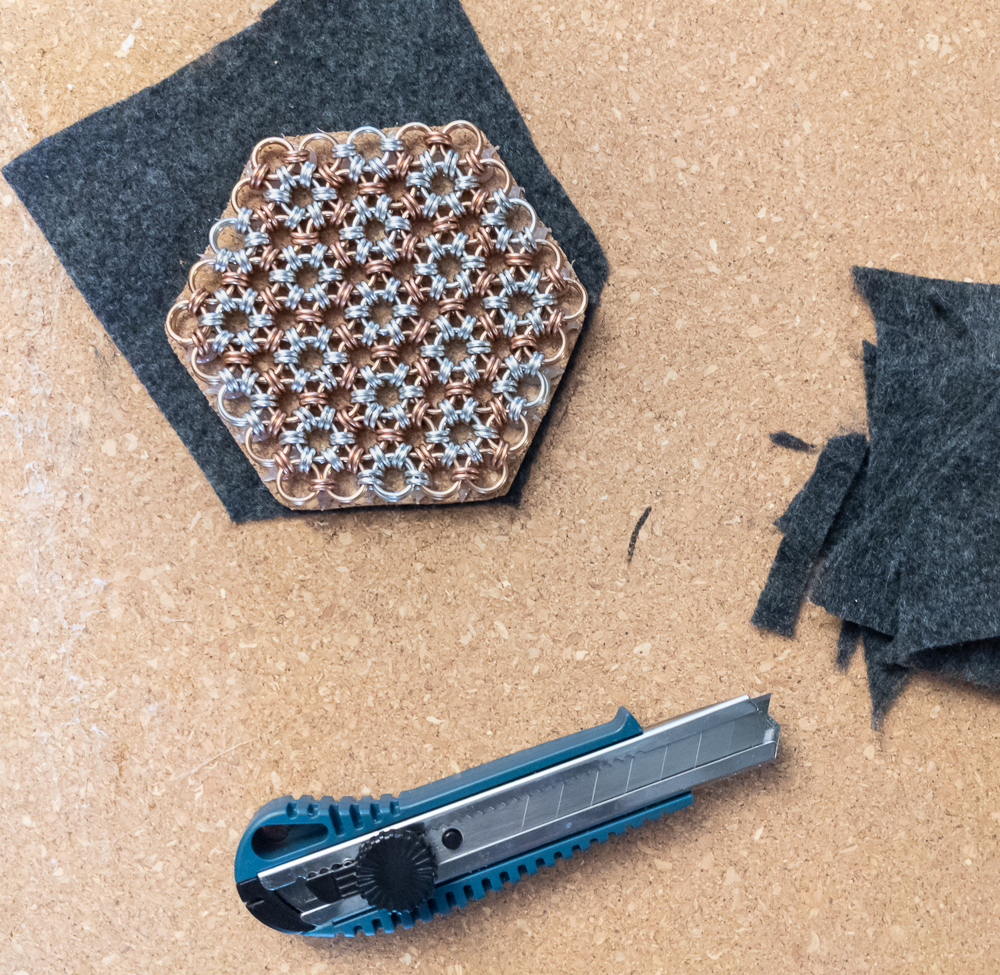
With the weaves glued to the rough cork blanks, it was now time to trim the cork blanks to fit the weaves. I tried sanding the cork down, but that took a very long time and produced a lot of cork dust (if you want to sand cork, I would highly recommend a mask). Given how long it was taking and how hard it was to keep the sandpaper from scratching the coating, I went for a more direct approach. I took the coaster, placed it on the sheet of cork I used as backing for the original cutting and cut off the edges using the weave as a guide. I ended up using the sandpaper to smooth out some rough cuts and smooth the edges of the coasters. You can see the trimmed corked weaves here.
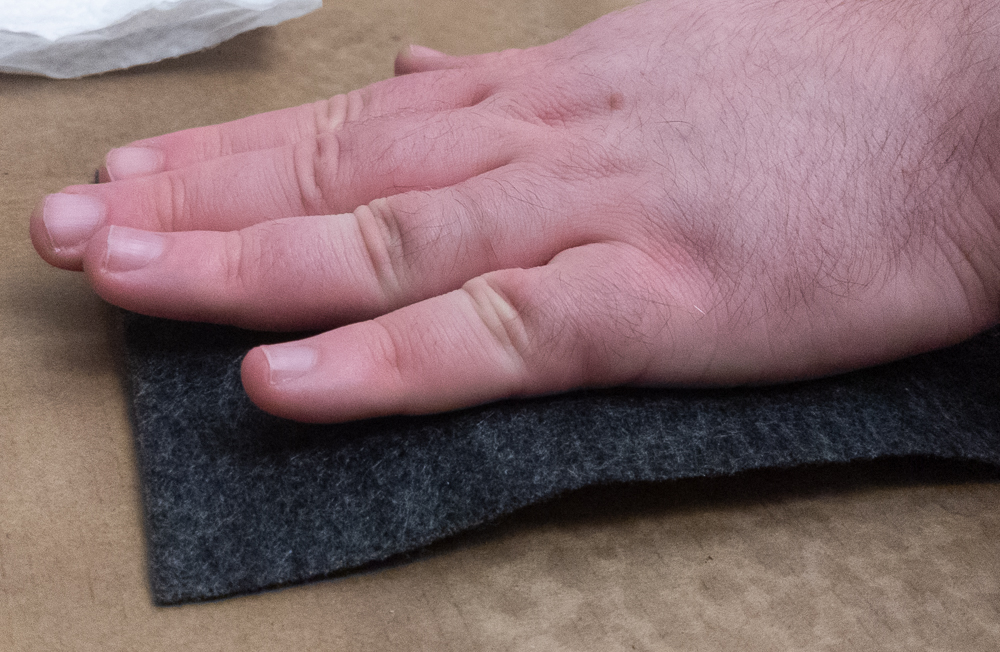
With the coasters fully corked, it was time to add the felt. I had a lot of felt to work with as the fabric store would not sell less than 5” from their 40” bolt. I started by roughing out felt rectangles by placing the coasters on the strip of felt and cutting between them. Then, I added a line of contact cement around the edges of the cork and a few lines between the edges, pressed the felt onto the glue, and then set the coaster aside to let it dry. You can see the glued cork here, me pressing the felt on here and the roughly felted coasters here.
The final step was to trim the excess felt from the coasters. I took each coaster, put it on the sacrificial cork sheet, and cut off the excess felt using the cork as a guide. Doing so let me cut in nice, clean lines, avoiding the jagged edges from the roughly cut felt. You can see the trimming here and the final result here.
Lessons Learned
While I feel that I made fairly decent coasters, these were a first attempt, and there are some things I would change if I could start over. The most important change I can envision would be to use non-corrosive and hopefully non-tarnishing materials. Regarding gluing weaves to cork, I would set aside more time for the task and use contact cement instead of hot glue. I noticed that with a single gluing, the felt is not very secure at all the edges of the coasters, and the corners are fraying. I believe that a second application of contact cement should fix the problem.
I also noticed things that worked well, and want to suggest to anyone else making chainmail coasters. I like how gluing just the outer edges of the weave allows it some freedom to move. The cork has worked wonderfully to add some structure to the weave, keeping it mostly flat while still allowing it to bend. Wear a mask while cutting or sanding cork. I did not wear a mask the first time I cut it, and it literally left a bad taste in my mouth.
I finished the coasters yesterday, so before I try making more, I will wait and observe how the current ones handle usage first.
Conclusion
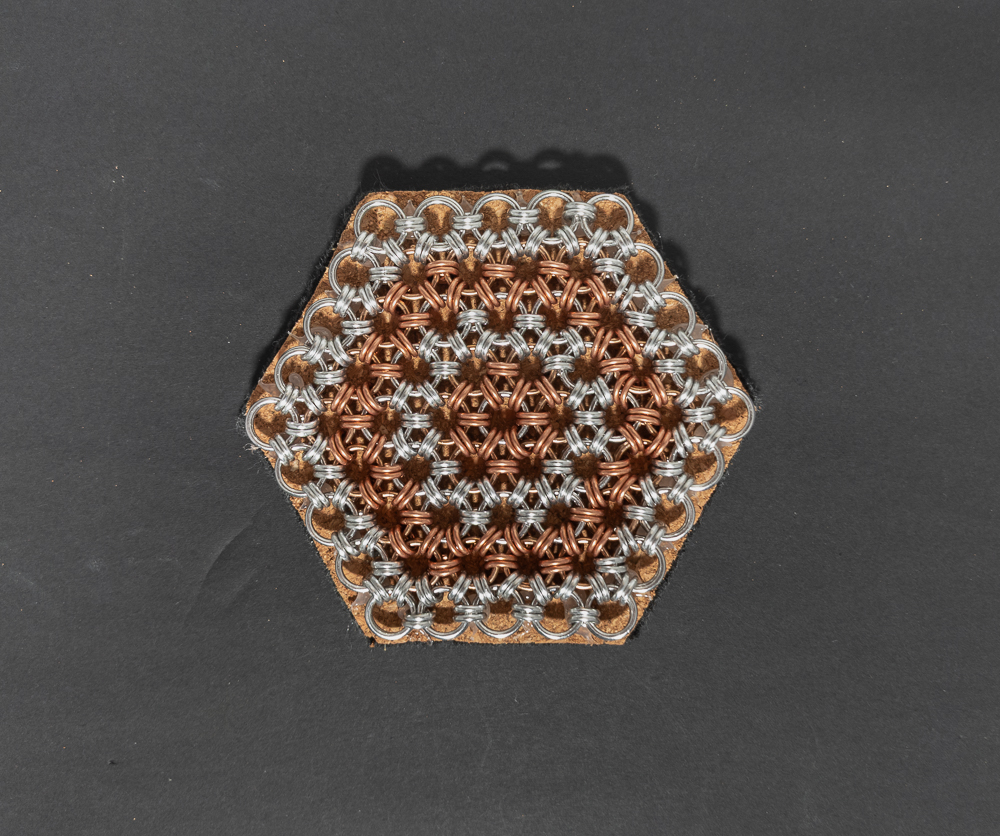
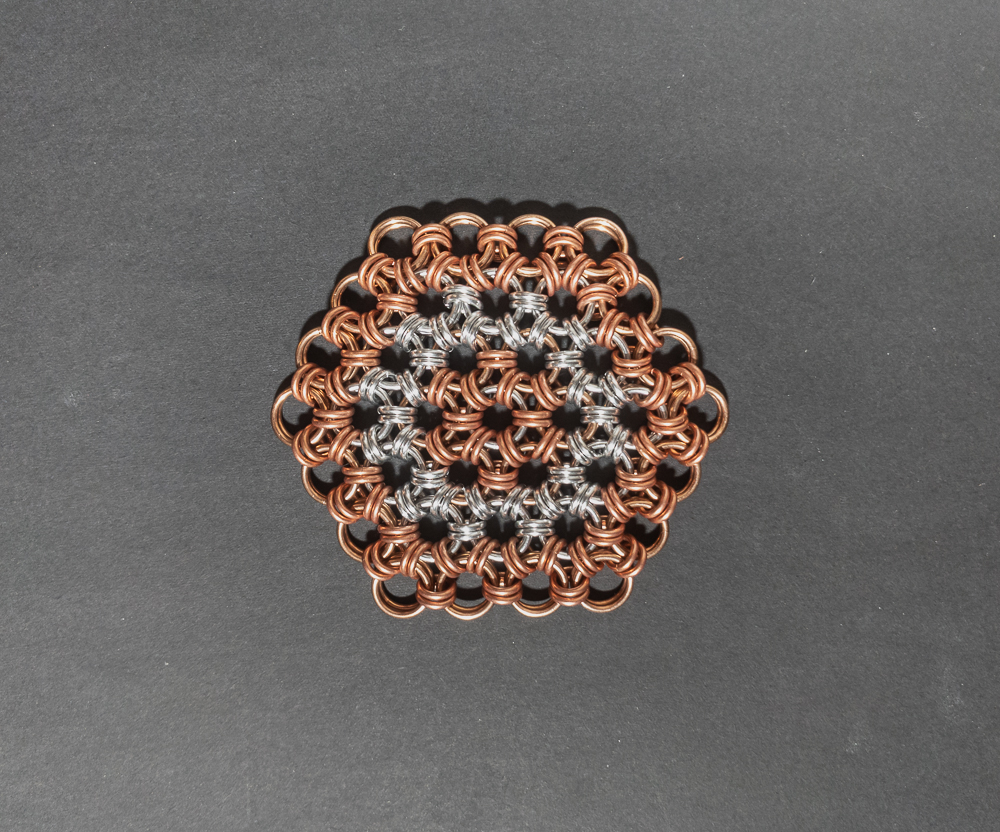
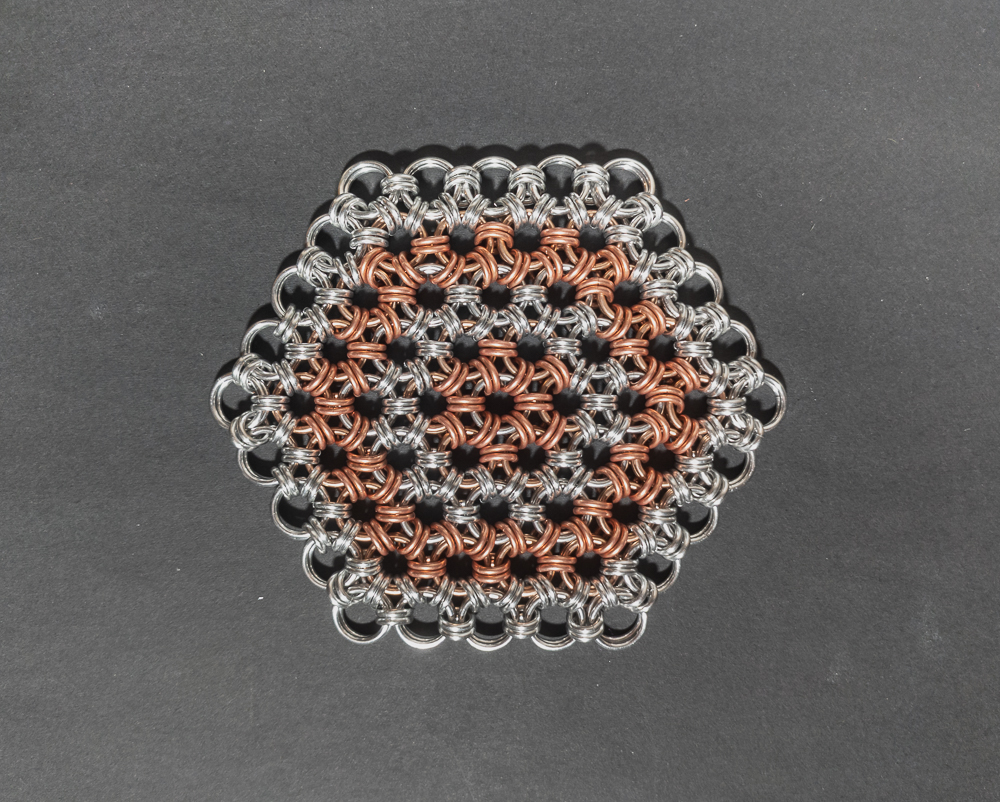
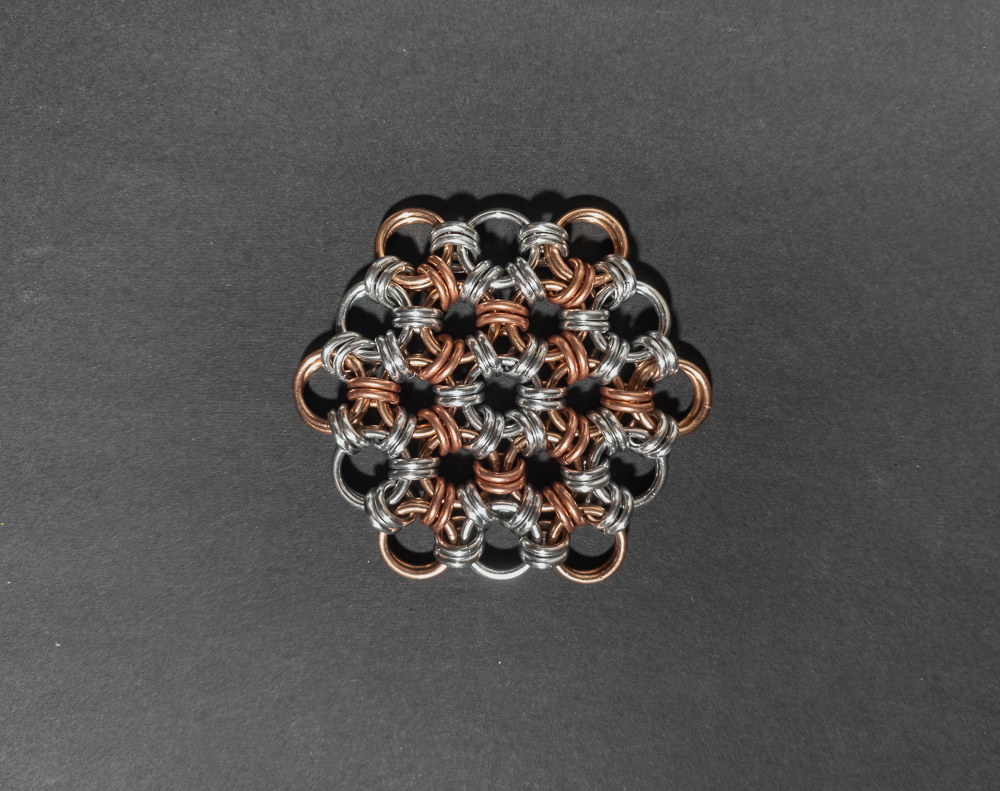
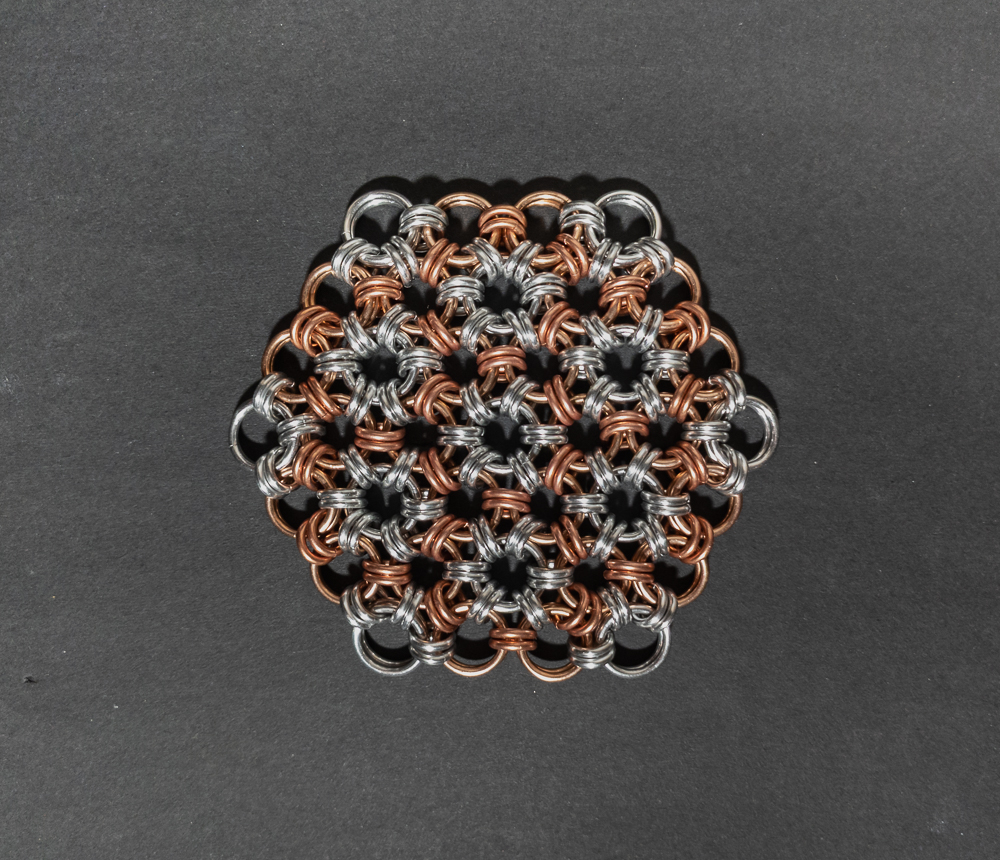
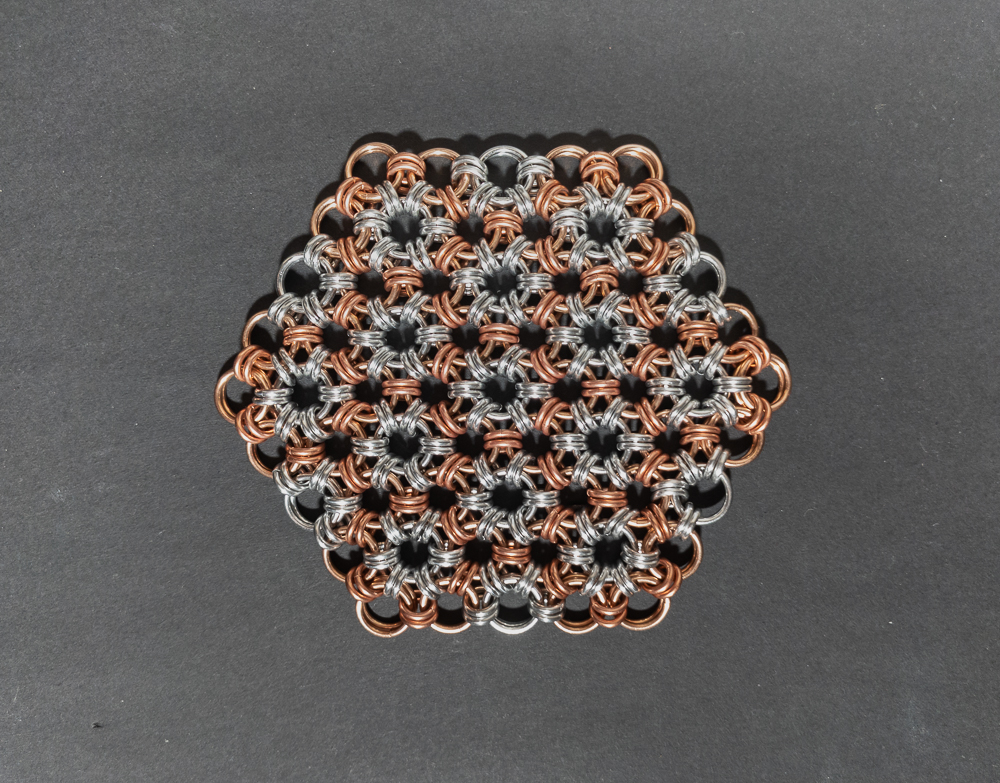
In general, I think the project turned out better than I expected. In my opinion, the Japanese 12-in-2 coasters are the real standouts. Their denser weave provides more contrast between the copper and aluminum and makes them easier to work with. I think that in the future I may apply the lessons I learned and try making coasters again using some other weaves. Overall, while the result is far from what I first envisioned, I am fairly happy with the result.
Pictures
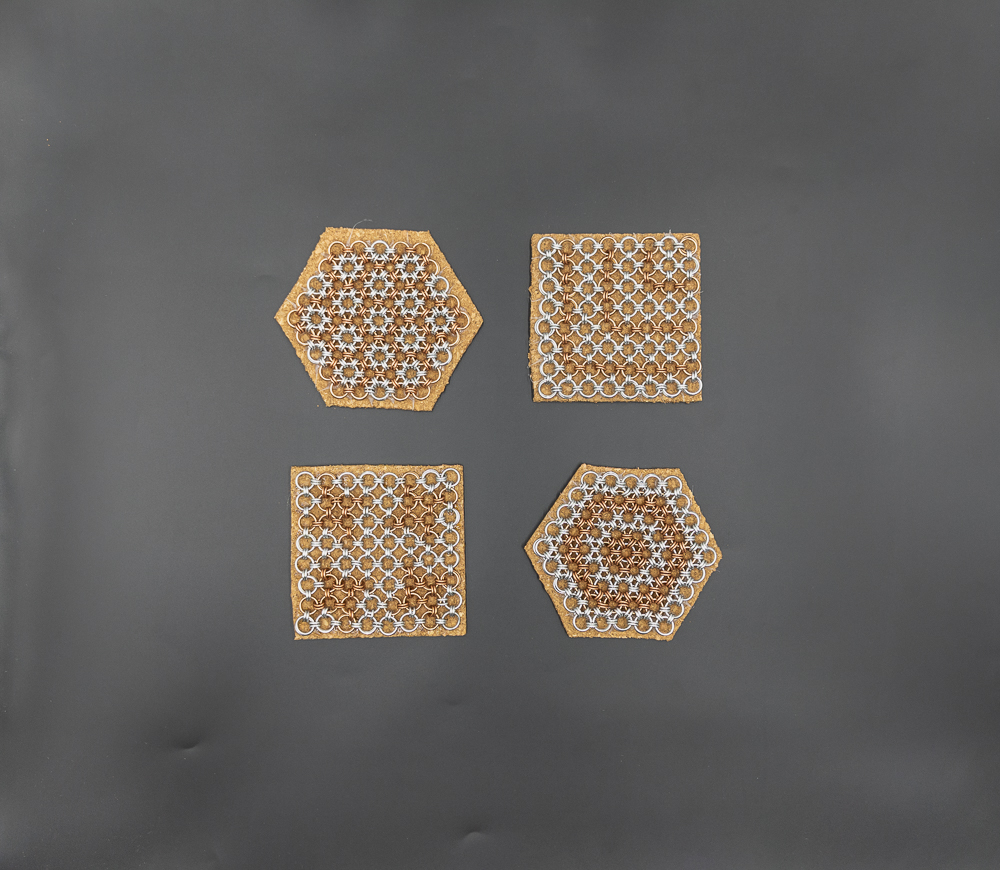
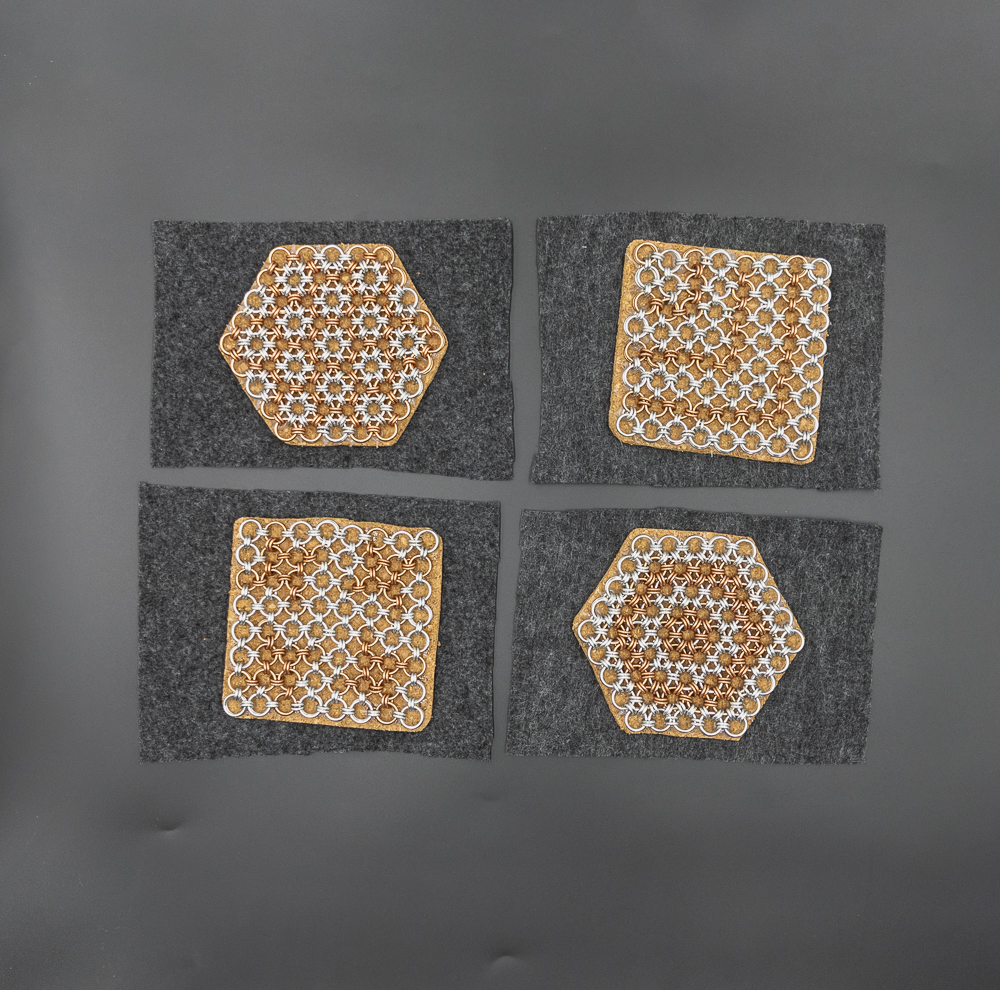
Full Set

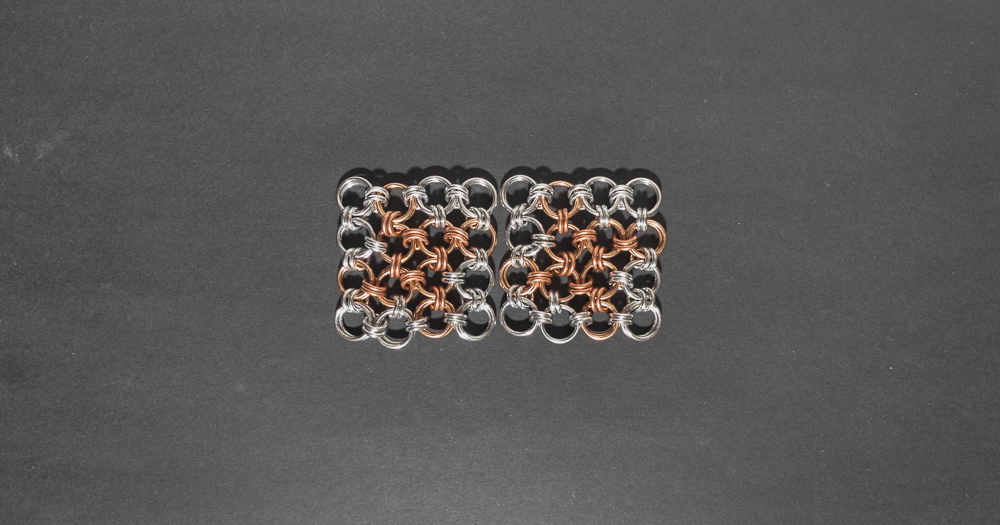
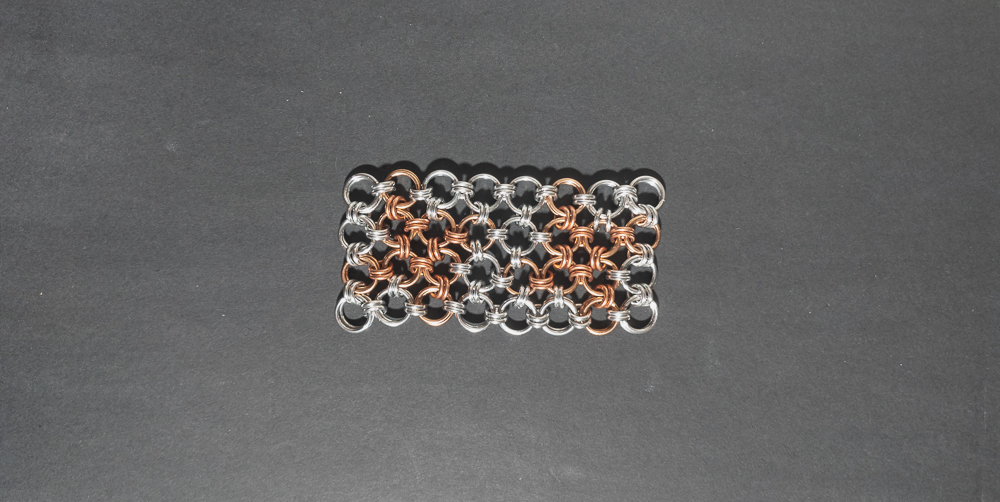
Arrow: Flat
![]()
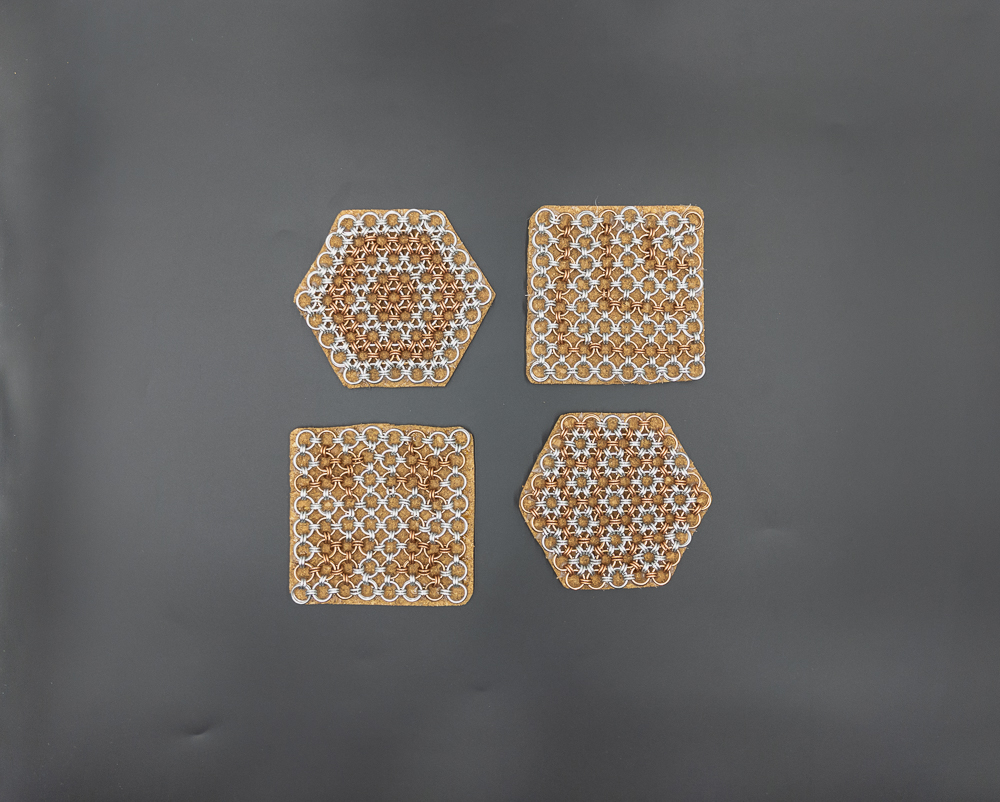
Arrow: Angled
![]()
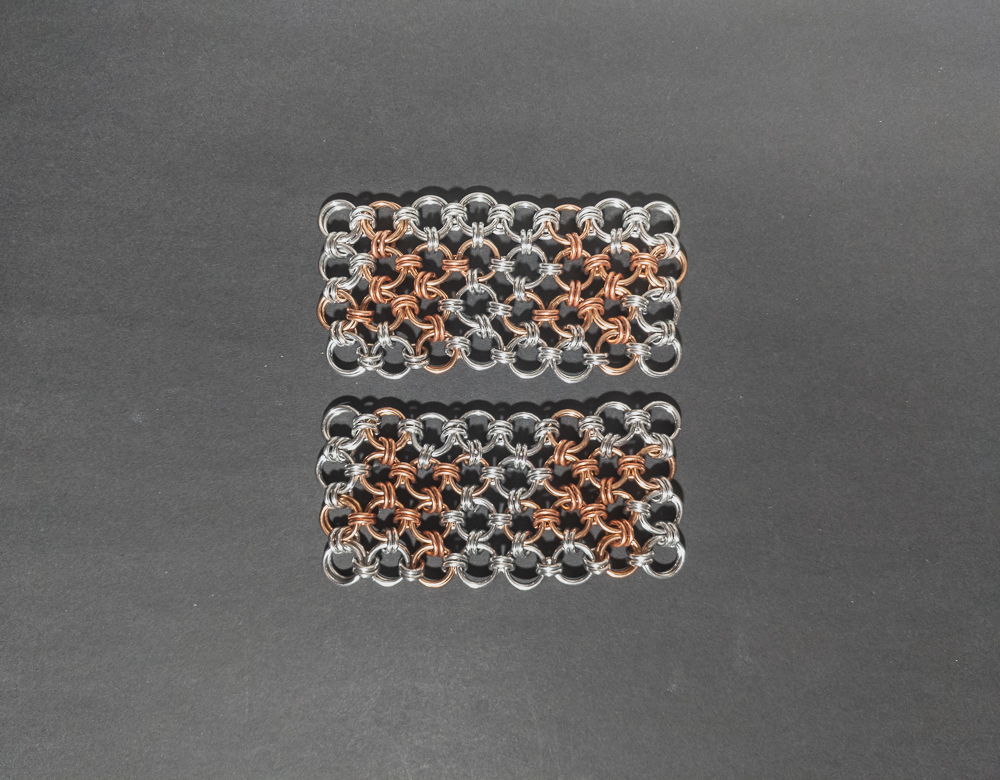
Circles: Flat
Circles: Angled
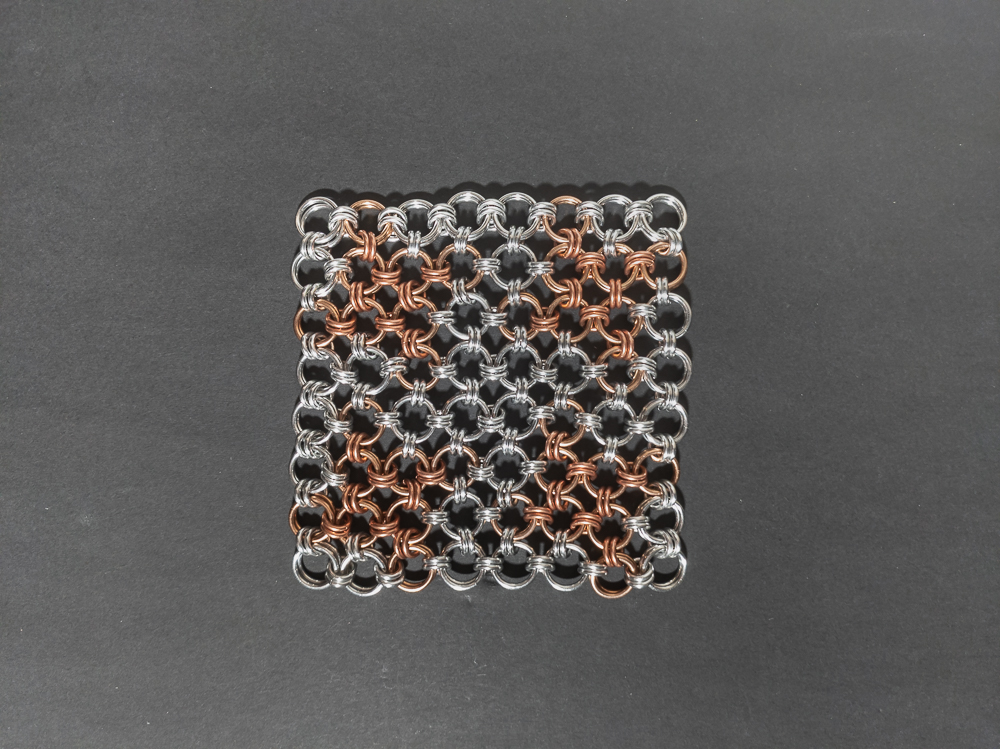
Hexception: Flat
Hexception: Angled
Houndstooth: Flat
Houndstooth: Angled
Intial Designs
![]()

Arrow Process
![]()
![]()
![]()
![]()
![]()
![]()
![]()
![]()
Circles Process
Hexception Process
Houndstooth Process
Weaves Together
Washing the Weaves
Coating the Weaves
Weave Drying Rack
Cutting the Cork
Gluing Weaves to Cork
Roughly Corked Weaves
Trimmed Corked Weaves
Gluing Cork for Felt
Pressing on Felt
Roughly Felted Coasters
Trimming Felt