Tetraorb Line
Overview
Continuing from the wonderful Tetra Orb weave (a personal top 10) is Tetraorb Line as recorded by Dr. T on M.A.I.L. This member of the Japanese weave family is a very straightforward variant of Tetra Orb. Unfortunately, I was unable to find a preexisting tutorial, so I wrote and included this one for anyone who wanted to follow along.
Materials
For the sample piece showcased in this post, I made the rings myself. I used 16 SWG Bright Aluminum wire from The Ring Lord coiled around a 10mm mandrel (for an approximate ID of 10mm) for an AR of 6.15.
Tutorial
This tutorial assumes you are familiar with creating Tetra Orbs. If you are not, please review this tutorial by The Mad Mailler.
-
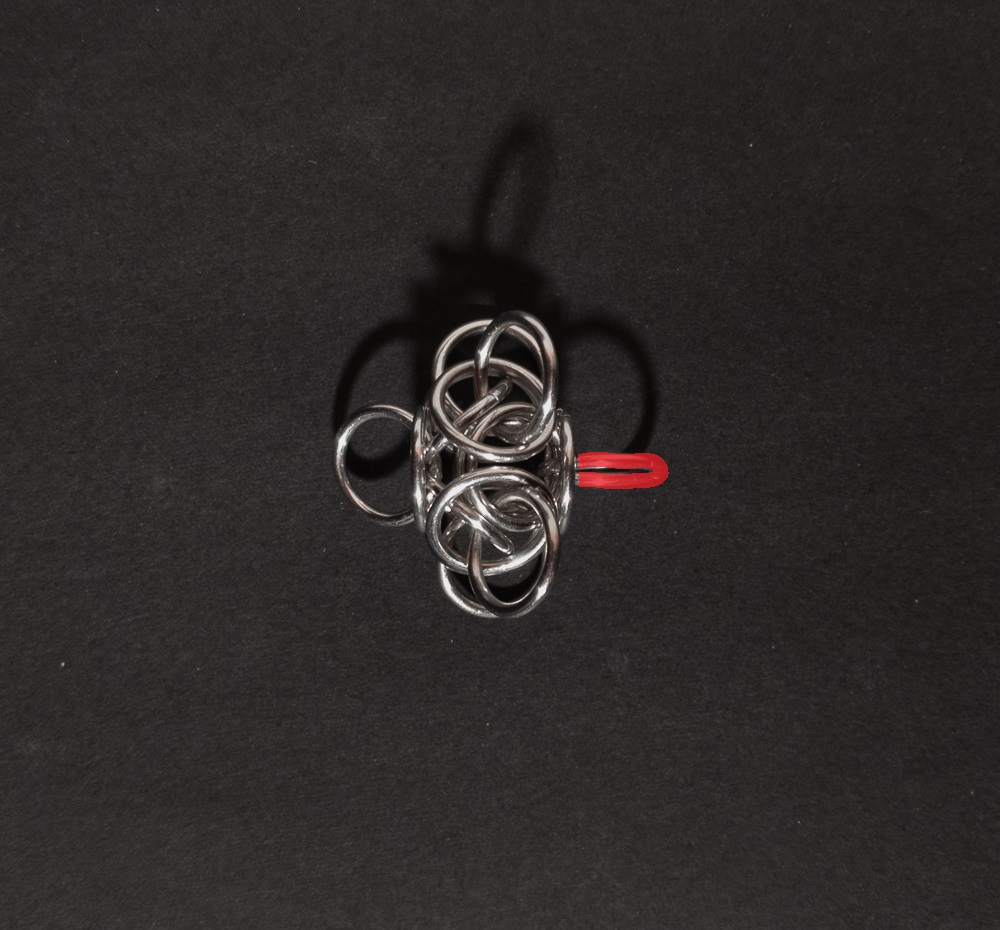
Start with a single Tetra Orb. When done, it should look like this:
-
Pick one of the six faces of the Tetra Orb for a direction to expand on. The direction I have chosen to expand is red in the image below:
-
Make a new Tetra Orb (green in the image below), and line it up with the face you chose to expand on. When done, it should look like this:
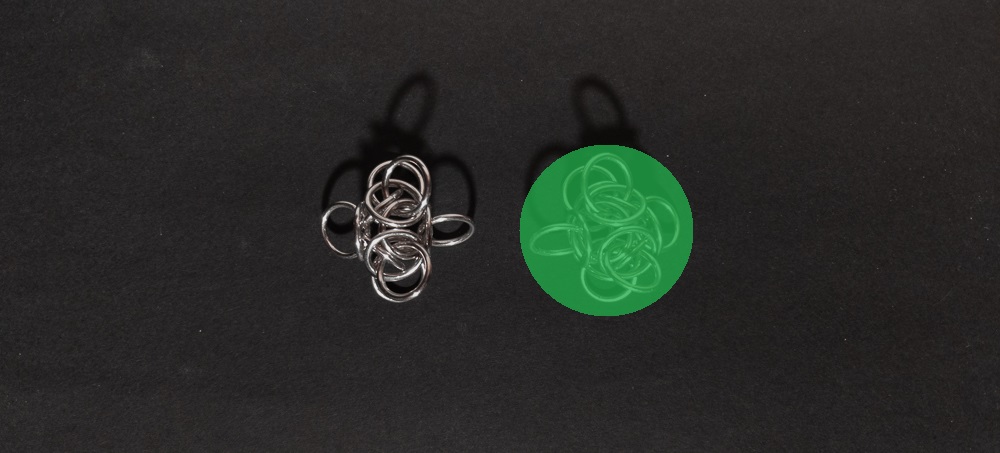
-
On the new Tetra Orb, remove the outside ring on the side opposite to where you will extend your chain (red in the image below).
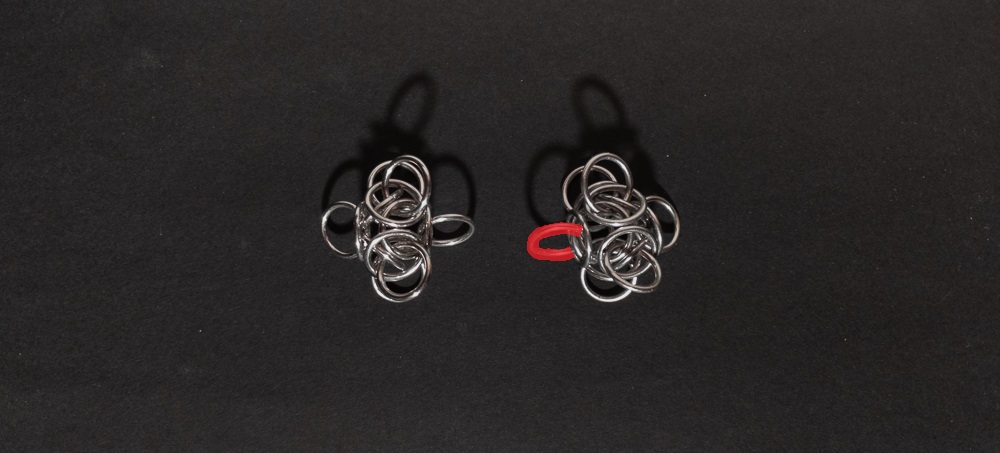
When done, it should look like this:

-
Join the new Tetra Orb to your chain by weaving the outermost ring on the side you are extending your chain (orange in the image below) through the same rings the ring you removed in the previous step went through (blue in the image below). Make sure to keep the orbital ring (yellow in the image below) in place, as it no longer orbits a connection:
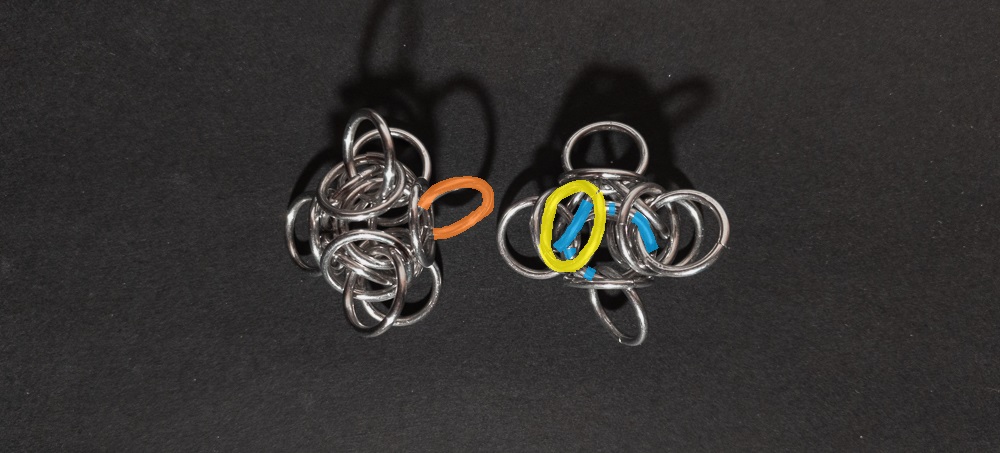
When done, it should look like this:

-
Repeat steps 2 through 5 until you are happy with the length of your chain.
Notes
The Tetraorb Line weave is quite simple to understand, though it can be a bit tricky to make, particularly when joining units. Pay close attention, as mistakes can change the pattern of the rings joining the orbs. I find that the weave looks quite nice. While this is a chain weave, the large unit size makes it impractical for bracelets and chokers; instead, it is better suited for longer necklaces or for using shorter sections as earrings. Additionally, the weave has an internal cavity that allows for capturing small items such as marbles or minerals. I highly recommend using bent-nose pliers and, when joining units, to make it easier. Given its aesthetic appeal, relative ease of learning, and unique ability to capture multiple items, I highly recommend learning how to make the Tetraorb Line weave.
Pictures
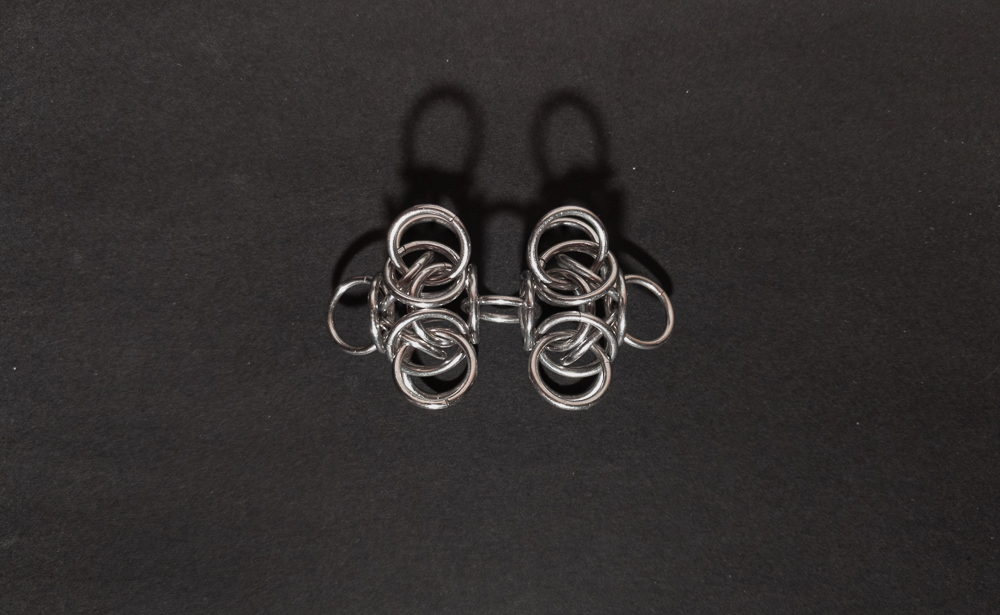
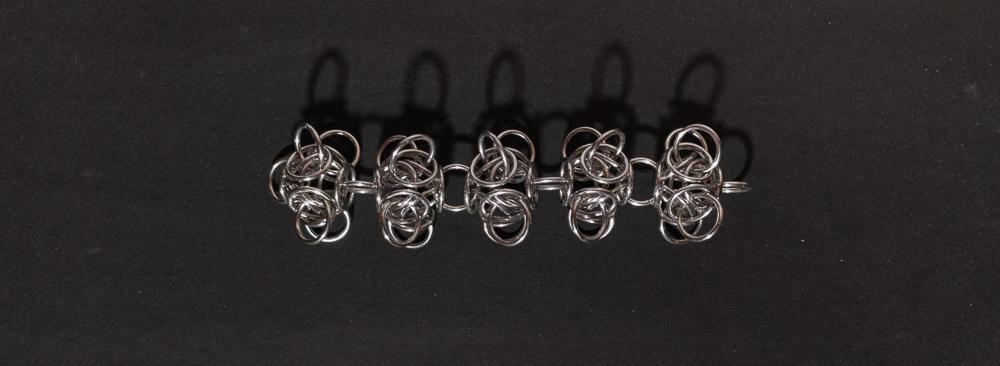
Flat
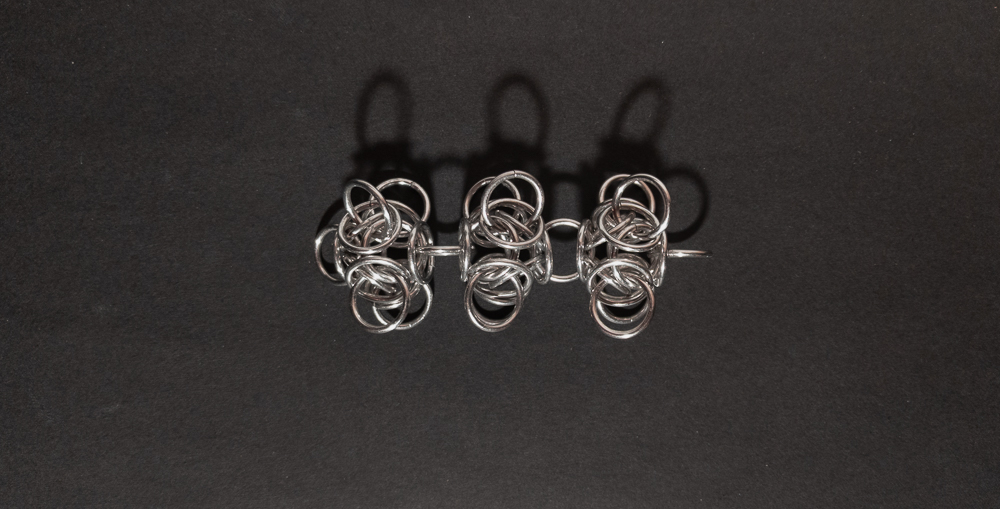
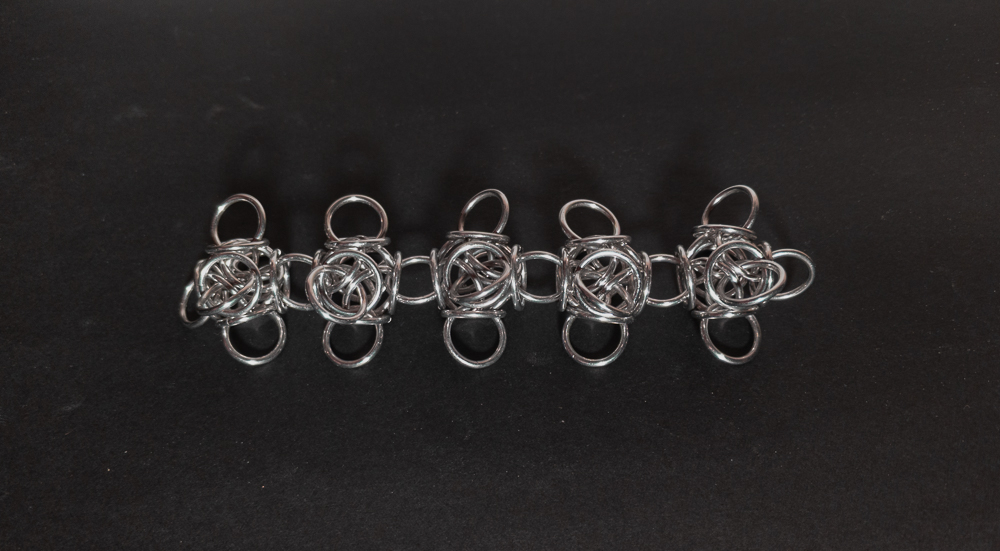
Flat: Angled
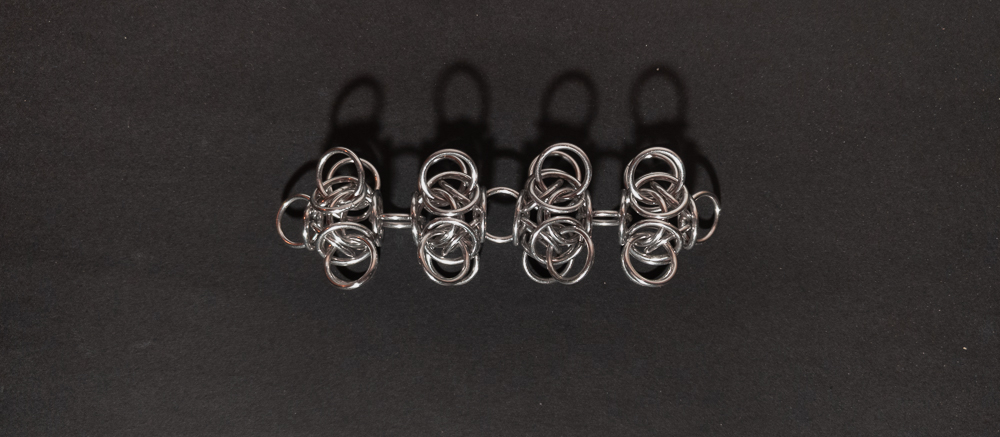
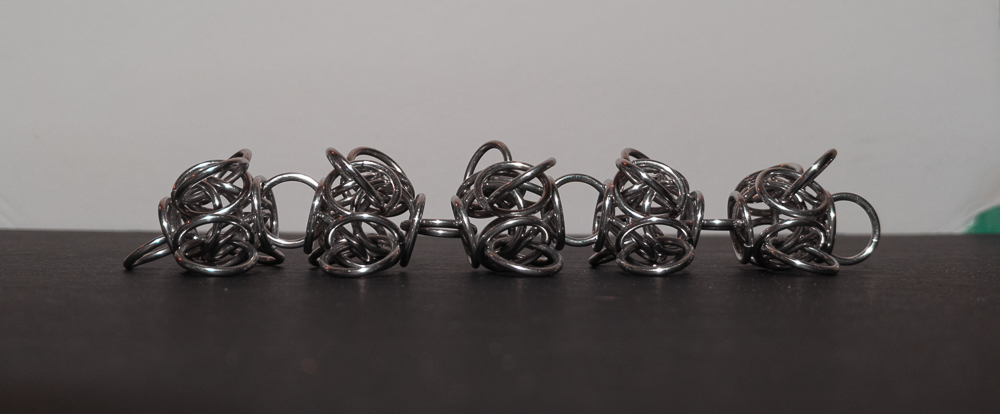
Flat: Profile
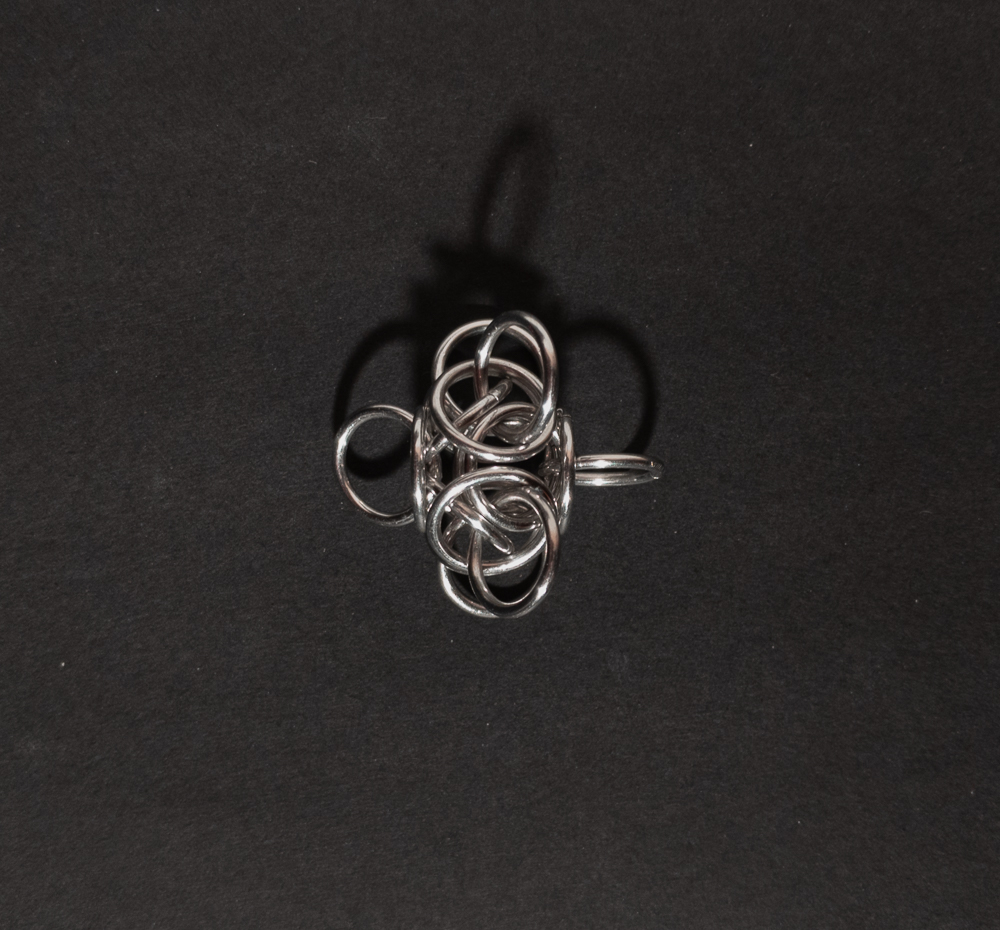
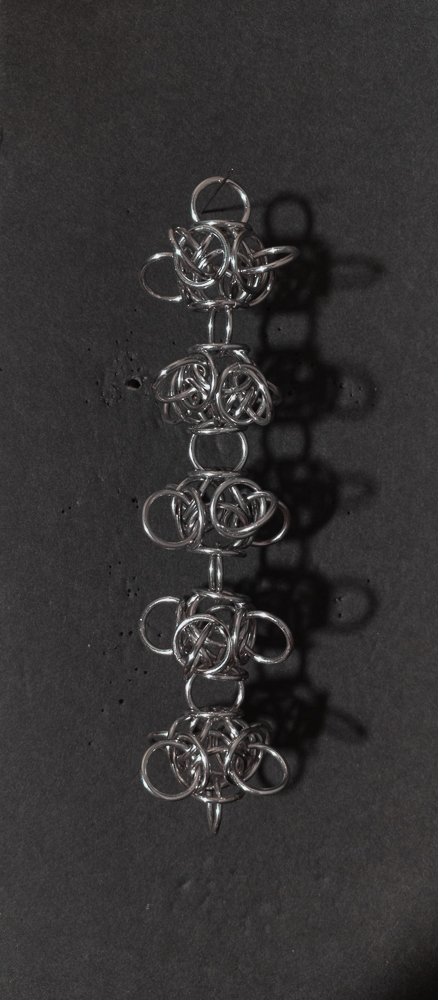
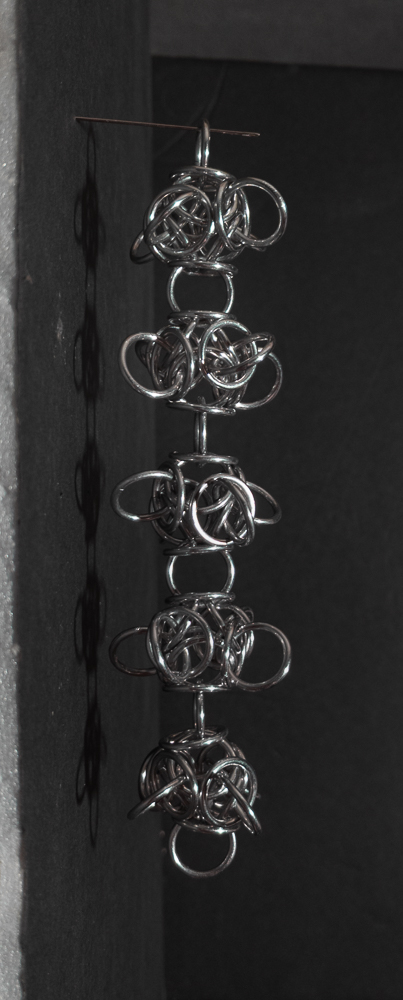
Vertical
Vertical: Profile
In Process