Magus Weave
Overview
While looking through M.A.I.L. for new weaves to make, I found Magus Weave by KendallNightblade. This member of the European and Mage families uses an interesting method of joining 2-in-1 Chains together. I wrote and included this tutorial since I was unable to find any existing tutorials.
Materials
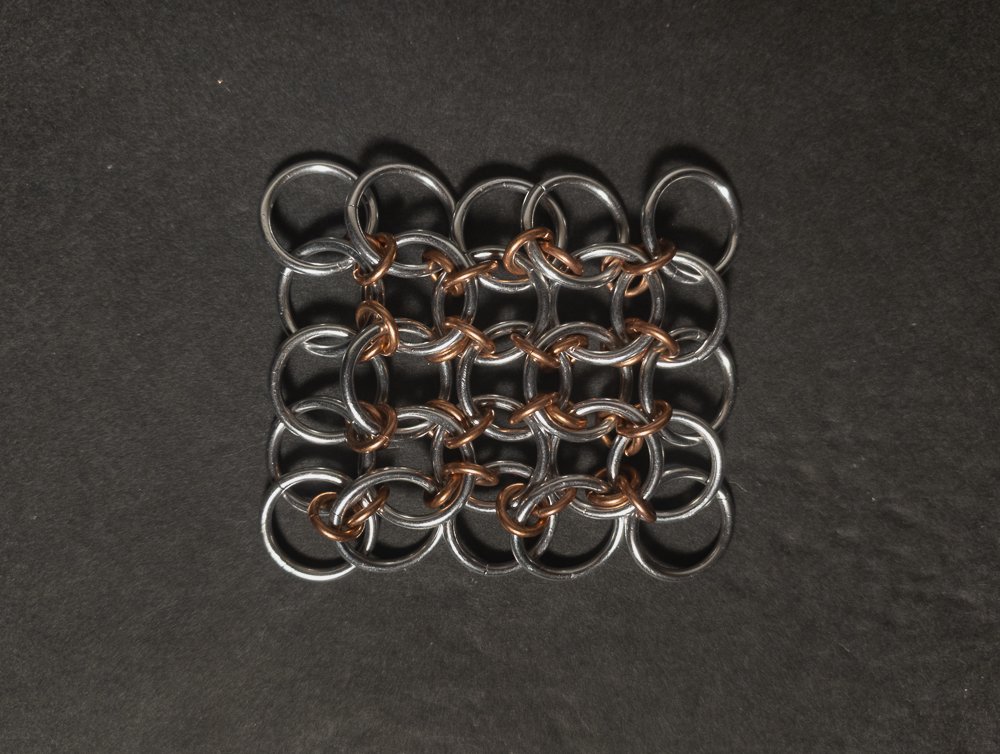
For the sample piece showcased in this post, I used two sizes of rings. The smaller rings, purchased from The Ring Lord, are made from 18 SWG Copper wire with an ID of 5/32” for an AR of 3.26. The larger rings, which I made myself, are made from 16 SWG Bright Aluminum wire with an ID of 10mm for an AR of 6.15.
Tutorial
-
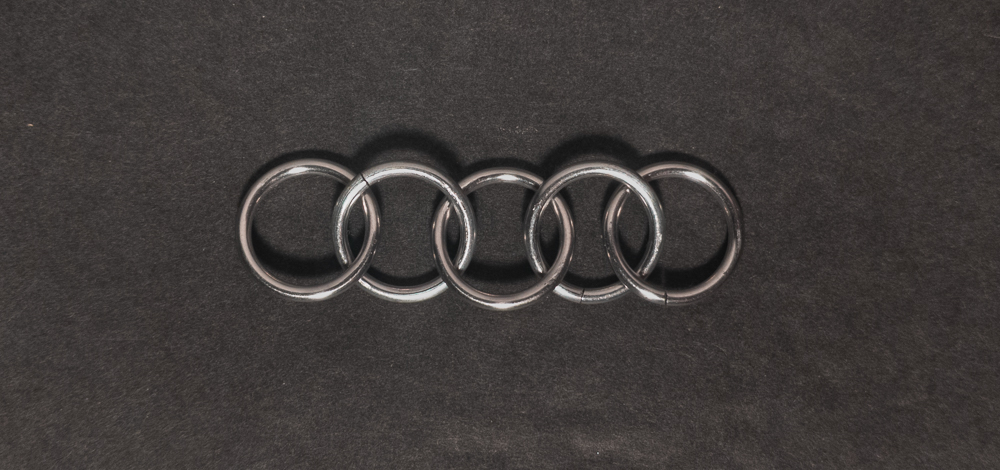
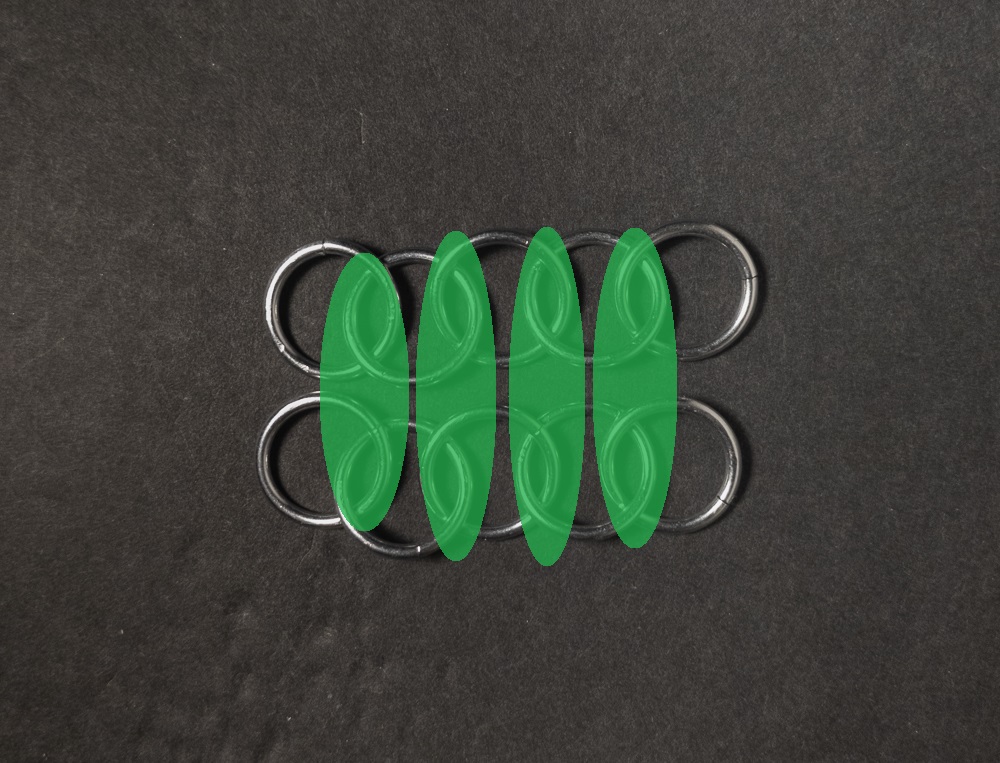
Start with a 2-in-1 Chain made from large rings as long as you want the sheet to be wide. When done, it should look something like this:
-
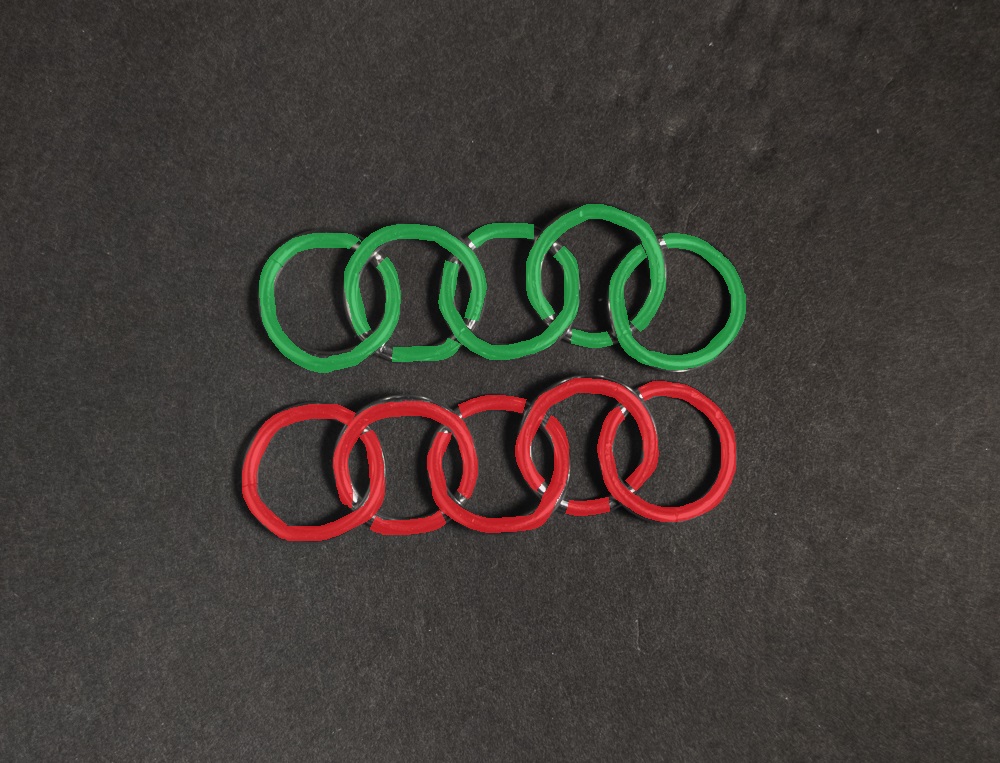
Make another 2-in-1 Chain of large rings (green in the image below) as long as the sheet currently is wide, and place it in front of your work from the last step (red in the image below). Make sure that the lean of the rings matches the one in front of it. If you push the new chain toward the rest of the sheet, the rings should stack on top of each other nicely. When done, it should look something like this:
-
Behind the chain of large rings you just made, there should be a 2-in-1 chain of large rings on the edge of your sheet. Note the points where the rings in these chains connect; you will be joining these chains together at these connection points. You can see these connection points highlighted in green in the image below:
-
At the first connection point from step 3, add 1 new small ring (green in the image below) through the 2 large rings pointing down towards the connection point (blue in the image below); these rings should be in opposite corners, not in the same column. When done, it should look something like this:
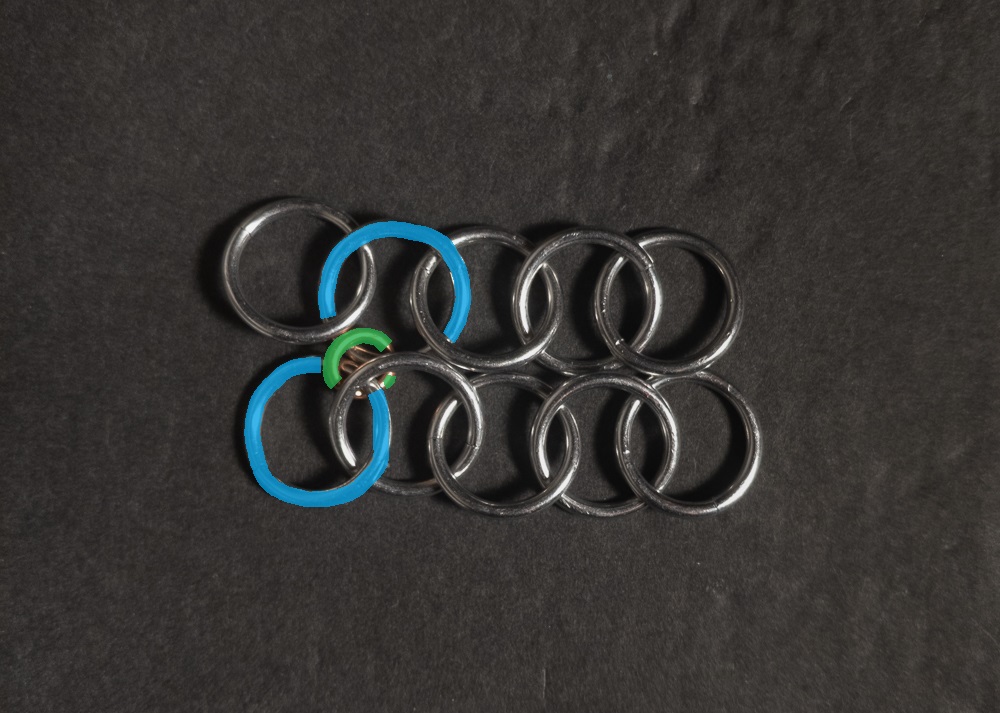
-
Now, we add a second small ring (green in the image below) at the first connection point from step 3. This ring should go through the 2 large rings pointing up towards the connection point(blue in the image below) and the small ring from the last step(red in the image below). The large rings should be in opposite corners, not in the same column. When done, it should look something like this:
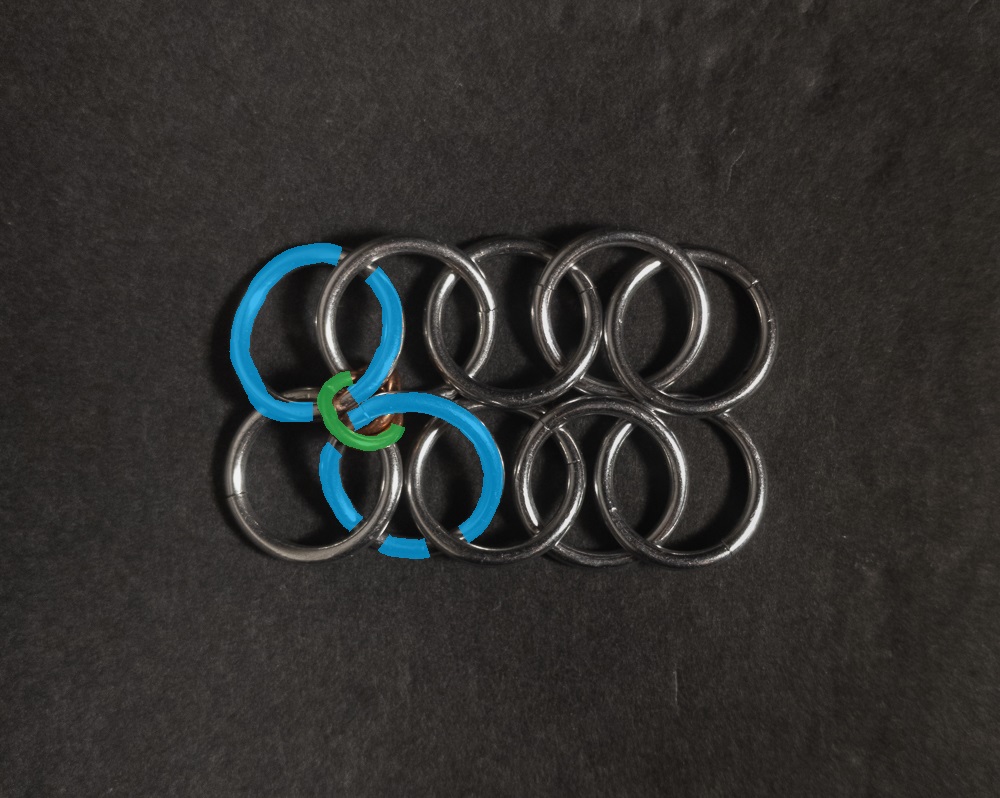
-
Repeat steps 4 & 5 at each connection point noted in Step 3. New small rings are in green in the image below, and the small rings from the previous steps are red in the image below. When done, it should look something like this:
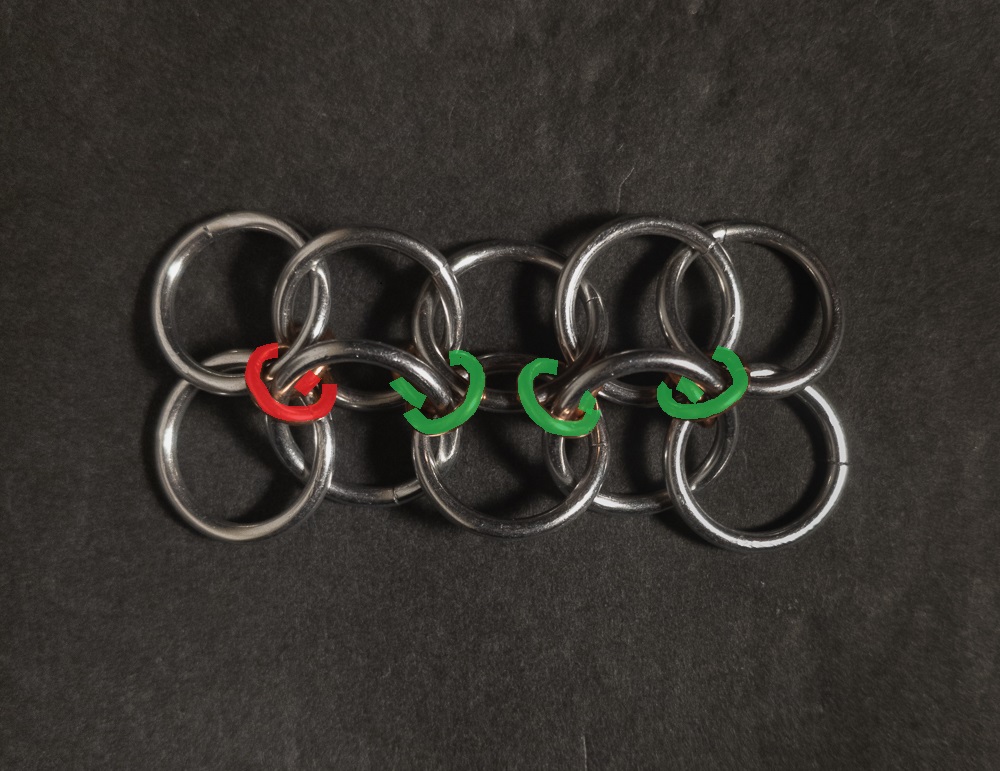
-
You have now added one chain and increased the length of the weave. Repeat steps 2 through 6 until you are happy with the length of the weave.
-
Enjoy the cool sheet of Magus Weave you just made.
Notes
Magus Weave is not hard to understand, but it can be somewhat difficult to create, especially in the early stages. The most challenging part is from the beginning until the addition of the third small ring, as the structure is still forming and can easily shift into a confusing tangle. It may take a few tries to get a stable start. Visually, the weave can look quite good when evenly stretched, but it appears messy otherwise. In my experience, the sample looked better as it grew, and I expect it to continue improving with size. Using smaller and tighter small rings might help them hold their position more firmly, which could further enhance the weave’s appearance. As a flexible sheet weave with a small unit size, Magus Weave is excellent for use in bracelets, chokers, or larger fabric-like projects. If you make the weave yourself, I strongly recommend connecting the units using the bottom ring first, as described in the tutorial, to avoid needing to flip the weave repeatedly. I also found that bent nose pliers were very handy for positioning the small rings. Given the challenges in building and displaying this weave attractively, I would only recommend it to maillers with moderate experience and a clear plan for applying the necessary tension.
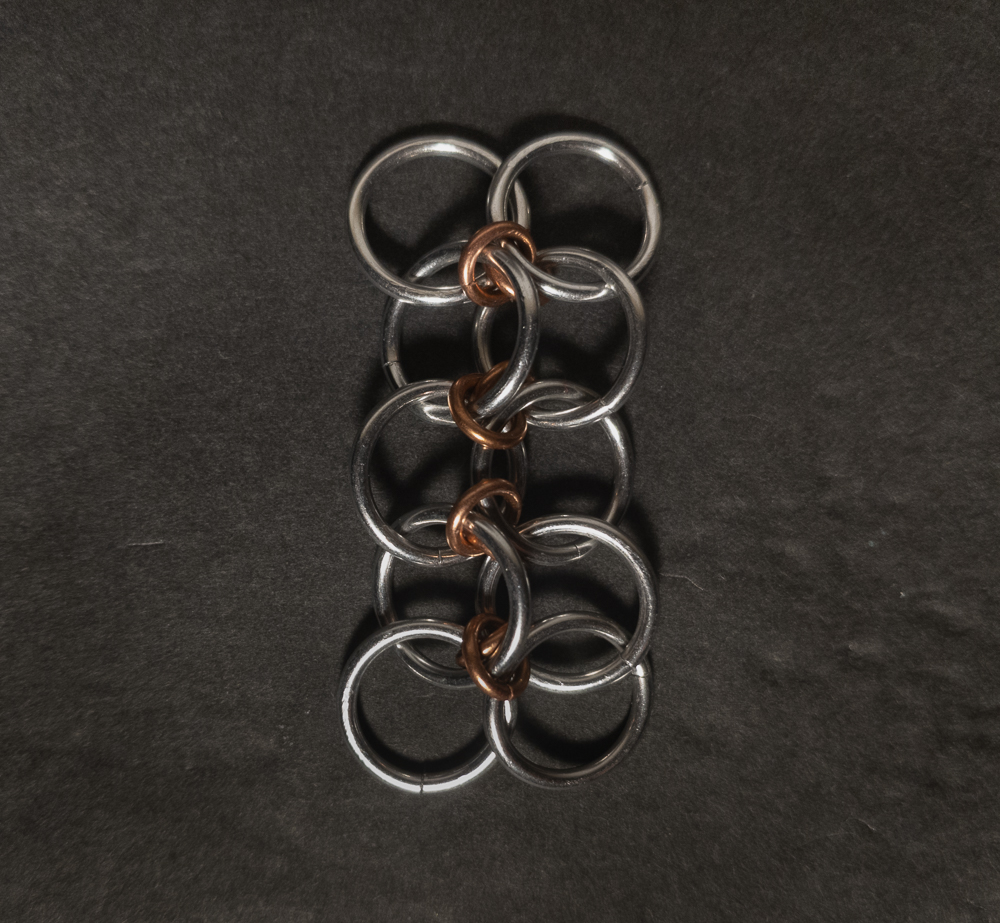
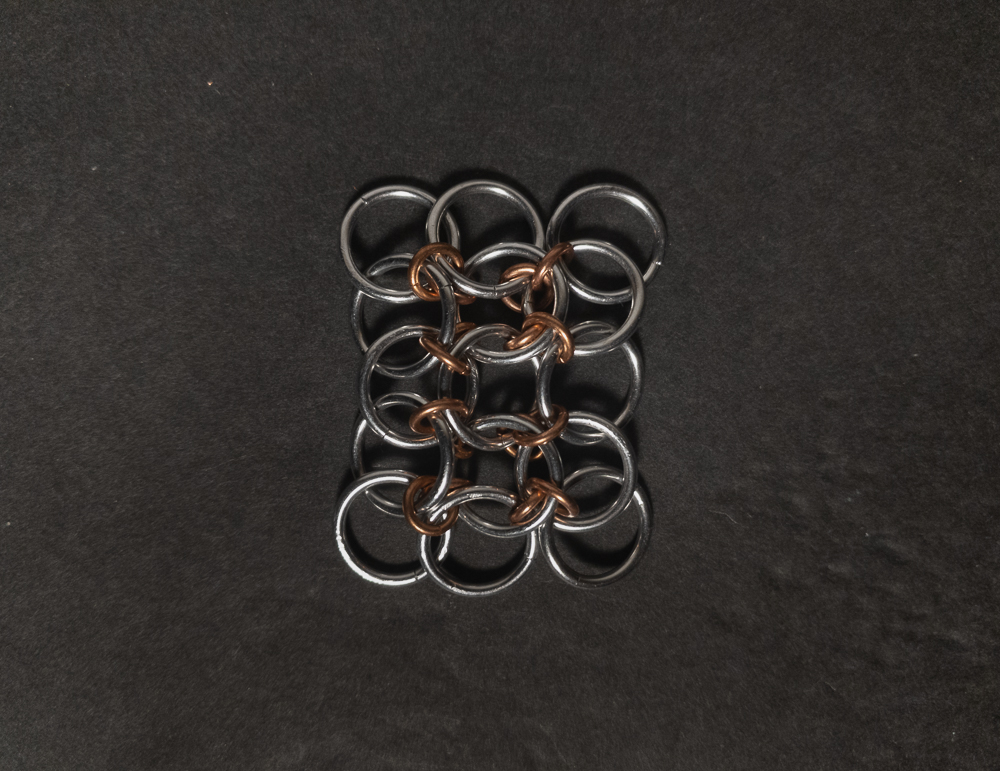
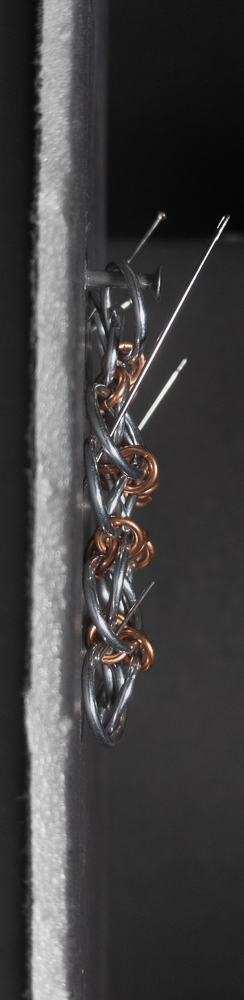
Pictures
Flat
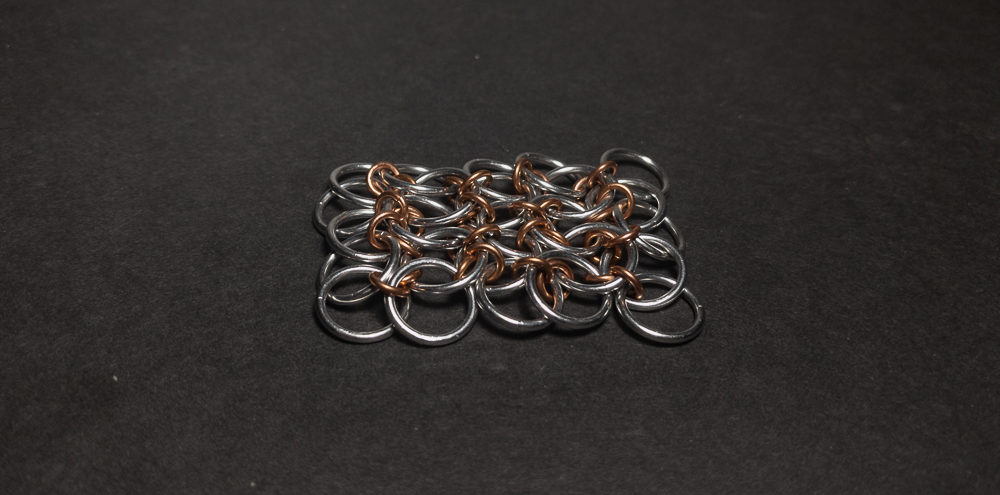
Flat: Angled
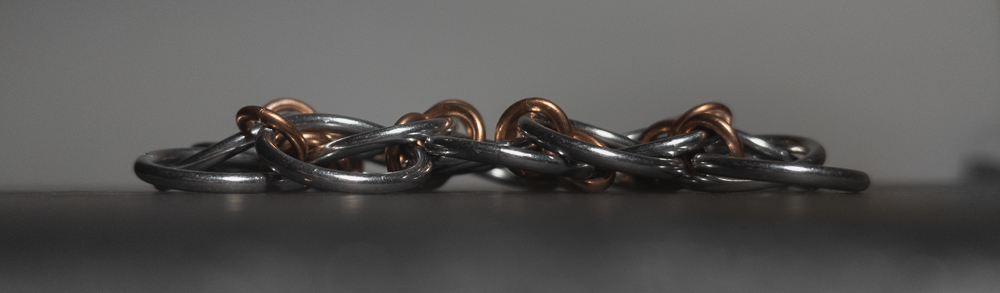
Flat: Profile
Vertical
Vertical: Profile
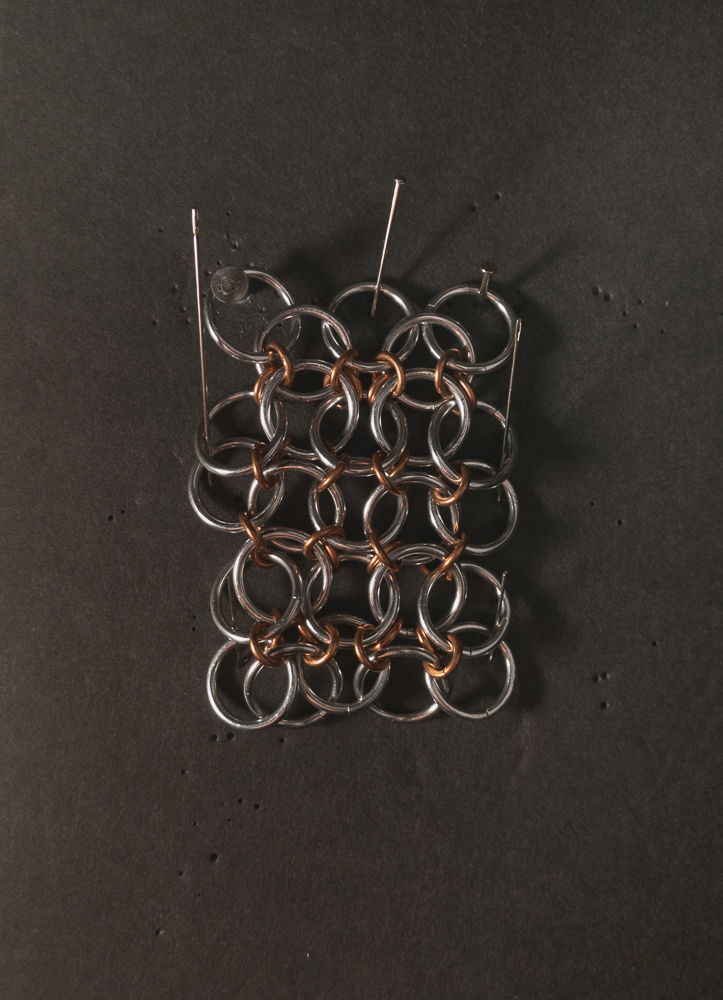
In Process