Bweg
Overview
While looking through new weaves on Chainmaillers, I found Bweg, which currently doesn’t list a creator. This weave is a member of the European and Japanese weave families and shows a way to extend the 4-in-2 Orbital chain into a sheet. I wrote and included this tutorial since I could not find any existing tutorials.
Materials
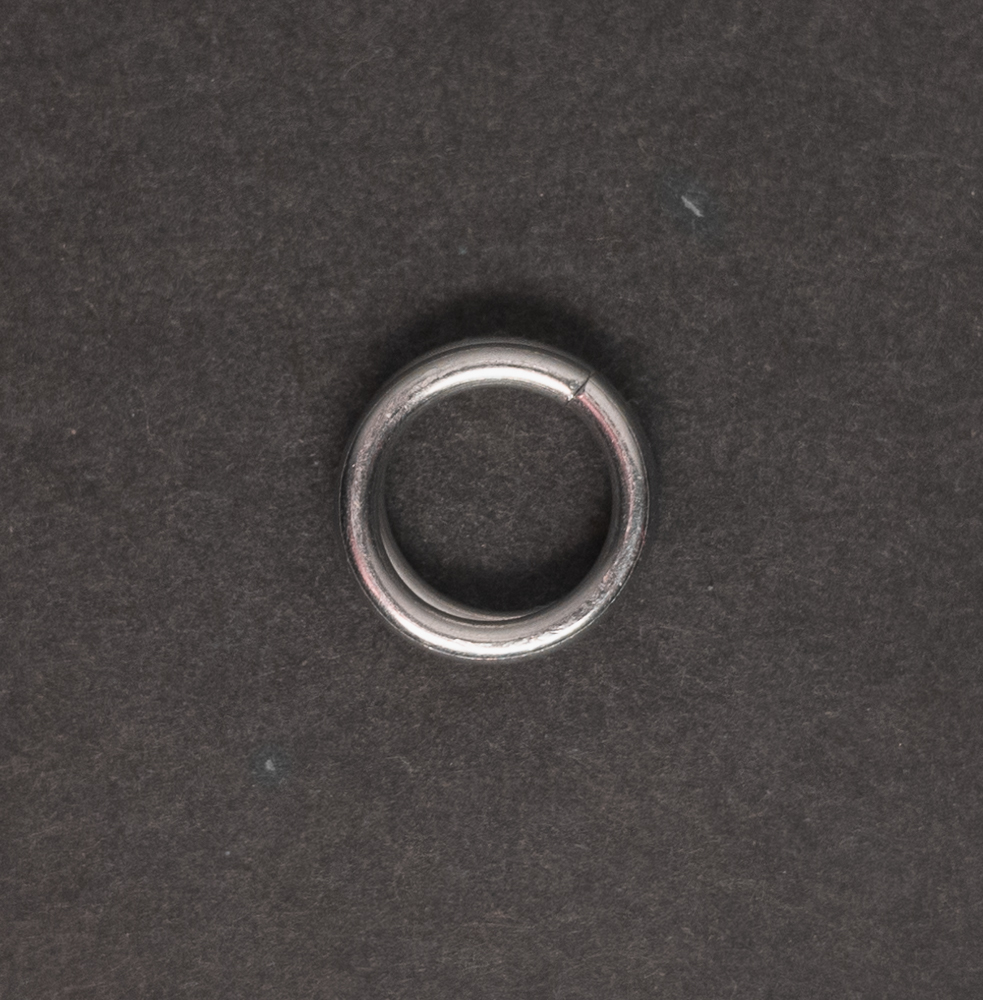
For the sample piece showcased in this post, I used two sizes of rings made by hand from 16 SWG Bright Aluminum wire purchased from The Ring Lord. The smaller rings have an ID of 8mm for an AR of 4.9. The larger rings have an ID of 9mm for an AR of 5.5.
Tutorial
-
Start with 2 small rings stacked on top of each other. When done, it should look something like this:
-
Add 1 new large ring(green in the image below) to the side of the rings from the previous step(red in the image below). When done, it should look something like this:
-
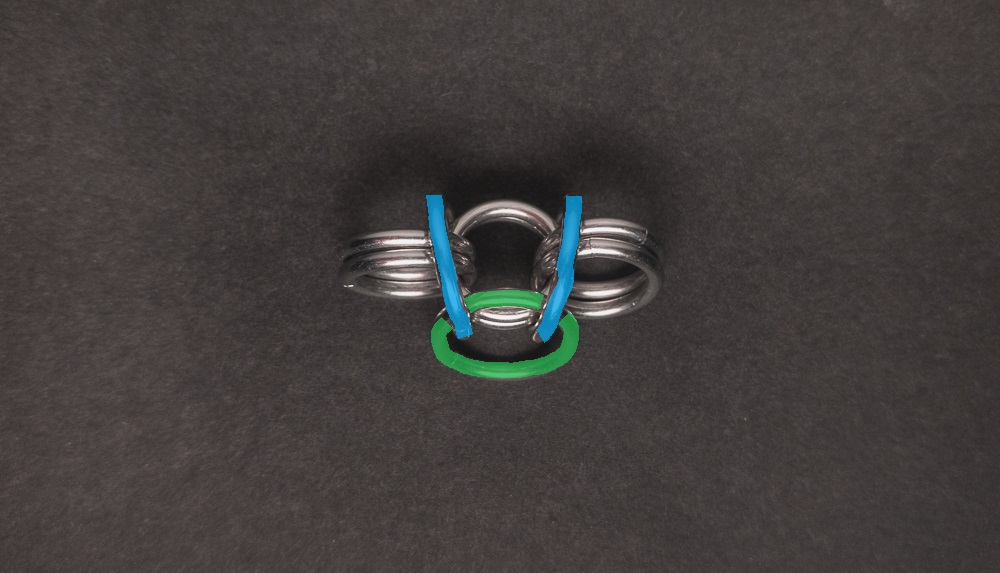
Add 2 new small rings(green in the image below) through the small rings from the step before last(blue in the image below) while ensuring that the large ring from the previous step(red in the image below) is between the 2 sets of small rings but has no small rings going through it. When done, it should look something like this:
-
Repeat the last 2 steps to get a 2-2-2 chain of small rings(red in the image below) with large rings(blue in the image below) orbiting at each connection point of the small rings. When done, it should look something like this:
-
Add 1 new large ring(green in the image below) that goes through the last 2 large rings you added to the chain(blue in the image below). When done, it should look something like this:
-
Add 2 new small rings(green in the image below), they should touch but not go through the last large ring you added(blue in the image below), and go through the small rings(red in the image below) between the large rings the last large ring you added(yellow in the image below) goes through. When done, it should look something like this:
-
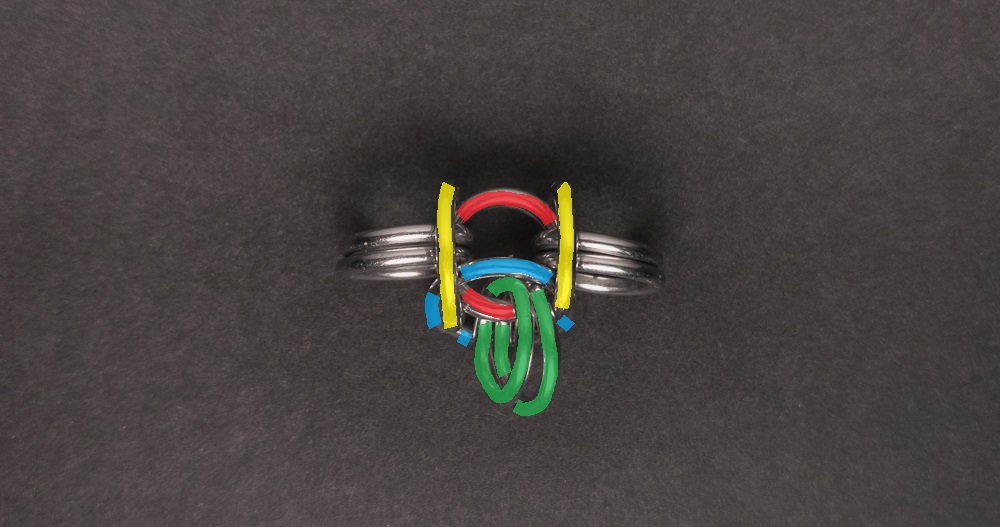
Add 2 new small rings and 1 new large ring(green in the image below) mirroring the rings from the last 2 steps(red in the image below) on the other side of the small rings(blue in the image below) you added small rings through in the previous step. When done, it should look something like this:
-
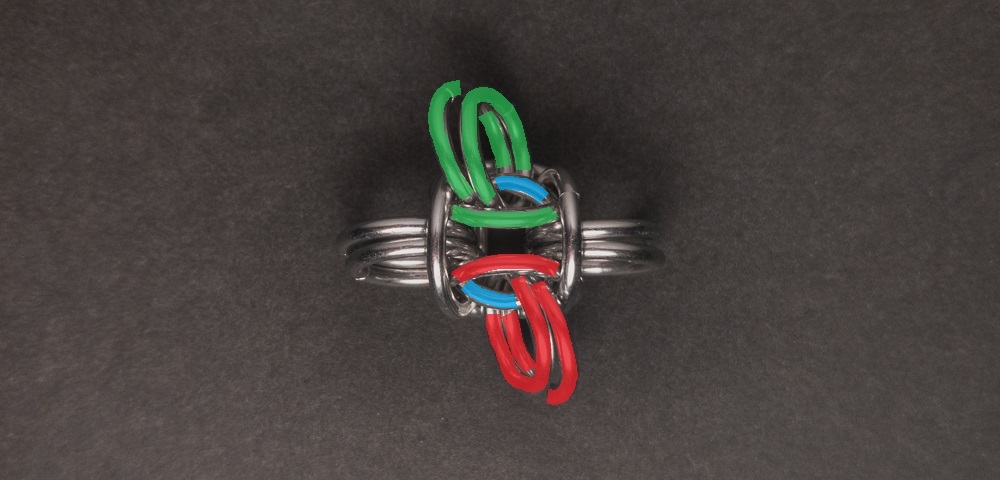
Congratulations, your first unit is complete, to extend the chain pick a side with small rings facing outward and repeat steps 2-7, until you are happy with the length of your chain.
Notes
The Bweg weave is not difficult to understand and only slightly complex to create. Its ease of construction depends significantly on the AR gap of the rings used, the larger the gap, the easier it is to work with, and the smaller the gap, the more difficult it becomes. Aesthetically, the weave is somewhat mediocre. As one side of the weave is quite flat, it is well suited for use in bracelets. However, unlike other flat weaves that work well in chokers, its spiked edges make it less suitable for that application. Given its limited use, average visual appeal, and the high number of rings required, I only recommend learning this weave if you have a specific vision or project in mind.
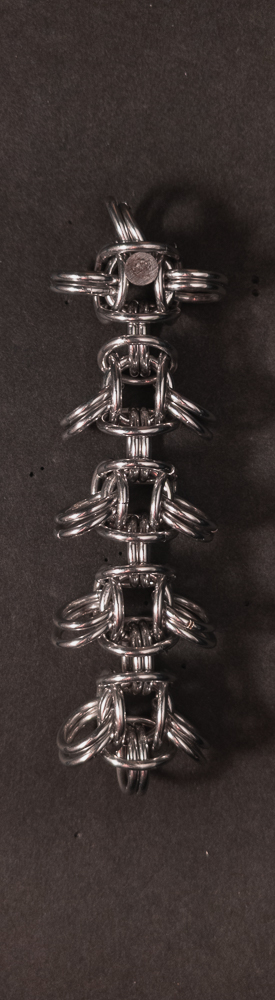
Pictures
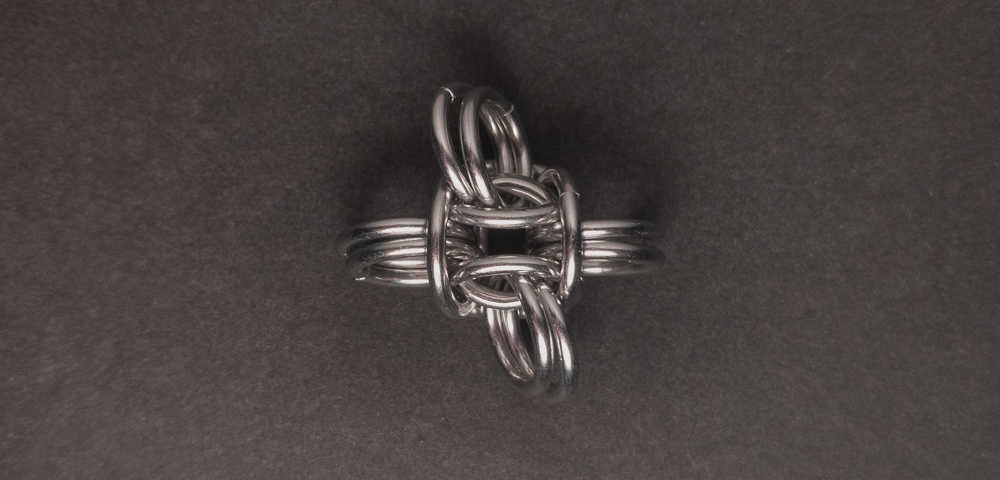
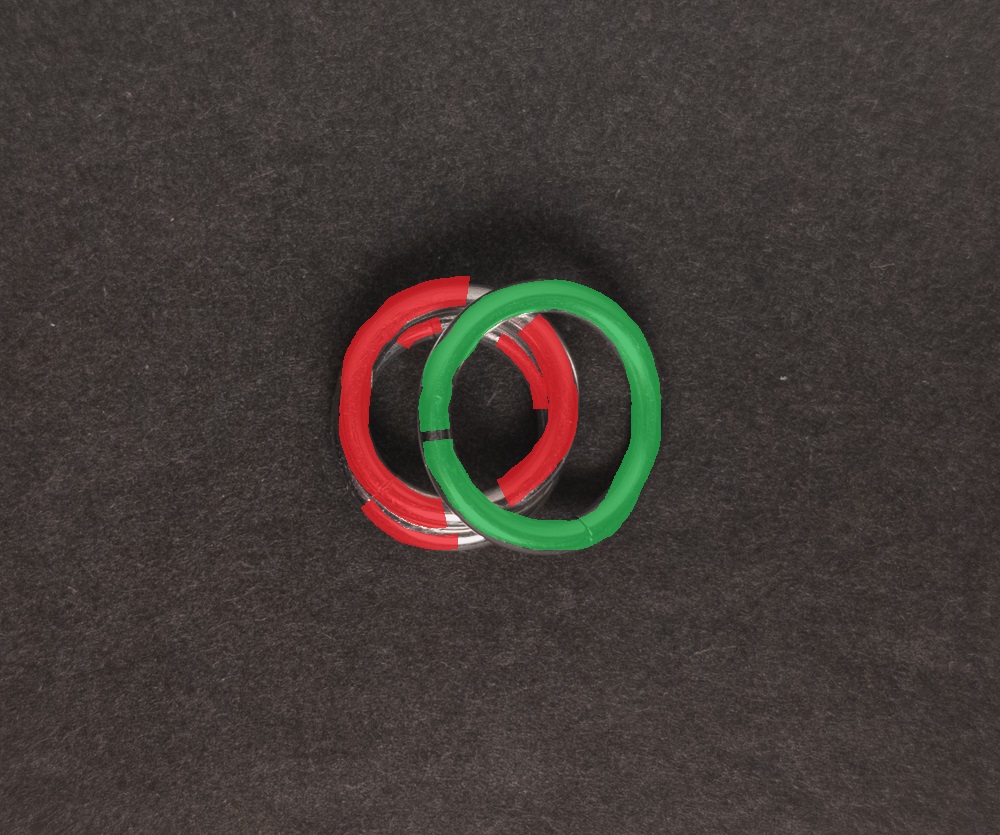
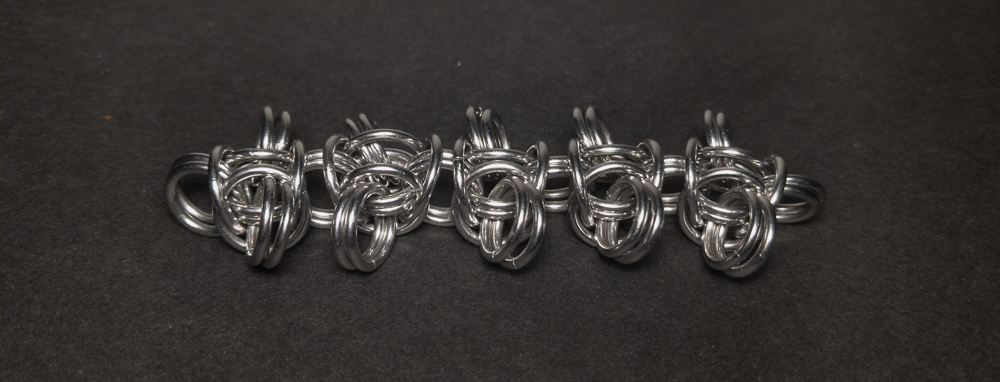
Flat

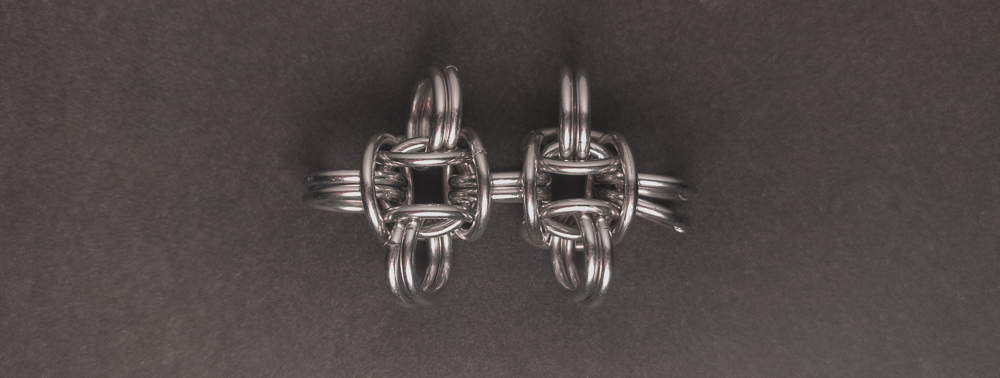
Flat: Angled
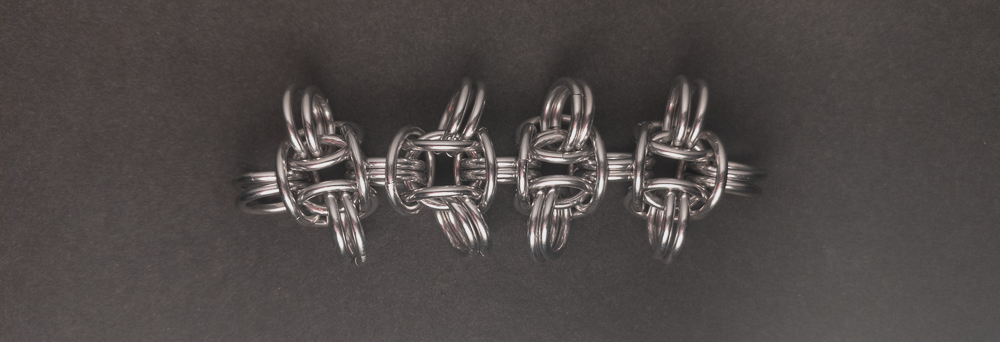
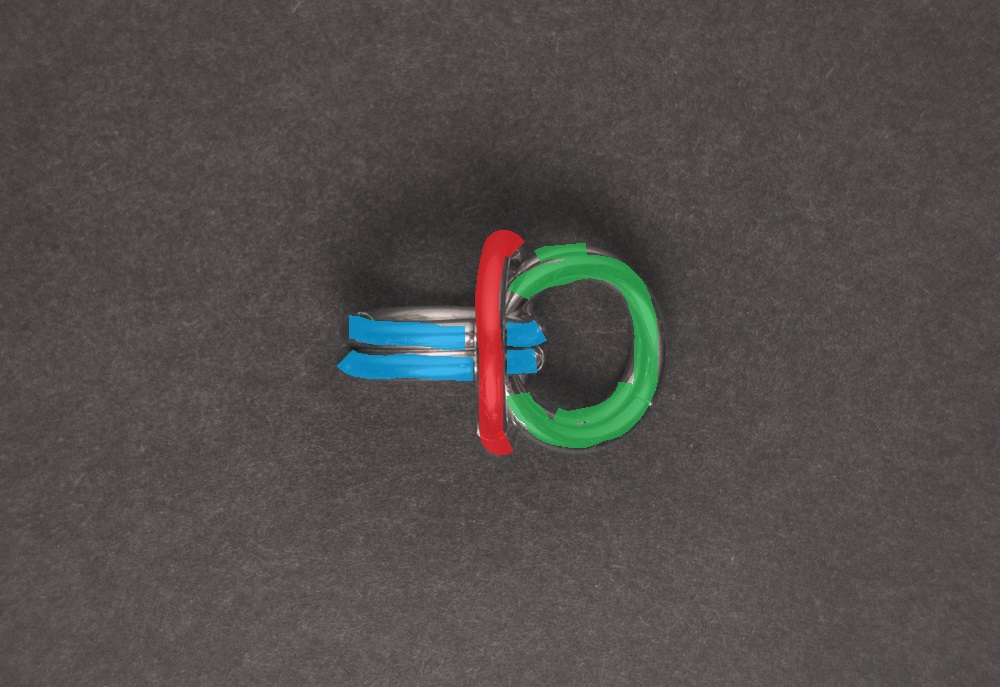
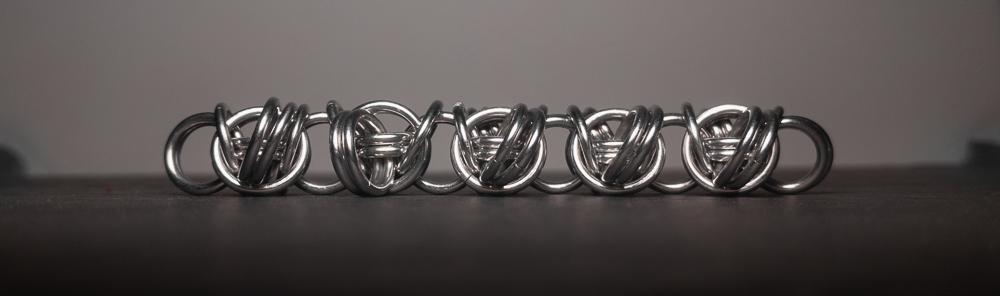
Flat: Profile
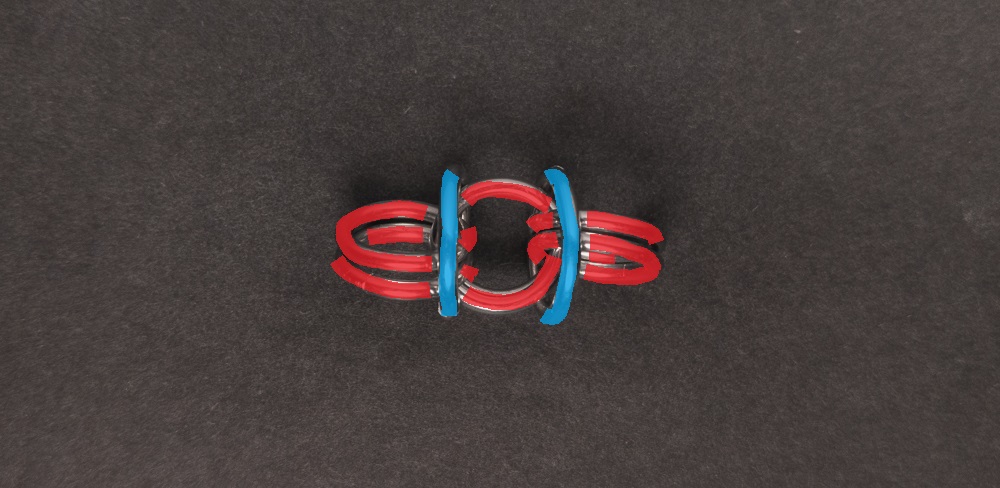
Vertical
Vertical: Profile

In Process